
Oh, the holidays! That magical time when the house fills with the most incredible aromas, and everyone gathers around the table, ready for a feast. For me, nothing says ‘holiday comfort’ quite like a steaming dish of stuffing. It’s more than just a side dish; it’s a hug on a plate! I still remember my grandma, her kitchen always buzzing with pre-Thanksgiving energy, the scent of her special stuffing a mix of fresh herbs, savory veggies, and toasted bread filling every single corner of our home. She was so smart, always making extra so we could have that deliciousness again later – which totally inspired my own recipe development. As a Tech-Enabled Keto Innovator, I pour my heart into creating recipes that are not only delicious but also work beautifully for busy schedules, which is why I’m so excited to share Why Everyone Loves This Stuffing Recipes (+ Make-Ahead Tips). Trust me, this one’s a keeper!
Why Everyone Loves This Stuffing Recipes (+ Make-Ahead Tips)
So, why does this stuffing recipe just *work*? It’s all about that perfect harmony of flavors and textures that just screams ‘holiday comfort!’ We’ve got fragrant, fresh herbs, just the right amount of savory veggies, and perfectly toasted bread cubes that give it that amazing chew and crunch. Plus, who doesn’t love a dish that practically cooks itself on the big day? As someone who loves tinkering in the kitchen and testing out ideas, I’ve fine-tuned this recipe to guarantee a winner, making holiday prep a total breeze. Get ready for rave reviews!
The Secret to Delicious Stuffing: Key Ingredients
Alright, let’s talk ingredients! The magic in this stuffing isn’t some super-secret trick; it’s all about using good stuff that plays nicely together. We’re talking about building layers of flavor and texture, starting with the perfect crispy bread and infusing it with amazing aromatics. Everything just comes together to make this stuffing absolutely irresistible.
Bread for the Perfect Base
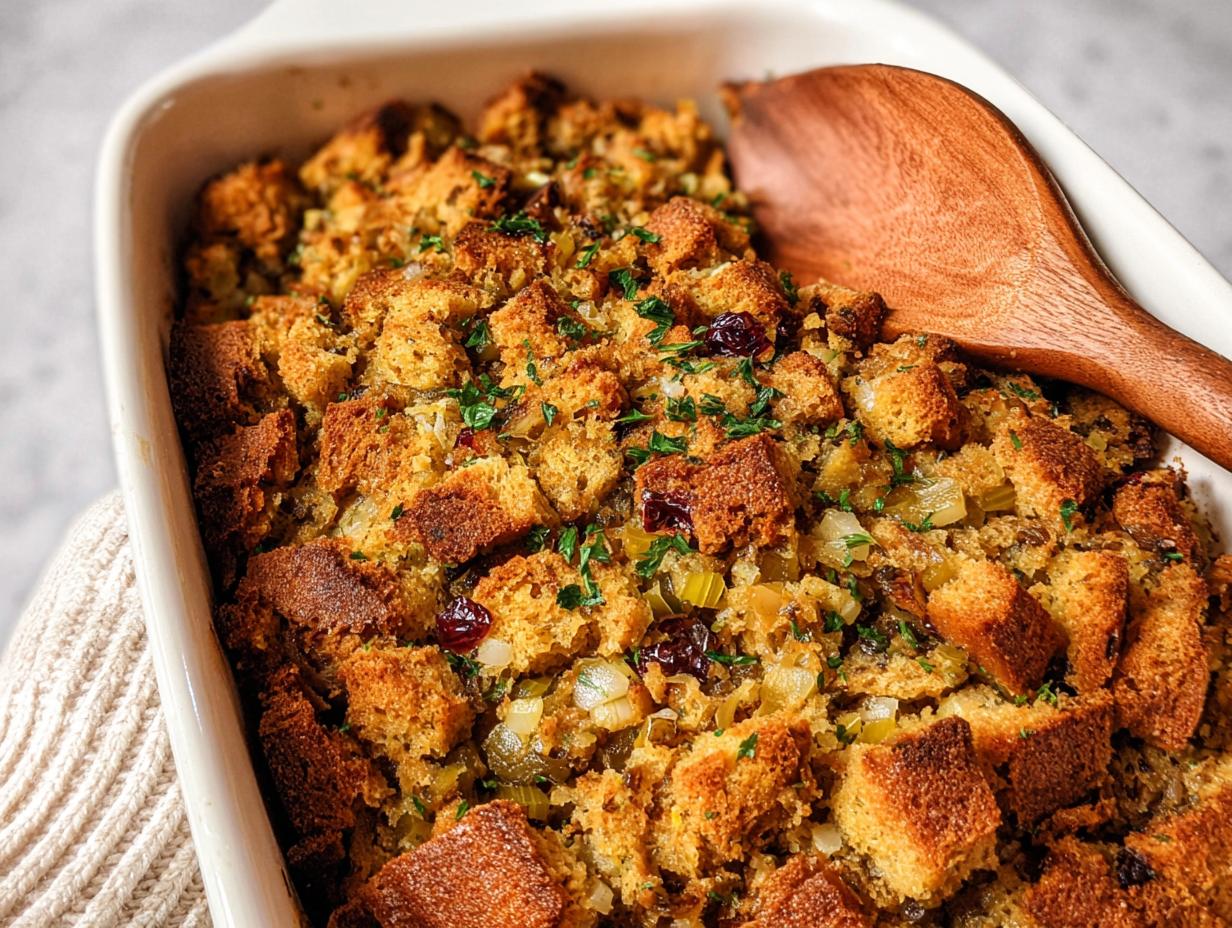
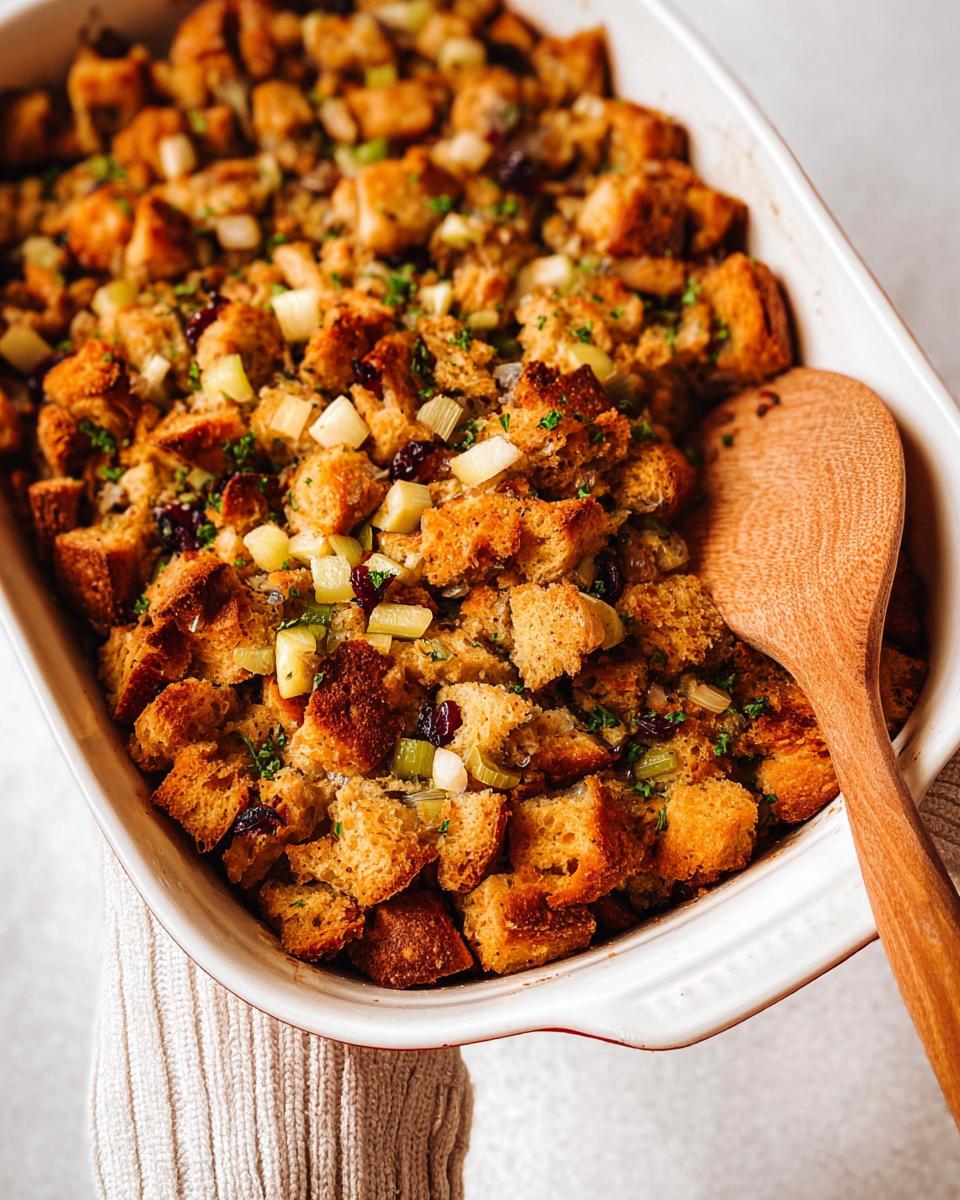
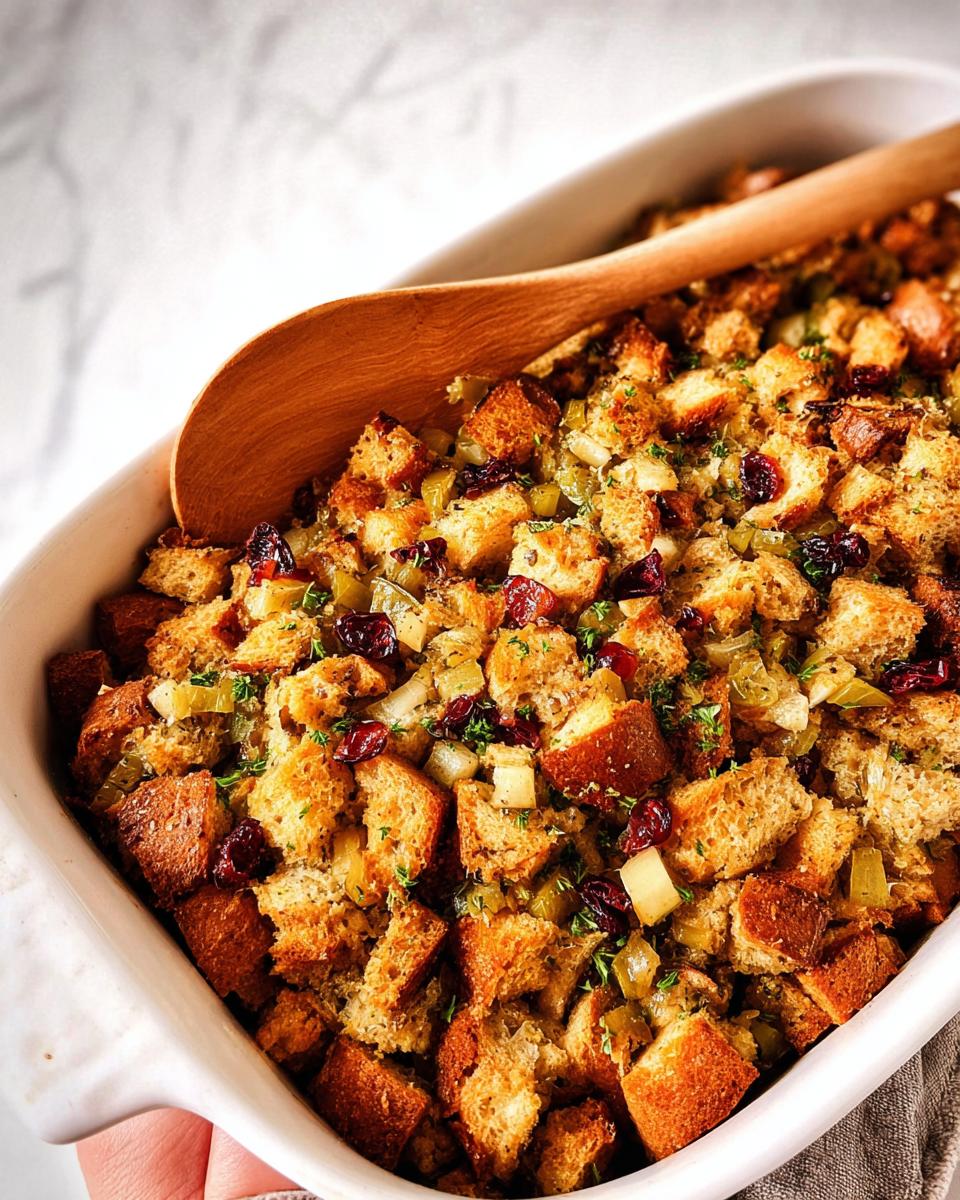
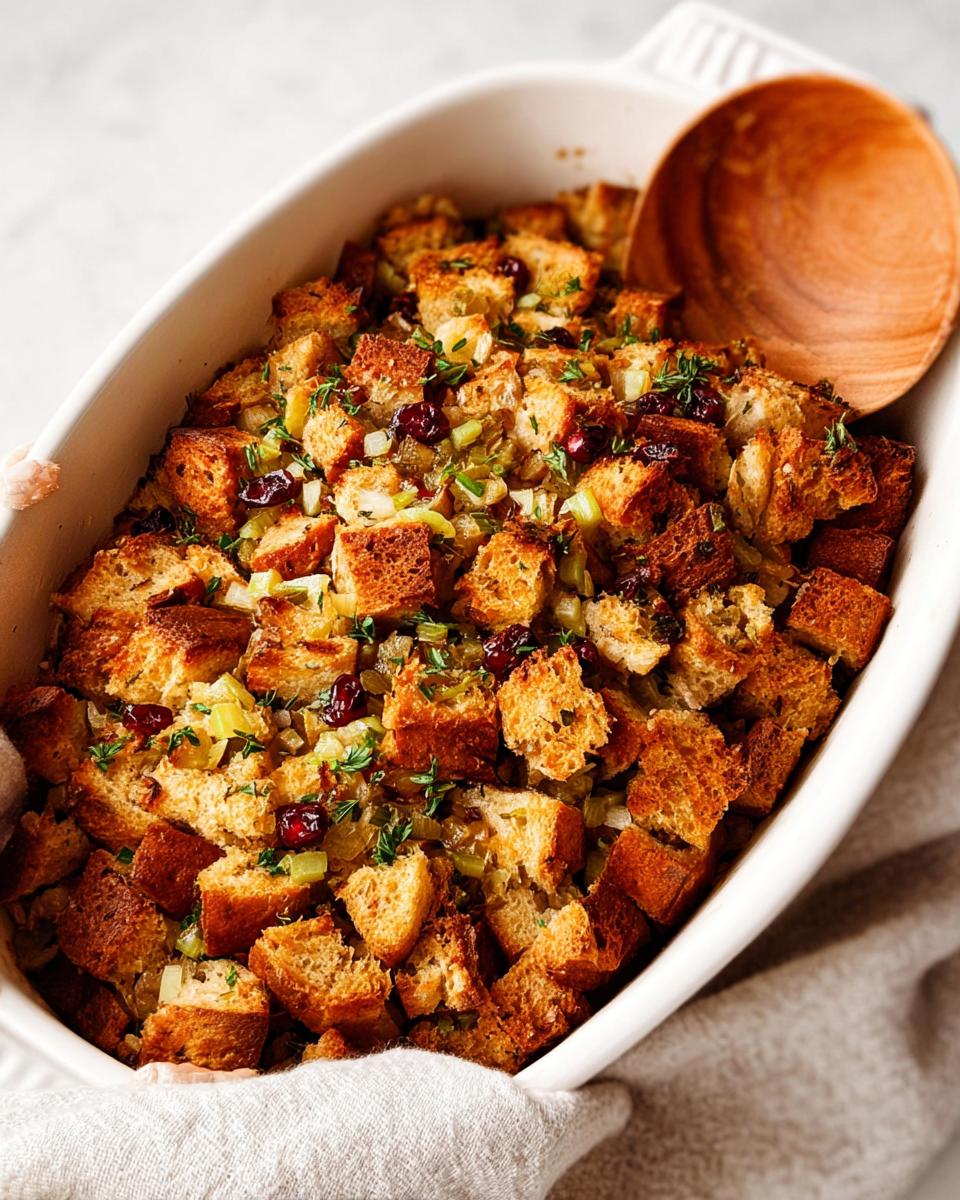
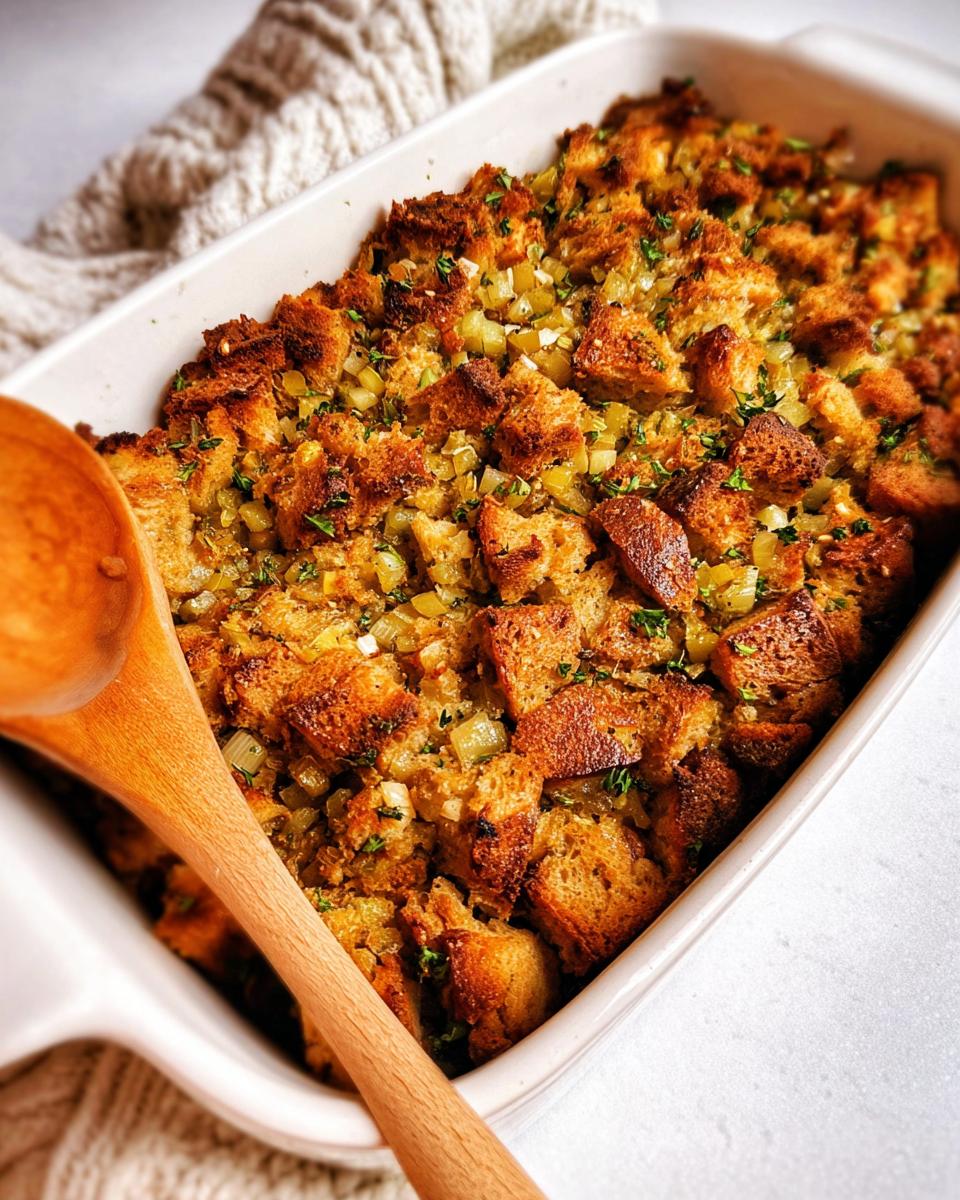
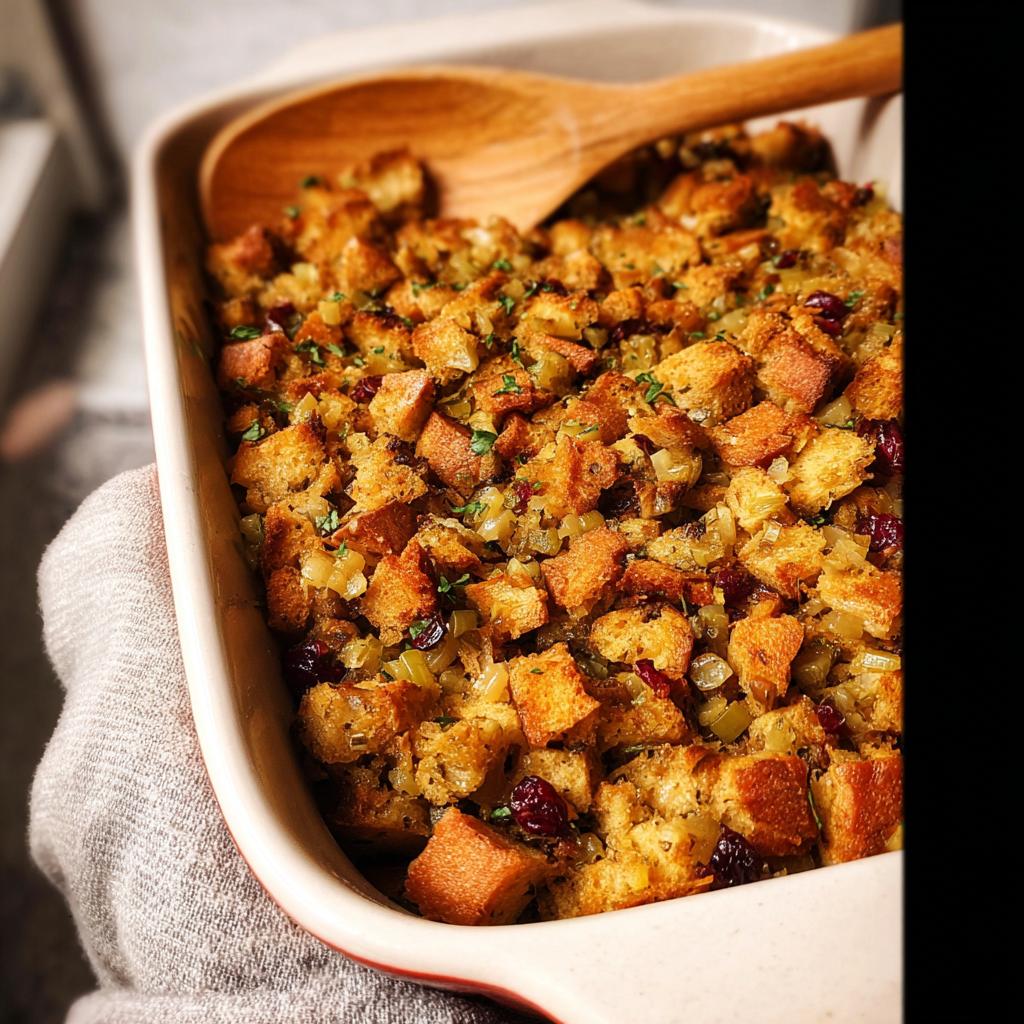
You absolutely need good bread for this! We’re using 16 slices of whole wheat bread, cut into nice, bite-sized 1-inch cubes. The key here is to toast them up properly. That toasting step is crucial – it gives us that fantastic little bit of crunch so your stuffing isn’t just mush. Trust me, don’t skip it!
Herb Butter Blend for Flavor
This is where the real party starts! We melt 3/4 cup of unsalted butter and then infuse it with all sorts of goodies. Think 1 tablespoon each of fresh rosemary and thyme leaves, 1.5 teaspoons of salt (plus a little salt-free chicken seasoning for that extra savory kick), 1 teaspoon of dried parsley, and 1/2 teaspoon each of black pepper and garlic powder. This herb butter is what makes the whole thing smell and taste like the holidays. You can find more inspiration for herb combinations over at my recipes page!
Flavorful Mix-ins
Now for the fun stuff that really makes this stuffing sing! We’re adding a Honeycrisp apple, cored and diced, for a touch of sweetness and crispness. Then, 3 stalks of diced celery and half a medium sweet onion, also diced, to get that classic savory base going. And for a little pop of color and tartness, we toss in 1/4 cup of dried cranberries. It’s the perfect balance – sweet, savory, and a little bit tangy!
The Baking Essentials
To bring it all together for that final bake, we just need 2 cups of chicken broth. It helps everything meld beautifully and ensures the stuffing is moist without being soggy. Simple, but oh-so-important!
How to Prepare Why Everyone Loves This Stuffing Recipes
Alright, let’s get this stuffing made! It’s honestly a pretty straightforward process, designed to be totally doable even when you’re busy during the holidays. We’ll go through toasting the bread, building those amazing flavors, and getting it ready for the oven. You’ll see how easy it is to get a restaurant-worthy stuffing right in your own kitchen.
Step 1: Toasting the Bread
First things first, let’s get that bread nice and toasty! Preheat your oven to 325°F (160°C). While it’s heating up, grab a big baking sheet and line it with parchment paper – makes cleanup a breeze! Spread your cubed bread evenly onto the sheet and pop it in the oven for about 30 minutes. You want it to be golden and toasted, but not hard as a rock.
Step 2: Crafting the Herb Butter
While the bread is getting its toasty glow, let’s whip up that incredible herb butter. Grab a medium saucepan and melt the butter over low heat. Once it’s melty, stir in all those glorious herbs and seasonings: the fresh rosemary and thyme, salt, chicken seasoning, parsley, pepper, and garlic powder. Just give it a gentle stir until everything is beautifully combined. Oh, the smell!
Step 3: Combining Mix-ins
Now, let’s add some texture and flavor! Toss your diced apple, celery, onion, and those little pops of dried cranberries right into that herb butter in the saucepan. Stir everything around gently and let it simmer for about 10 minutes. This softens the veggies just a bit and lets all those flavors start mingling and getting cozy.
Step 4: Assembling the Stuffing
Okay, time to bring it all together! Transfer those toasted bread cubes into your 9×13 baking dish. Pour that fragrant herb butter and veggie mixture all over the bread. Give it a good toss to make sure every single cube gets coated in all that deliciousness. Now, cover the whole thing with aluminum foil. Guess what? If you’re prepping ahead, you can totally refrigerate it right now for up to 24 hours! So smart, right? Check out more make-ahead magic if you need ideas.
Step 5: Baking to Perfection
Time for the grand finale! Preheat your oven to a hotter 425°F (220°C). Stir that 2 cups of chicken broth right into the stuffing mixture in the dish – give it another gentle toss. Now, cover it back up with the foil and bake for 20 minutes. Then, take the foil off and bake for another 15 minutes, or until it’s gloriously golden brown and heated all the way through. Serve it up warm and watch everyone dive in!
Tips for Success with Your Stuffing
Making stuffing should be fun, not stressful! A few little tricks can make sure your stuffing is absolutely perfect every single time. First off, don’t skimp on good quality bread. Stale, day-old bread is your best friend here – it toasts up beautifully and won’t turn to complete mush. And please, *please* toast it well! That toasting step is non-negotiable for great texture. Also, resist the urge to overmix after you add the broth; we want to keep those bread cubes intact. If you’re looking for more ways to make busy weeknights less stressful in the kitchen, check out my tips here. Following these simple guidelines will help you achieve that ideal balance of tender inside and perfectly crisp top!
Make-Ahead and Storage Instructions
Okay, let’s talk about making your life SO much easier, especially around the holidays! The best part about this stuffing recipe is how fantastic it is for making ahead. You can totally assemble the whole thing — bread, herb butter mixture, mix-ins, everything — right up until the point where you add the chicken broth and bake it (Step 4 in the instructions). Just cover that dish tightly with foil and pop it in the fridge. It’ll keep perfectly for up to 24 hours. When you’re ready to bake, just take it out, stir in the chicken broth, cover it, and bake as directed, maybe adding a few extra minutes to make sure it’s piping hot through to the center. It’s a game-changer for busy holiday schedules!
Frequently Asked Questions About This Stuffing
Got questions about making this amazing stuffing? I’ve got you covered! It’s a pretty forgiving recipe, but a few little pointers can make all the difference. Let’s dive into some common things people ask!
Can I use different types of bread for this stuffing?
Oh, absolutely! While we love whole wheat for its heartiness, you can totally switch it up. A good crusty sourdough or a fluffy challah would also be fantastic. Just make sure it’s a bread that can hold its shape and toast up nicely so it doesn’t get too mushy. Sourdough will give it a lovely little tang, which is always a good thing!
How do I ensure my stuffing isn’t soggy?
The biggest culprit for soggy stuffing is usually not toasting the bread enough, or over-mixing after you add the broth. Make sure you toast those bread cubes really well until they’re golden and a bit firm. And when you add the broth, just gently toss until it’s incorporated; don’t mash or overwork it. That’s the secret to getting that perfect texture!
Can I make this stuffing gluten-free?
You bet! For a gluten-free version, just use your favorite gluten-free bread. Look for a loaf that’s sturdy enough to cube and toast without falling apart. You might need to adjust the toasting time a little, but honestly, most gluten-free loaves work wonderfully in this recipe. The herbs and other mix-ins will make it delicious no matter what!
Estimated Nutritional Information
Just a heads-up, this is an estimate and can vary a bit based on exact ingredients and portion sizes! This stuffing is around 240 calories per serving. You’re looking at about 25g of carbohydrates, 6g of protein, and 13g of fat. It also has about 529mg of sodium and 4g of fiber. It’s a hearty side that really satisfies!
Share Your Culinary Creations!
Alright, now it’s your turn! I would absolutely LOVE to hear how this stuffing turned out for you. Did you make any fun little tweaks? Did your family rave? Please, drop a comment below and let me know! Or, if you’re feeling fancy, snap a pic and tag me on social media. You can also reach out with any questions right here. Happy cooking!
Why Everyone Loves This Stuffing Recipes (+ Make-Ahead Tips)
Ingredients
Equipment
Method
- Preheat your oven to 325°F (160°C). Line a large baking sheet with parchment paper.
- Cube the bread slices and spread them in a single layer on the prepared baking sheet. Bake for 30 minutes until toasted.
- While the bread toasts, melt the butter in a medium saucepan over low heat. Stir in the rosemary, thyme, salt, chicken seasoning, parsley, pepper, and garlic powder until combined.
- Add the diced apple, celery, onion, and dried cranberries to the butter mixture. Stir to combine and simmer for 10 minutes.
- Transfer the toasted bread cubes to a 9×13 baking dish. Pour the butter mixture over the bread and toss to coat. Cover with aluminum foil. You can refrigerate at this point for up to 24 hours for make-ahead. If baking immediately, proceed to the next step.
- Preheat your oven to 425°F (220°C). Stir the chicken broth into the stuffing mixture, tossing to combine. Cover and bake for 20 minutes. Uncover and bake for an additional 15 minutes, or until golden brown and heated through. Serve warm.
Nutrition
Notes
Tried this recipe?
Let us know how it was!
Tech-Enabled Keto Innovator
My kitchen runs on code as much as coconut oil. After burning out as a Silicon Valley engineer, I discovered keto through a quantified-self experiment that got wildly out of hand. I was tracking every biomarker while optimizing my brain for coding marathons.
What started as personal optimization became an elaborate system of IoT sensors, smart scales, and algorithms. My apartment turned into a lab with app-controlled sous vide machines and remotely monitored fermentation chambers. Yes, I’m that guy.
My biggest achievement? A machine learning algorithm that suggests recipe modifications based on glucose monitor data. Over 3,000 people beta-tested it with measurably improved results. Instead of static recipes, I create dynamic frameworks that adapt to your exercise data, altitude, and local grocery availability.
Food preparation is just another user interface problem—and like good UX, it should adapt to you.