
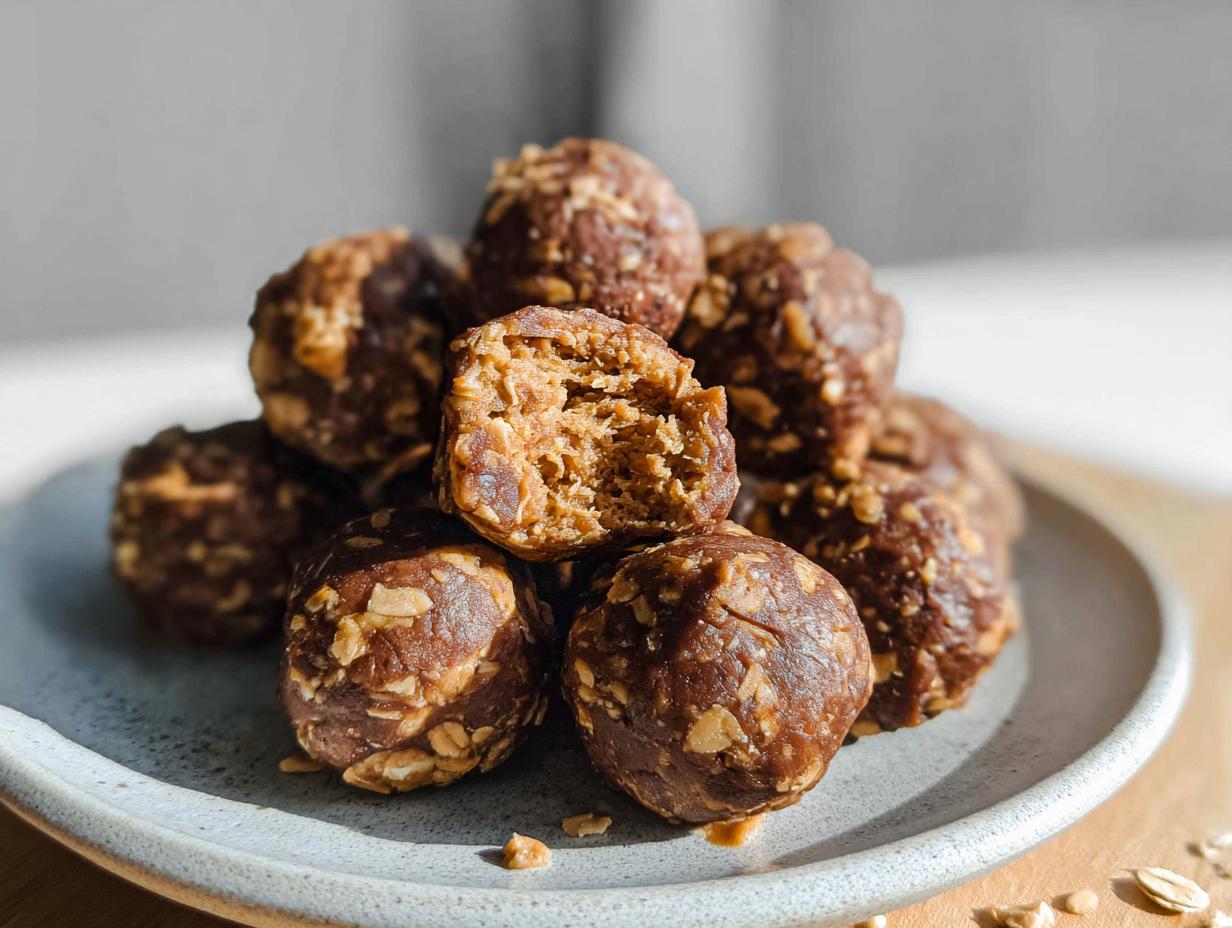
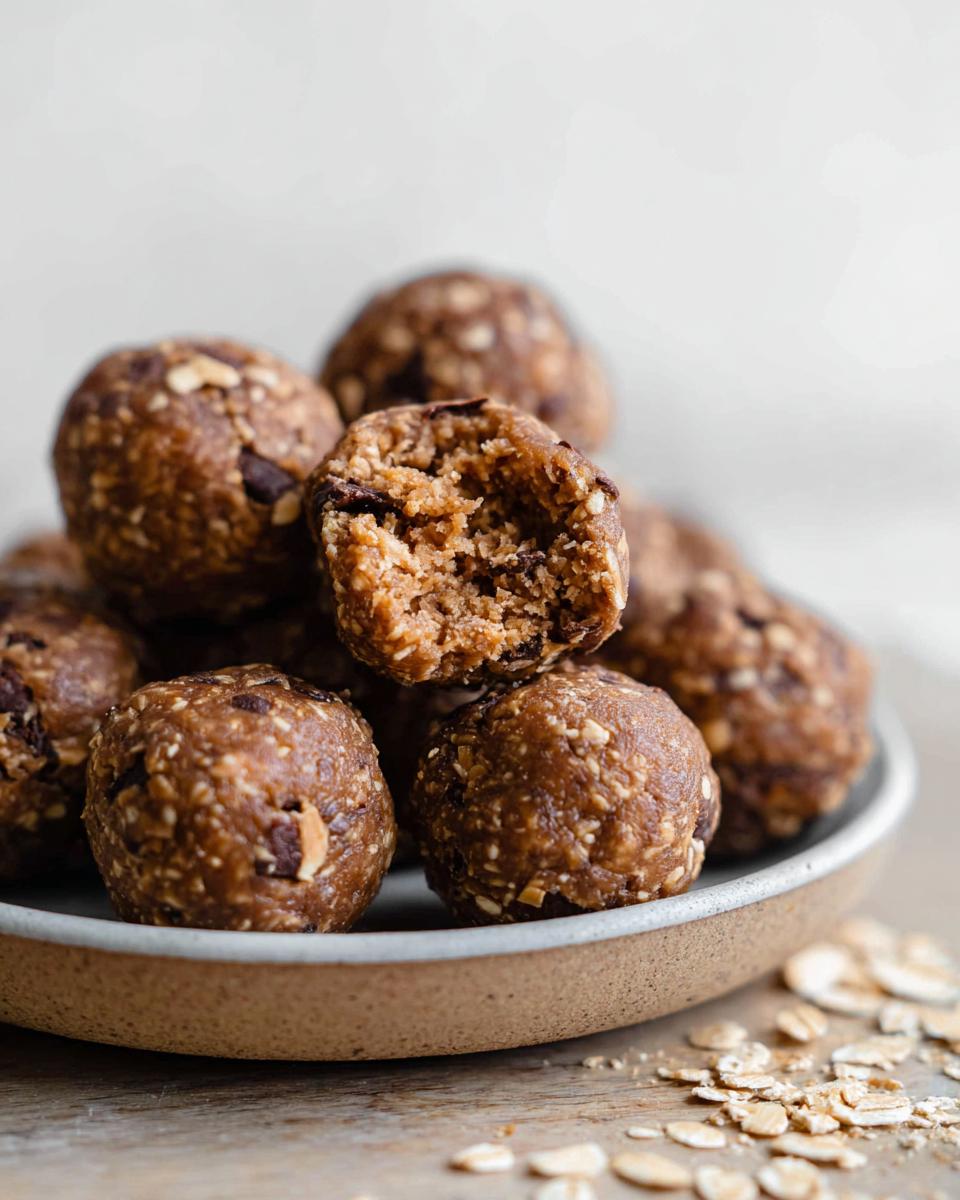
Okay, folks, let’s talk snacks! Seriously, if you’re anything like me, you’re always on the hunt for something quick, healthy, and super satisfying. And guess what? I’ve got the answer for you: these amazing No-Bake Chocolate Peanut Butter Protein Balls! They’re like a little bite of heaven that you can feel good about eating. I still remember the first time I introduced my kids to them. It was a super rainy afternoon, and we decided to whip up this healthy treat together instead of zoning out with screens. As we mixed and rolled, the kitchen was filled with so much laughter! Seeing their little faces light up when they tasted our creation was just priceless. They’ve been a staple in our house ever since, proving that healthy snacks can be seriously fun and delicious.
Why You’ll Love These No-Bake Chocolate Peanut Butter Protein Balls
Seriously, these things are amazing for so many reasons:
- So Easy! You literally just throw everything into one bowl, mix it up, and that’s pretty much it. No oven needed, no fuss.
- Lightning Fast: We’re talking minutes to whip these up. Perfect for when you need a healthy snack *right now*.
- Pure Flavor Bliss: That iconic combo of chocolate and peanut butter? It’s a classic for a reason, and these balls nail it every time.
- Powerhouse of Protein: They’re packed with goodness to keep you feeling full and energized.
- Guilt-Free Treat: You get all the deliciousness of a sweet treat without any of the guilt. Score!
Ingredients for Your No-Bake Chocolate Peanut Butter Protein Balls
Okay, so gathering your ingredients is the easiest part! Here’s what you’ll need to whip up these delicious little powerhouses:
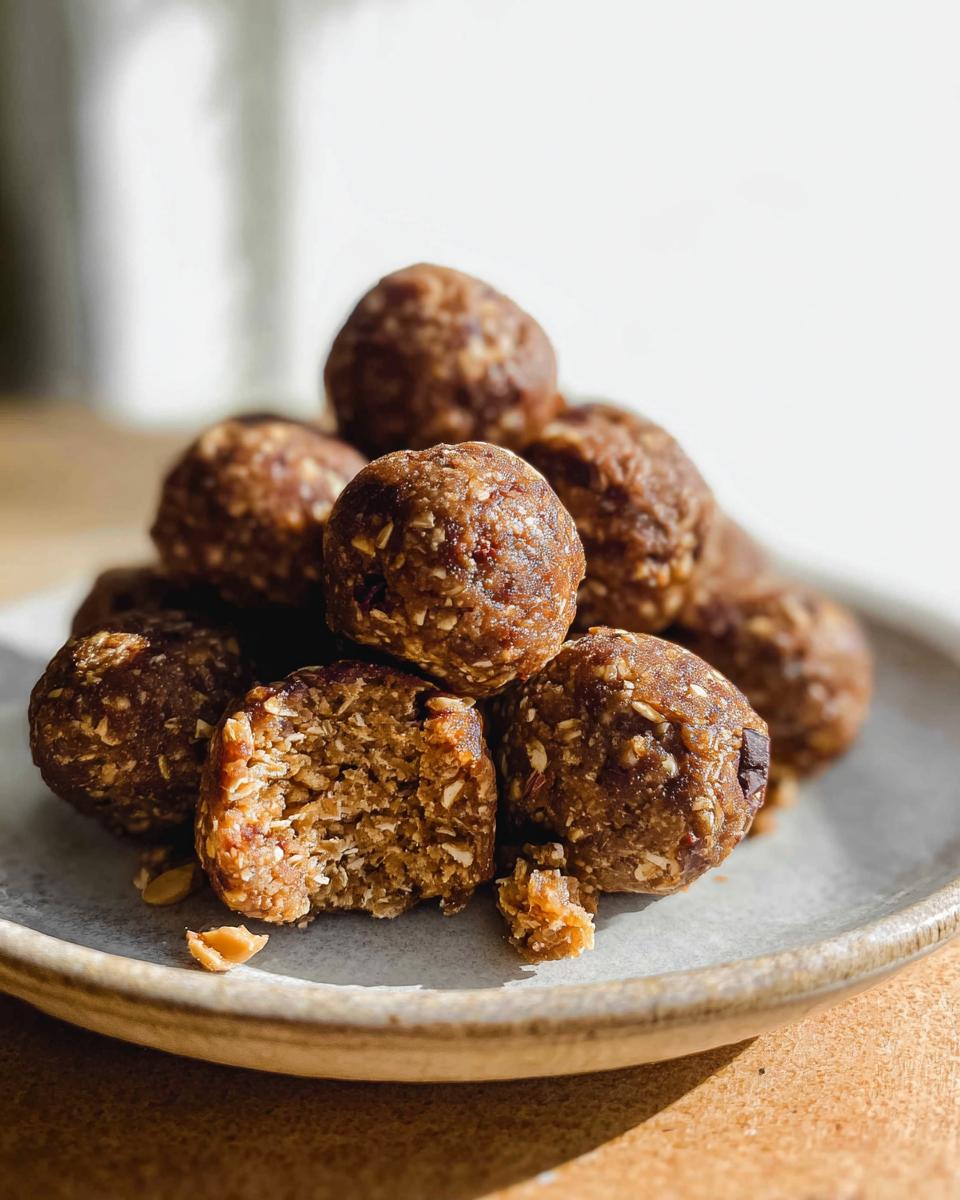
- 1 cup Old Fashioned Rolled Oats: These give our balls a nice chewy texture.
- 1/4 cup Mini Chocolate Chips: Because, well, chocolate! Mini ones mix in perfectly.
- 1/3 cup Chocolate Protein Powder: This is where the protein power comes in! I usually go for a whey or plant-based one that I like the taste of.
- 1/2 cup Peanut Butter (heaping): Make sure it’s nice and generous! Creamy or crunchy works, but creamy blends in smoother.
- 3 tablespoons Honey: Just enough sweetness to bring it all together. Maple syrup works too if you’re looking for a vegan option!
- 3 teaspoons Water: This helps get the right consistency. You might need a tiny bit more, or less, depending on how thick your peanut butter is!
Equipment Needed for Easy Protein Balls
You won’t need much for these little guys, seriously! The star of the show is a good mixing bowl set – you know, the ones that stack nicely. Other than that, just a sturdy spoon or spatula is all you really need to bring it all together. Easy peasy! For more kitchen gadget inspiration, check out some fantastic air fryer chicken recipes!
How to Make No-Bake Chocolate Peanut Butter Protein Balls: Step-by-Step
Alright, let’s get rolling! This part is almost as fun as eating them, I promise. You’re going to love how simple this recipe is, and you can even get the kids involved. For more ideas on delicious treats, check out these chocolate peanut butter protein balls!
Step 1: Combine All Ingredients
First things first, grab your biggest mixing bowl. Toss in the rolled oats, mini chocolate chips, chocolate protein powder, that heaping scoop of peanut butter, honey, and water. Now, get a good sturdy spoon or spatula and mix everything together really well. If it seems a little too dry and crumbly, don’t panic! Just add another teaspoon or two of water until it all comes together nicely.
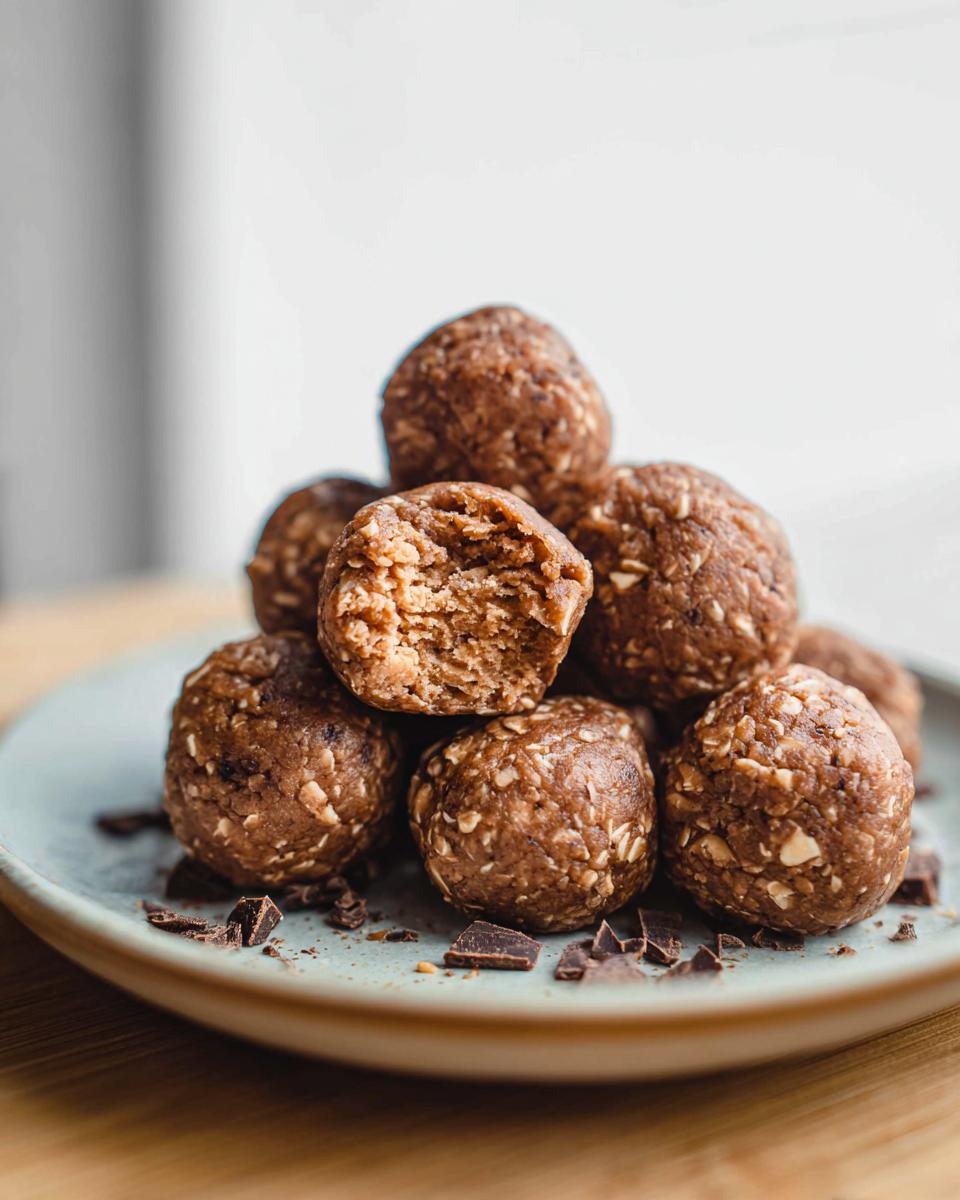
Step 2: Roll into Balls
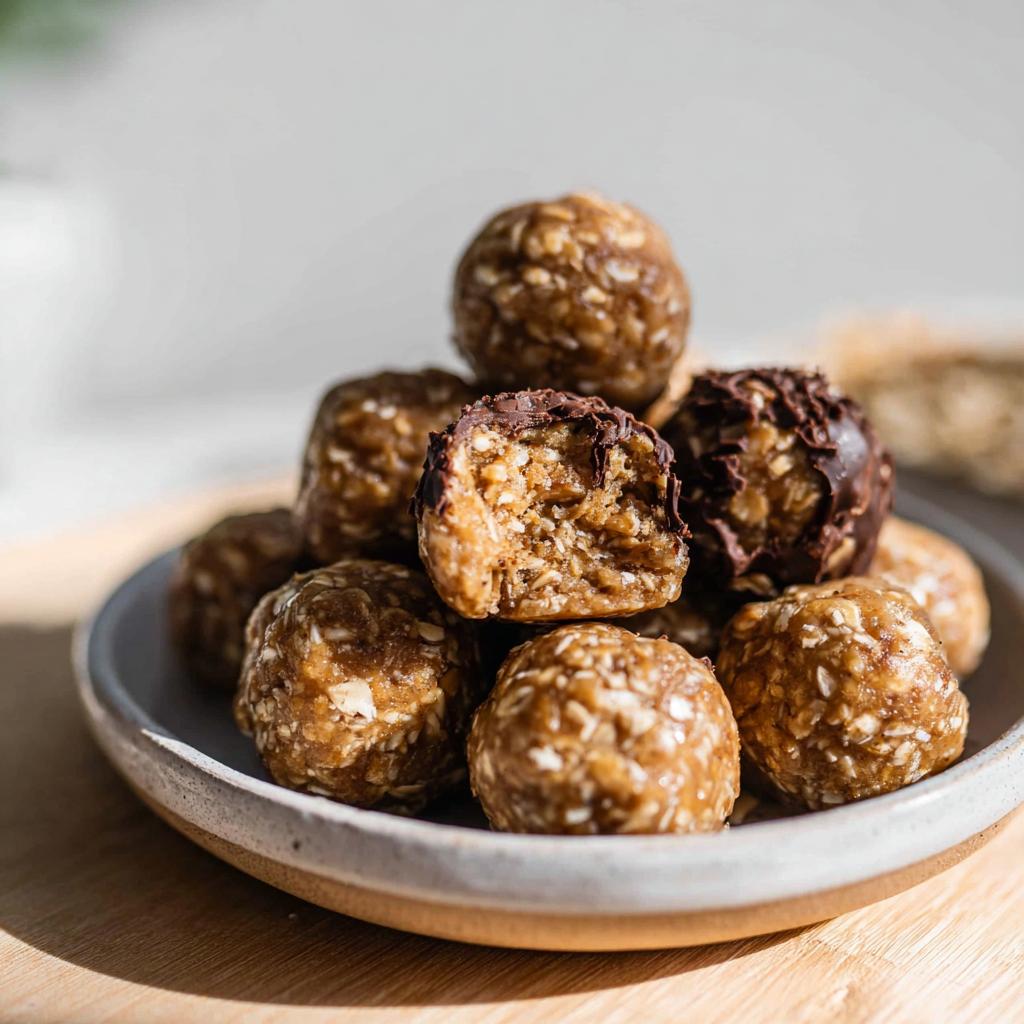
Now for the fun part! Take about a tablespoon of the mixture at a time and roll it between your palms to form little balls. Aim for about 1 to 1.5 inches in size – they’re perfect little bites!
Step 3: Chill and Store Your Protein Balls
Line a baking sheet or a large plate with some wax paper. Pop your perfectly rolled balls onto the paper. Now, pop that tray into the fridge for about 20 minutes to let them firm up. Once they’re nice and chilled, transfer them to an airtight container. You can keep them in the fridge for a quick snack or pop them in the freezer for longer storage. So easy, right? You might also want to try these healthy no-bake Oreo cheesecake bites!
Tips for Perfect No-Bake Chocolate Peanut Butter Protein Balls
You’re going to nail these, trust me! A few little tricks and you’ll have perfect protein balls every single time. First off, the consistency of your peanut butter is key. If it’s super stiff, you might need that extra splash of water, maybe even a tiny bit more. On the flip side, if your peanut butter is really runny, you might not need all the water, or you could even add a tiny bit more oats or protein powder to balance it out. And don’t be afraid to really pack those balls nice and firm; it helps them hold their shape. For more breakfast inspiration, check out these awesome breakfast recipes.
Ingredient Spotlight: Protein Powder
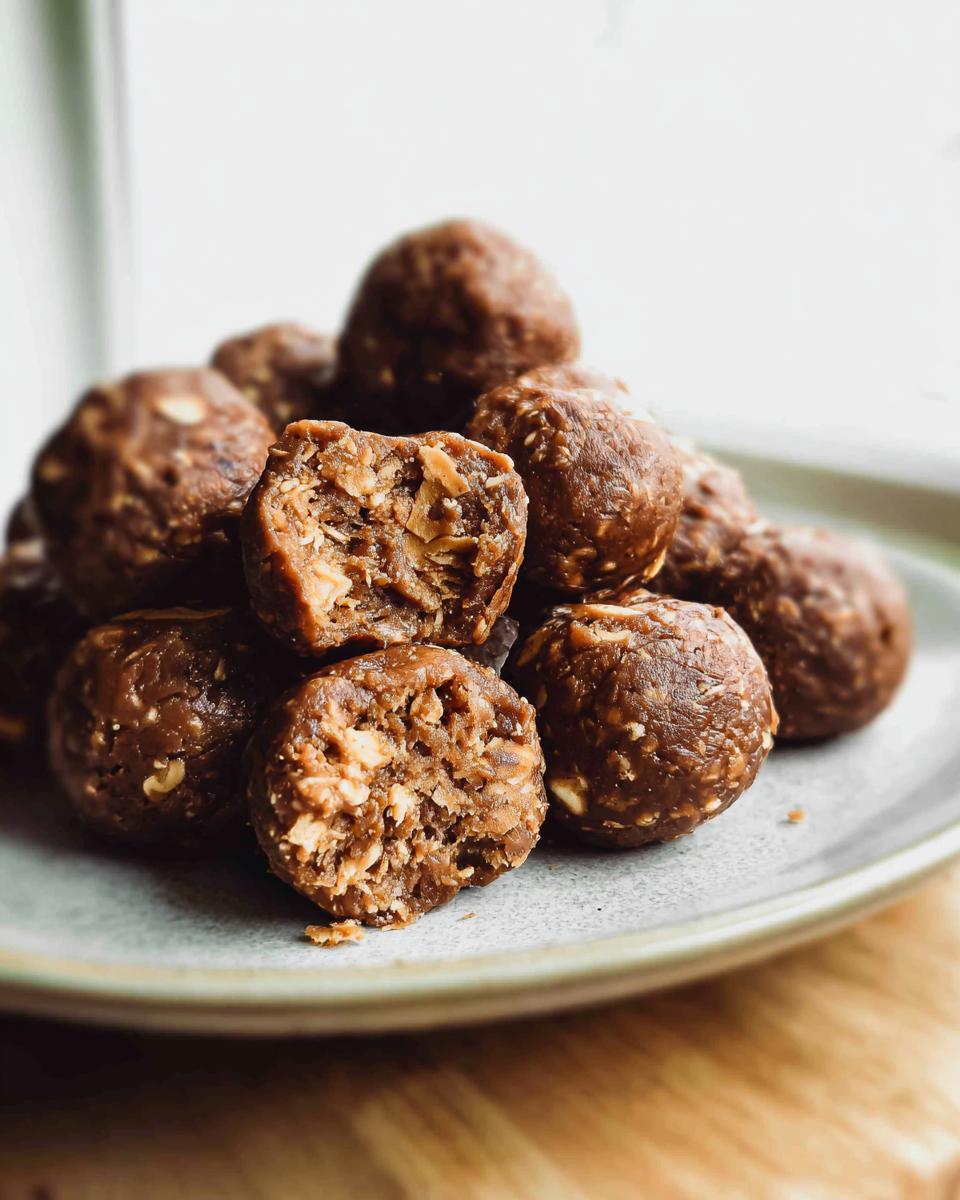
Okay, let’s talk protein powder for a sec! This is your secret weapon for making these balls actually feel like a super-powered snack. It’s what gives them that satisfying protein punch that keeps you going. I usually reach for a chocolate-flavored one because, well, hello, more chocolate! But honestly, any chocolate protein powder you love will work. Whether you use whey, casein, or a plant-based blend, it’s going to create that perfect doughy texture that holds everything together. Just make sure it’s a brand you enjoy the taste of, because that flavor will definitely come through!
Variations and Customizations for Your Protein Balls
The best part about these balls is how easy it is to change them up! Want a little more crunch? Toss in some chopped nuts like almonds or walnuts. Feeling fancy? A sprinkle of chia seeds or flax seeds is always a good idea. You can also play with the flavors – a tiny bit of vanilla extract or even a dash of cinnamon can make them taste totally different. For more dessert inspiration, take a peek at these sweet treats!
Frequently Asked Questions About Protein Balls
Got questions? I’ve got answers! People ask me all sorts of things about these little gems, so let’s clear a few up. You can find more awesome recipes, like some great egg recipes, on my site too!
Can I make these No-Bake Chocolate Peanut Butter Protein Balls without protein powder?
You absolutely can try, but here’s the thing: the protein powder really helps with the texture and, of course, the protein boost! Without it, the balls might be a bit crumbly and won’t hold together as well. You could try adding a bit more oats or a different binder, but they won’t be quite the same.
How long do these protein balls last?
These guys are pretty hardy! Store them in an airtight container in the fridge, and they should be good for about a week. If you want them to last even longer, or if you’re just not going to eat them super fast, pop them in the freezer! They’ll keep for a couple of months there.
Are these protein balls keto-friendly?
They’re *almost* keto-friendly! The oats and honey are where most of the carbs come from. If you’re strictly keto, you’ll want to swap the oats for something like almond flour or unsweetened shredded coconut. And you’ll need to replace the honey with a keto-approved sweetener like erythritol or stevia. It’ll change the taste a bit, but it’s totally doable! For more keto tips, check out my guide to the ultimate keto breakfast bowl.
Nutritional Information
Just a quick heads-up, these numbers are estimates and can totally change depending on the exact ingredients you use, especially the protein powder and peanut butter. But generally, each ball packs around 100 calories, with about 4 grams of protein, 11 grams of carbs, and 5 grams of fat. Pretty good for a little snack, right? If you’re looking for more healthy meal ideas, you might want to check out these healthy meal recipes!
No-Bake Chocolate Peanut Butter Protein Balls
Ingredients
Equipment
Method
- Add all ingredients to a medium-sized bowl. Use a wooden spoon, large spoon, or spatula to mix everything together. If the mixture is too dry, add an additional teaspoon or two of water.
- Roll the mixture into 1 to 1.5-inch balls.
- Place the balls on a small baking sheet or large plate lined with wax paper. Chill in the refrigerator for 20 minutes. Transfer the balls to an airtight container and store in the fridge or freezer.