
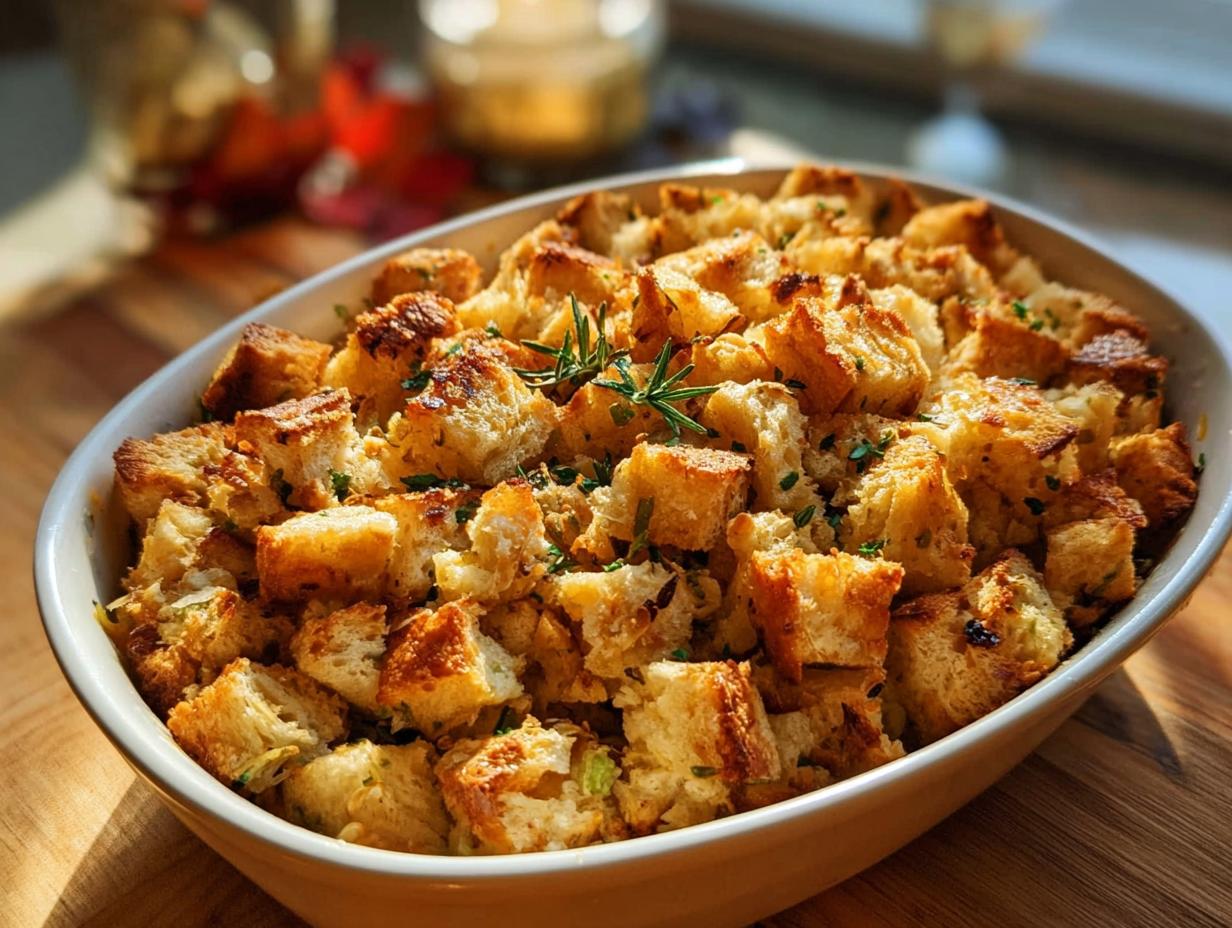
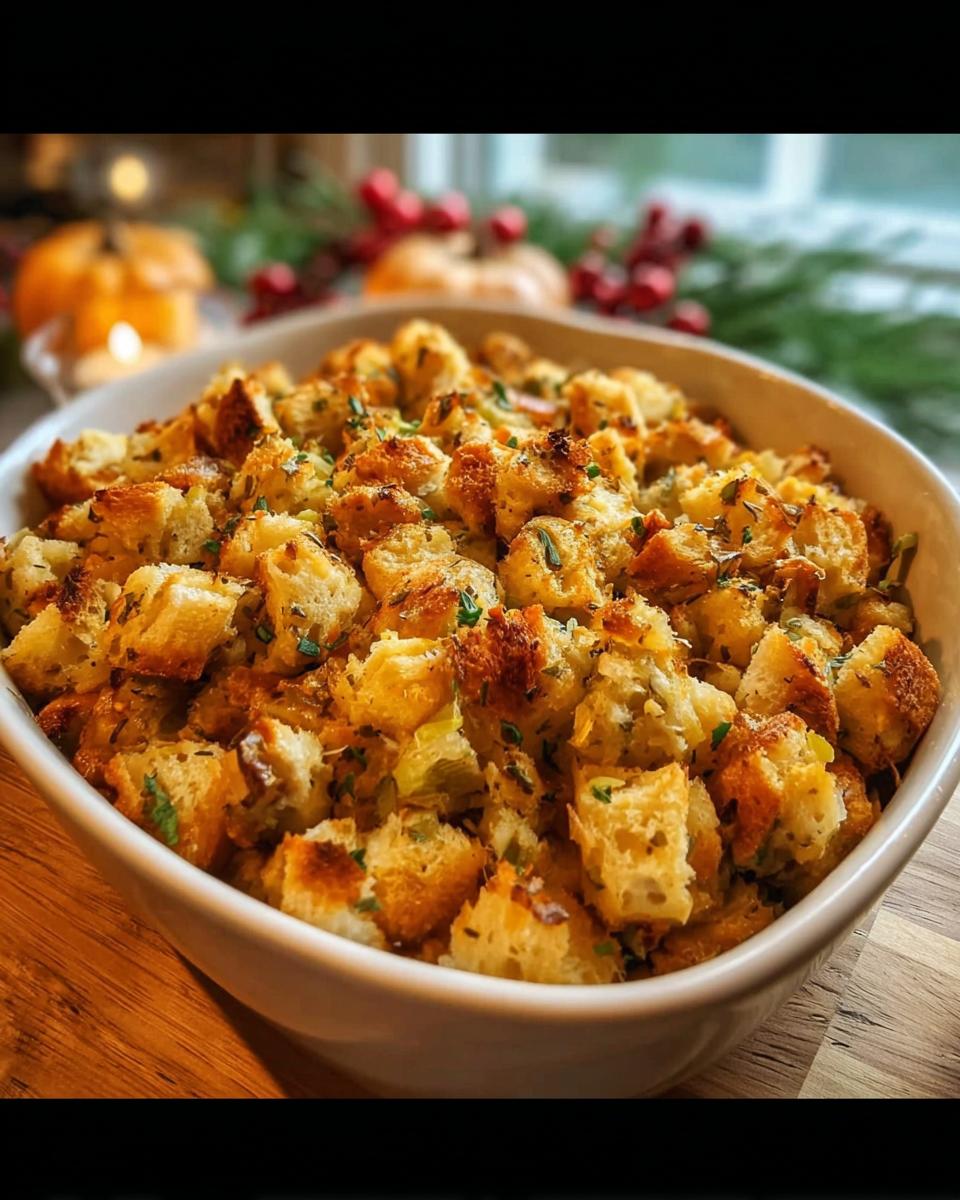
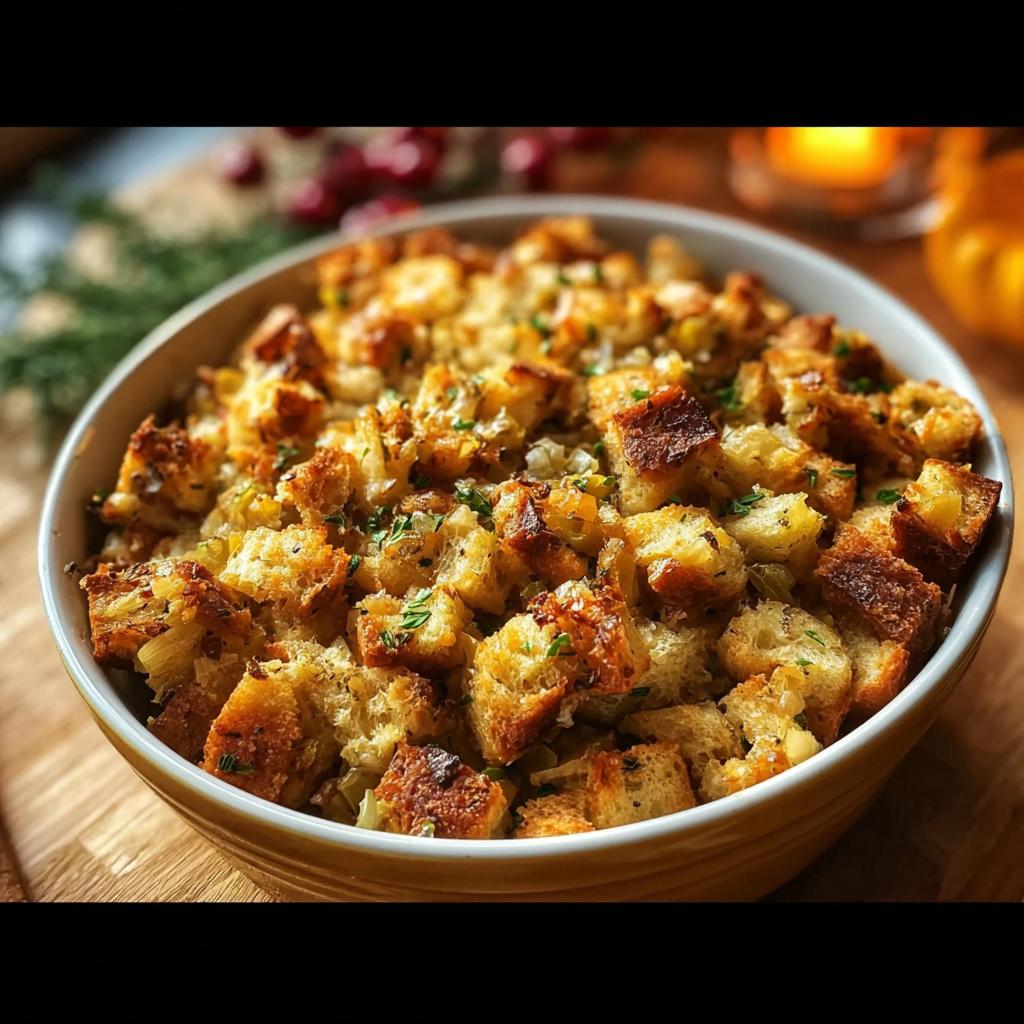
Okay, let’s talk holidays! You know that moment – the table is set, the turkey’s carved, and everyone’s eyes scan for that one golden side dish. Yep, I’m talking about stuffing! Making it perfectly, that glorious, fluffy-yet-crispy stuff, is an art. And trust me, I’ve been on a serious mission to figure out How to Make Stuffing Recipes Like a Pro (2025). For me, it all started with a little experiment. I remember using my IoT sensors and a recipe algorithm I coded myself one Thanksgiving, wanting to create something truly special and maybe impress my family a *tiny* bit. It was all about precision, pushing boundaries, and finding that sweet spot between tradition and innovation. This guide is about sharing all those little secrets and insights with you, so your stuffing becomes the star of *your* holiday table too. If you want to know more about my journey, check out my About page! Let’s get cooking!
Why You’ll Love How to Make Stuffing Recipes Like a Pro (2025)
So, you want to rock your holiday stuffing game? Fantastic! This guide, How to Make Stuffing Recipes Like a Pro (2025), is packed with everything you need to make stuffing that’s just *chef’s kiss* perfect. Here’s why you’ll love it:
- It’s surprisingly easy! Even if you’re new to this, you’ll get amazing results.
- The flavor is outta this world. We’re talking savory herbs, rich broth, and that perfect texture that’s crispy on top and tender in the middle.
- It’s super versatile. Feel free to toss in your favorite extras – sausage, nuts, whatever makes your taste buds happy!
- You’ll be serving up restaurant-quality stuffing without the fuss. Honestly, your family will think you hired a caterer!
Essential Ingredients for Pro-Level Stuffing
Alright, let’s get down to business with the stars of our stuffing show! Having the right ingredients is half the battle, right? For this recipe, How to Make Stuffing Recipes Like a Pro (2025), I’ve listed out exactly what you’ll need. Don’t skimp here – these are the building blocks for amazing flavor!
For the Stuffing Base:
- 8 ounces of homemade garlic croutons, or sturdy bread cubes. Trust me, dried-out bread is key here!
- 4 tablespoons (57g) of good quality butter. Unsalted is my go-to.
- 1 onion, chopped. Yellow or white works great.
- 1 celery stalk, chopped. This adds that essential aromatic depth.
For Flavor and Moisture:
- 1.75 cups (415ml) of chicken or vegetable broth. Use a good quality one for the best taste!
- 2 tablespoons of fresh herbs, chopped. I love a mix of sage, thyme, and parsley, but use what you love!
- 1 tablespoon of poultry seasoning, or more if you’re a real herb fan like me.
- 1 teaspoon of salt, and up to taste.
- 0.5 teaspoon of black pepper, or to your liking.
Optional Additions (Because More is More!):
- 1/2 cup of cooked ground sausage. Adds a delightful savory kick!
- 1/4 cup of crumbled cornbread. If you like a mix of textures, this is for you!
Expert Techniques for How to Make Stuffing Recipes Like a Pro (2025)
Alright, let’s get this stuffing party started! Following these steps will make sure you’re on your way to making stuffing like a total pro. It’s all about a few key things, and trust me, it’s easier than you think!
Step 1: Preparing the Bread Base
First things first, we gotta get our bread ready. Leaving bread cubes out for a day or two is the absolute best way to get them nice and dry. If you’re in a pinch, just toss ’em on a baking sheet and toast them in the oven at 250°F (120°C) for about an hour, stirring now and then. This keeps your stuffing from getting mushy!
Step 2: Building the Flavor Foundation
Melt that butter in a big skillet over medium heat. Now, toss in your chopped onions and celery. We want to cook these until they’re nice and soft, not browned. This usually takes about 5 to 7 minutes, and it really wakes up all those yummy aromatic flavors.
Step 3: Combining and Seasoning
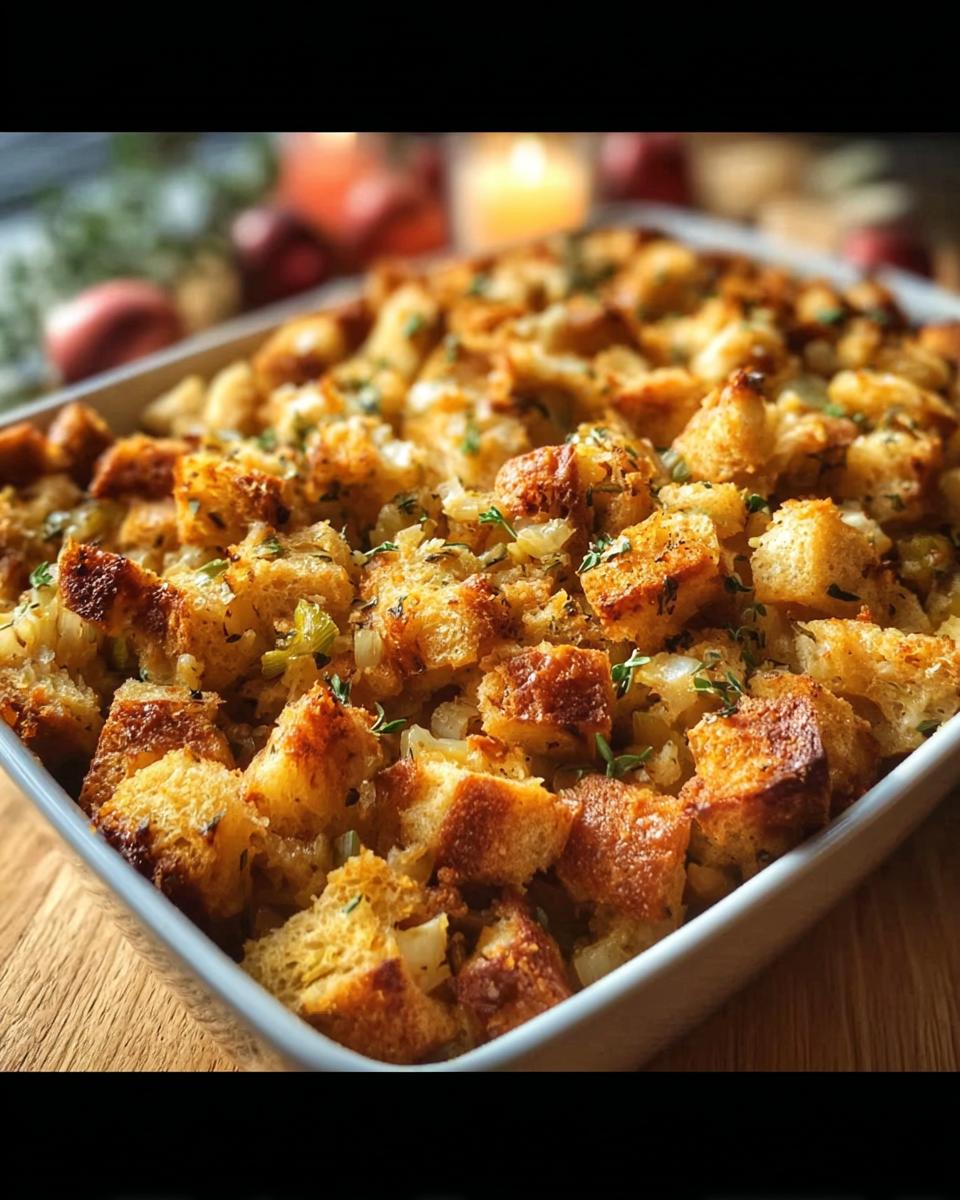
Now, grab a big bowl! Pour in your softened veggies and then add your dried bread cubes. Sprinkle on your fresh herbs, poultry seasoning, salt, and pepper. Give it a gentle mix – we don’t want to turn our bread into dust, just get everything nicely coated and combined.
Step 4: Achieving Perfect Moisture Balance
Here’s where we add the magic liquid. Start with about half a cup of broth and mix it all up. You want it to be moist, sure, but definitely not swimming. Add a little more broth if needed, just a splash at a time, until it looks just right. It’s better to start with less and add more!
Step 5: Incorporating Optional Additions
Got some cooked sausage or crumbled cornbread? Now’s the time to gently fold those goodies right into the mix. It’ll add extra flavor and texture!
Step 6: Baking or Stuffing the Bird
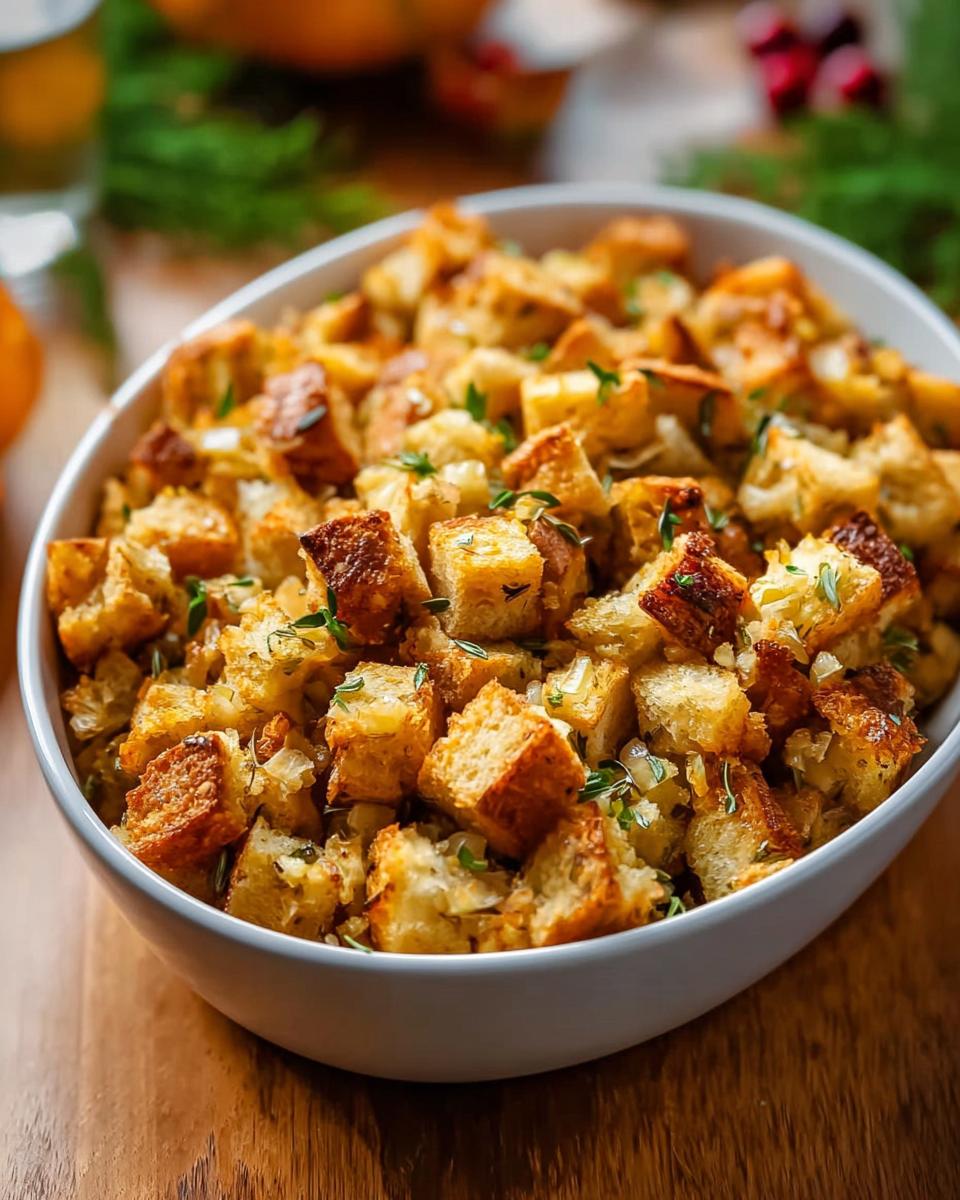
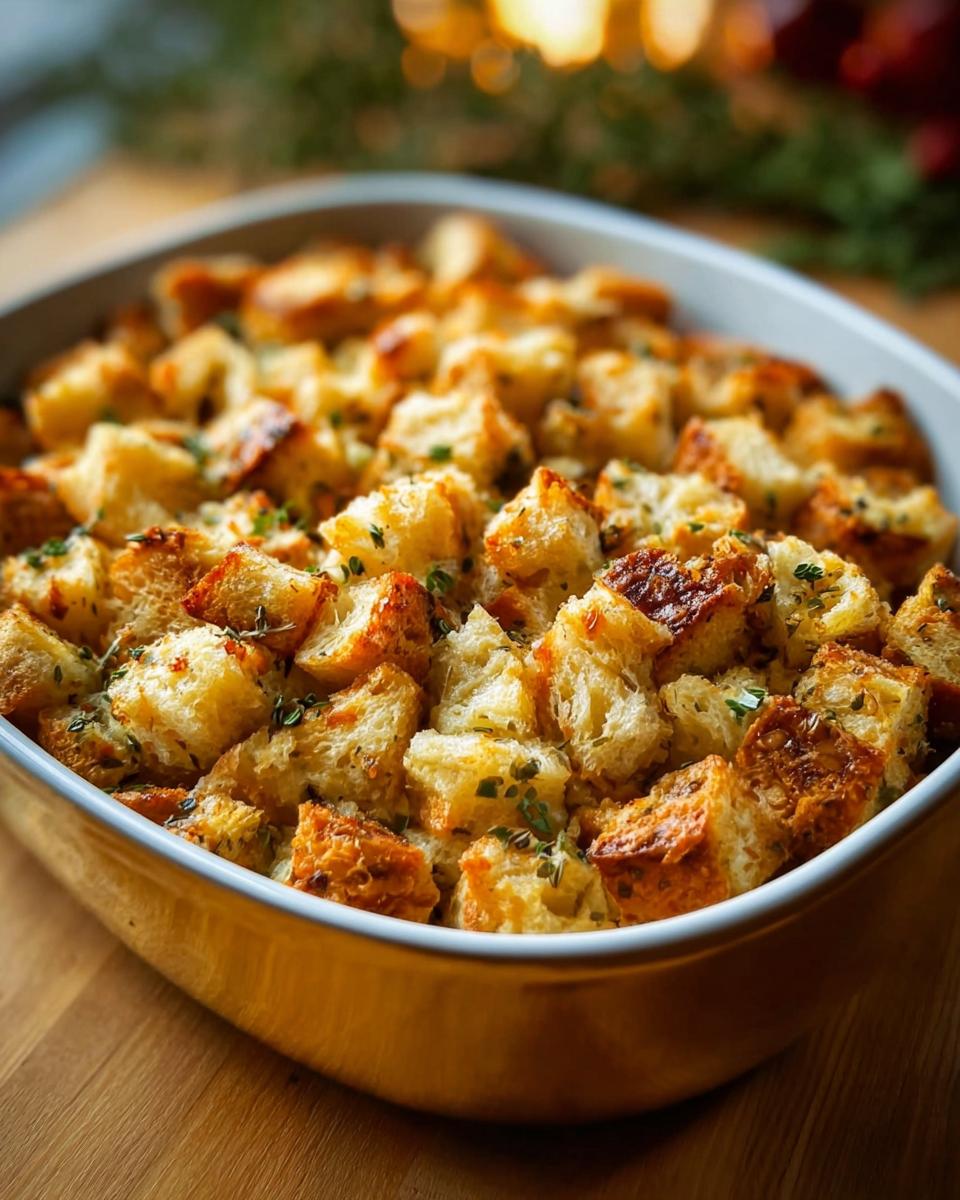
You have options here! You can spread your stuffing into a greased baking dish and bake it at 350°F (175°C) for about 30-40 minutes until it’s golden brown on top. Or, if you’re feeling traditional, carefully stuff it into the cavity of your turkey before roasting. Visit this link for more great stuffing ideas!
Step 7: Ensuring Food Safety
Super important step: make sure your stuffing reaches an internal temperature of 165°F (74°C) before you serve it up. This guarantees it’s safe and tasty for everyone to enjoy!
Ingredient Notes and Smart Substitutions
Okay, let’s dive a little deeper into why certain ingredients are total game-changers for stuffing, and what you can do if you need to swap things around. It’s all about making this recipe work for YOU! For more meal ideas, check out these lazy keto skillet meals.
First up, the bread! I cannot stress enough: stale bread is your friend. Fresh bread is way too soft and will just turn your stuffing into a sad, mushy mess. If you don’t have time to let bread cubes sit out for a day or two, toasting them in the oven, like we talked about, is your best bet. Now, if you’re going gluten-free, no worries! There are some awesome gluten-free loaves out there that toast up beautifully. Just make sure they’re sturdy enough to hold their shape.
For the broth, yes, chicken or vegetable works wonders. But if you’re feeling fancy or want to try something different, a good quality mushroom broth can add a fantastic earthy depth. You can also find low-sodium versions if you need to watch your salt intake, just be sure to taste and adjust your seasoning accordingly.
Herbs are where you can really play! Fresh is always best for that vibrant flavor, but if you’re out, use about 2 teaspoons of dried herbs instead of the fresh ones. And that poultry seasoning? It’s basically a pre-mixed blend of sage, thyme, rosemary, and sometimes marjoram. You can totally make your own blend if you have those spices on hand!
Tips for Stuffing Success
Okay, let’s talk about those little tricks that really elevate your stuffing game. It’s not just about following the recipe; it’s about understanding *why* things work and how to avoid those common stuffing oopsies. You want that perfect texture, right? Crispy bits on top, moist and savory goodness throughout. Here are a few of my top secrets:
- Don’t rush the bread drying! This is seriously the MOST important step. Soggy bread equals sad stuffing. So, let it dry out properly.
- Taste as you go! Seriously, take a tiny bit of the raw mixture and taste it for salt and seasoning. You can’t fix it once it’s baked.
- Don’t overmix. Once the liquid is in, just combine gently. Overmixing makes the bread break down too much, leading to a mushy texture.
- When baking, use the right dish. A shallower dish lets the top get nice and crispy. If you’re stuffing a bird, don’t pack it too tightly; the stuffing needs room to expand.
- Consider pre-baking. If you’re stuffing a turkey, you can bake the stuffing *separately* for the last 20-30 minutes to ensure it’s perfectly cooked and safe.
Make-Ahead and Storage Instructions
Holidays are hectic, right? So let’s make stuffing prep easier! You can totally get a head start. Prep your dry bread cubes and chop your veggies a day or two ahead of time. Store them separately in airtight containers. When you’re ready to cook, just sauté the veggies, combine everything, add the broth, and bake as usual. Leftovers? Oh yeah, they’re delicious! Store any cooled stuffing in an airtight container in the fridge for up to 3-4 days. To reheat, just pop it in a moderate oven (around 300°F or 150°C) until warmed through, maybe add a splash more broth if it seems dry. For more quick meal ideas, check out my Keto Chicken Broccoli Alfredo recipe!
Frequently Asked Questions About Stuffing
Can I make stuffing ahead of time?
Absolutely! You can prep the dry ingredients (bread cubes, chopped veggies) a day or two in advance. Just store them separately in airtight containers. When you’re ready to bake, sauté the veggies, mix everything together, add the broth, and bake. It saves so much time on a busy holiday!
What kind of bread is best for stuffing?
The best bread is stale bread! Think day-old crusty loaves like French baguettes, sourdough, or Italian bread. Fresh bread will make your stuffing too moist and mushy. Toasting stale bread in the oven is a fantastic way to get it perfectly dry. Avoid super soft sandwich bread.
My stuffing turned out soggy. What did I do wrong?
Soggy stuffing usually happens for two main reasons: using fresh bread that wasn’t dried out enough, or adding too much liquid (broth). Make sure your bread is nice and dry, and always add the broth gradually, just until the stuffing is moist but not swimming. You want it to hold its shape!
Can I use this stuffing recipe for breakfast ideas?
While this stuffing is designed for holiday feasts, you *could* adapt it! Think of it more like a hearty bread pudding base. For a breakfast twist, you might add cooked breakfast sausage, maybe some sautéed apples or cranberries, and serve it as a side. For more breakfast inspiration, check out my guide on Keto Breakfast Bowls or this Chorizo Breakfast Bowl!
How do I make sure my stuffing is cooked through and safe to eat?
The most critical step is getting the stuffing to the right internal temperature. Whether you bake it in a dish or stuff it into a turkey, always ensure it reaches 165°F (74°C). Using a food thermometer is the easiest way to be sure. If you’re stuffing a turkey, cook the stuffing separately if you’re worried about uneven cooking or safety!
Estimated Nutritional Information
Alright, a quick heads-up on the nutrition breakdown! The numbers below are just estimates, you know? They can totally change depending on the specific brands you use and exactly how much of those optional add-ins you toss in. But this should give you a pretty good ballpark!
(Per serving, approximate)
Calories: ~250-300
Fat: ~15-20g
Protein: ~5-8g
Carbohydrates: ~25-30g
Share Your Stuffing Creations!
Alright, now it’s YOUR turn! I’d absolutely LOVE to hear how your stuffing turned out. Did you try my tips? Did you add anything amazing in? Leave me a comment below, rate this recipe, or even tag me on social media with your glorious stuffing pics! If you want to connect with me directly, feel free to reach out via my contact page. Let’s get this stuffing party going!
How to Make Stuffing Recipes Like a Pro (2025)
Ingredients
Equipment
Method
- Dry your bread cubes. You can leave them out for 1-2 days or toast them in an oven at 250°F (120°C) for 45-60 minutes, stirring occasionally, until dry.
- Melt butter in a large skillet over medium heat. Add chopped onions and celery and cook until softened, about 5-7 minutes.
- Transfer the cooked vegetables to a large bowl. Add the dry bread cubes, chopped fresh herbs, poultry seasoning, salt, and pepper. Mix gently to combine.
- Gradually add chicken or vegetable broth, starting with 1/2 cup, and mix until the stuffing is moist but not soggy. Add more broth if needed, a little at a time.
- If adding optional ingredients like cooked sausage or cornbread, mix them in now.
- You can bake the stuffing in a greased baking dish at 350°F (175°C) for about 30-40 minutes, or until golden brown on top. Alternatively, you can stuff it into the cavity of a turkey before roasting.
- Ensure stuffing reaches an internal temperature of 165°F (74°C) before serving.
Notes
Tried this recipe?
Let us know how it was!
Tech-Enabled Keto Innovator
My kitchen runs on code as much as coconut oil. After burning out as a Silicon Valley engineer, I discovered keto through a quantified-self experiment that got wildly out of hand. I was tracking every biomarker while optimizing my brain for coding marathons.
What started as personal optimization became an elaborate system of IoT sensors, smart scales, and algorithms. My apartment turned into a lab with app-controlled sous vide machines and remotely monitored fermentation chambers. Yes, I’m that guy.
My biggest achievement? A machine learning algorithm that suggests recipe modifications based on glucose monitor data. Over 3,000 people beta-tested it with measurably improved results. Instead of static recipes, I create dynamic frameworks that adapt to your exercise data, altitude, and local grocery availability.
Food preparation is just another user interface problem—and like good UX, it should adapt to you.