
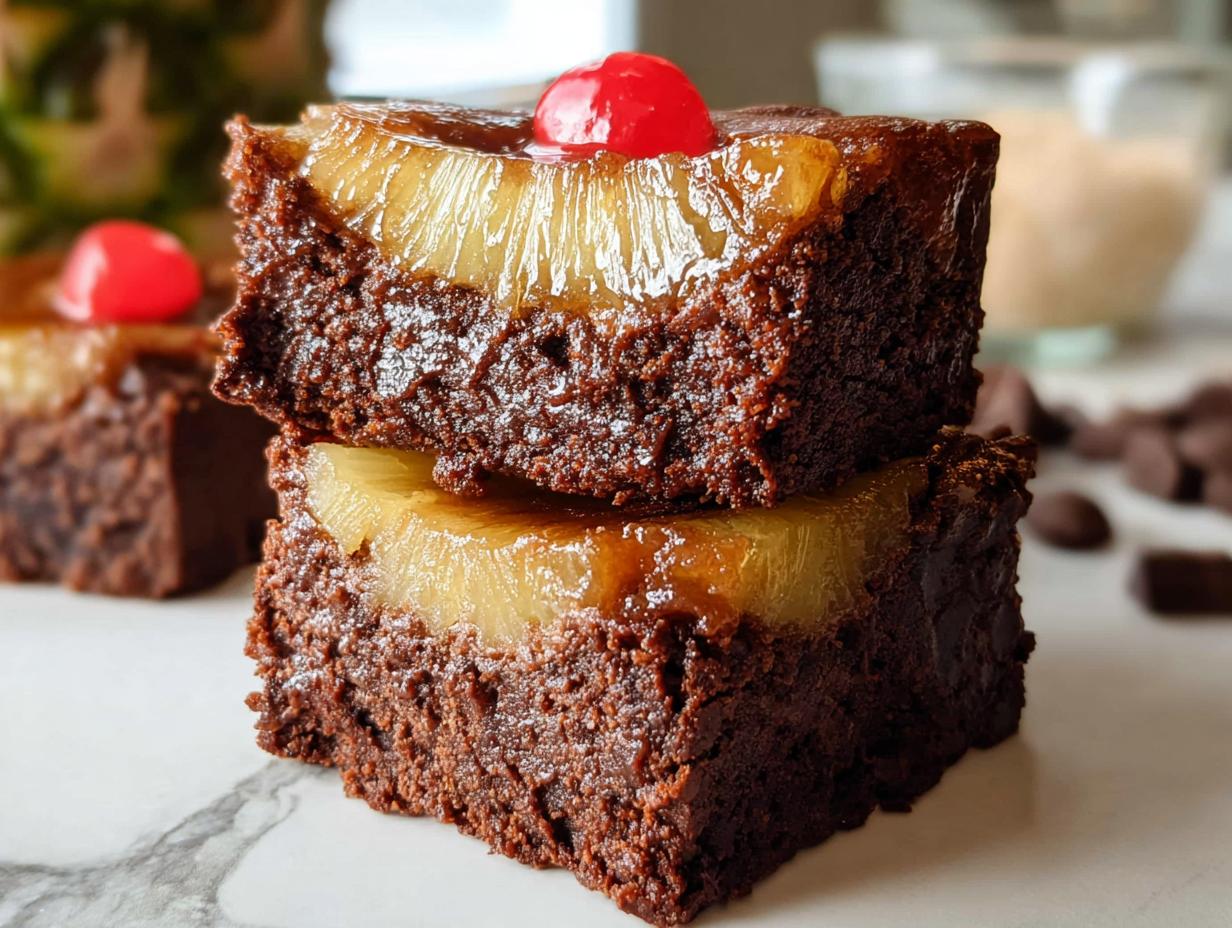
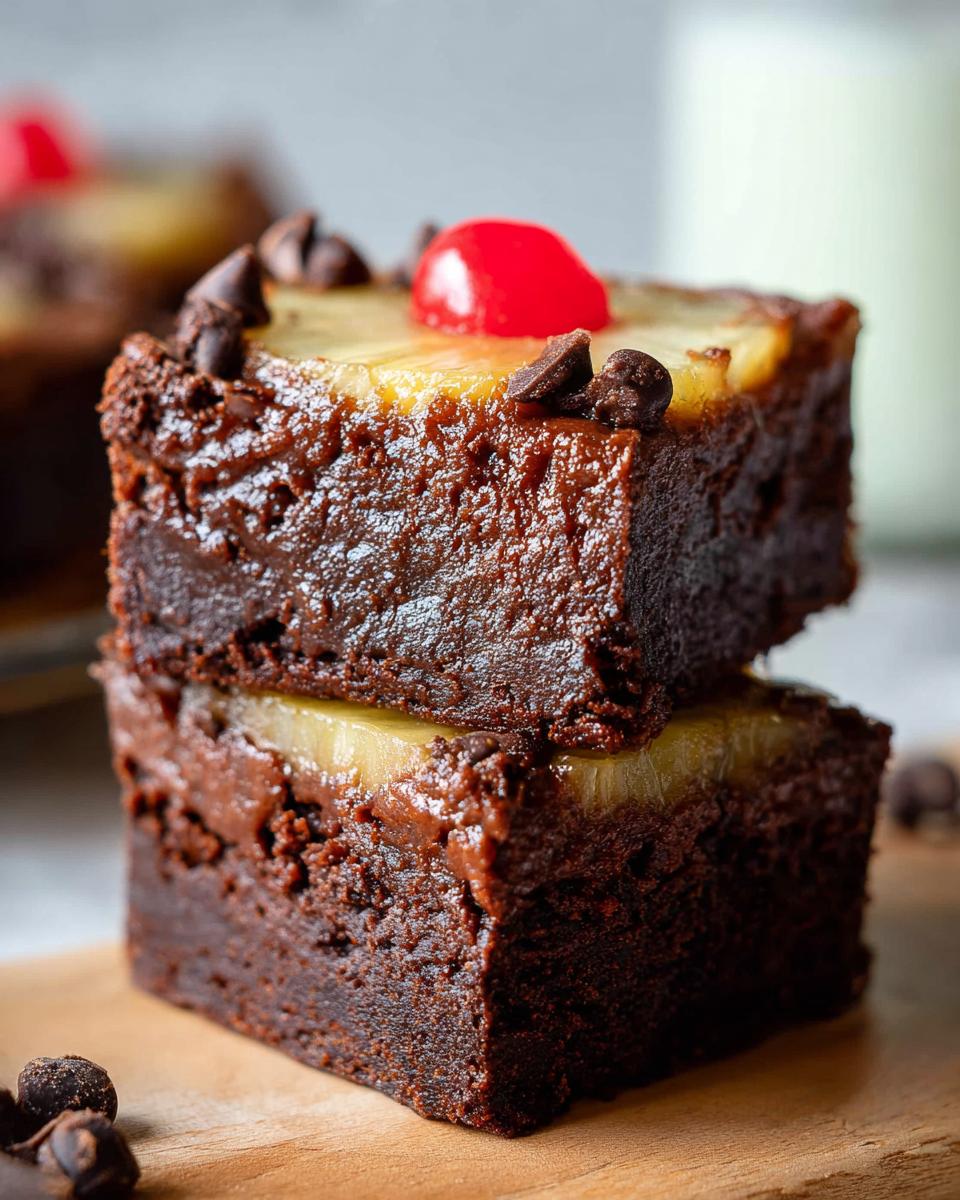
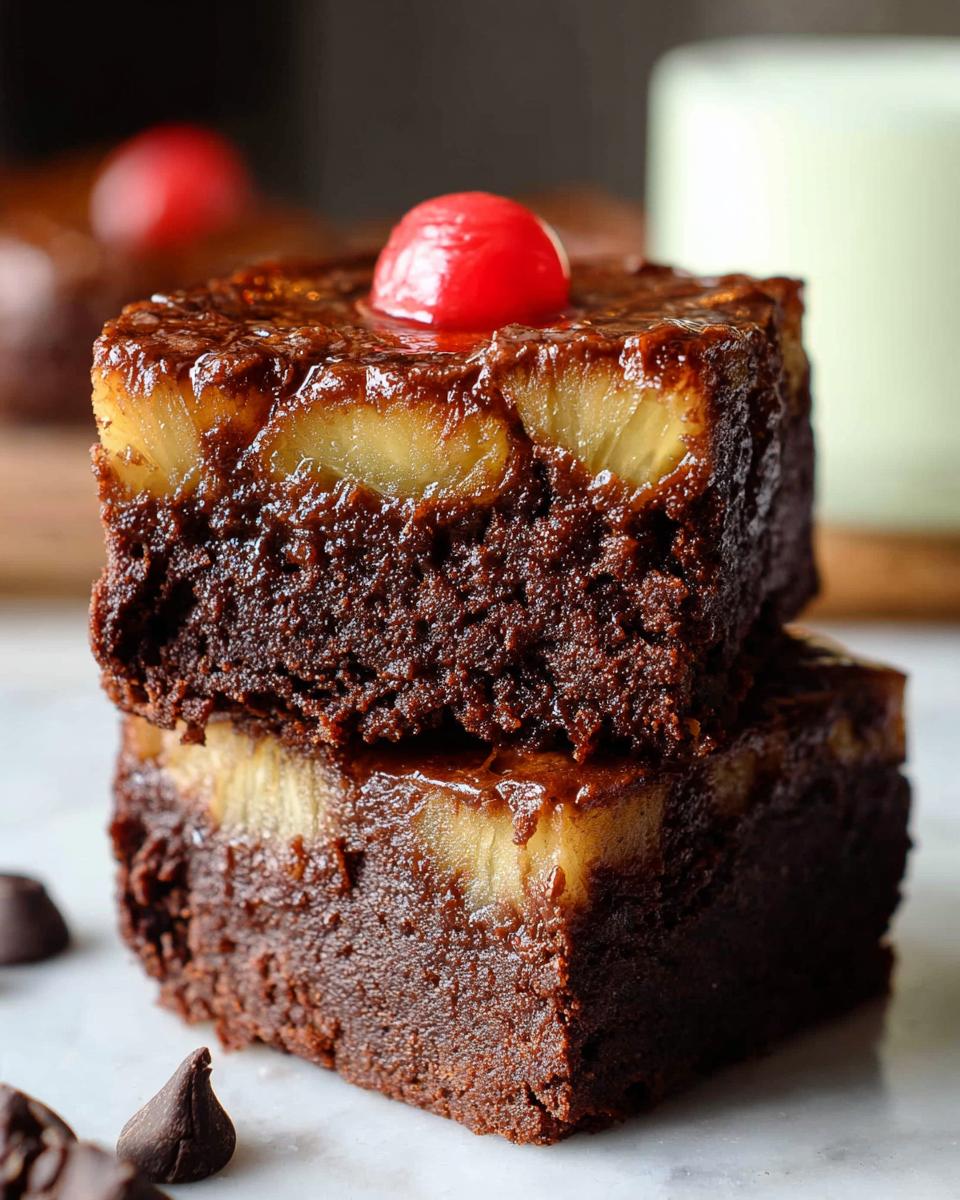
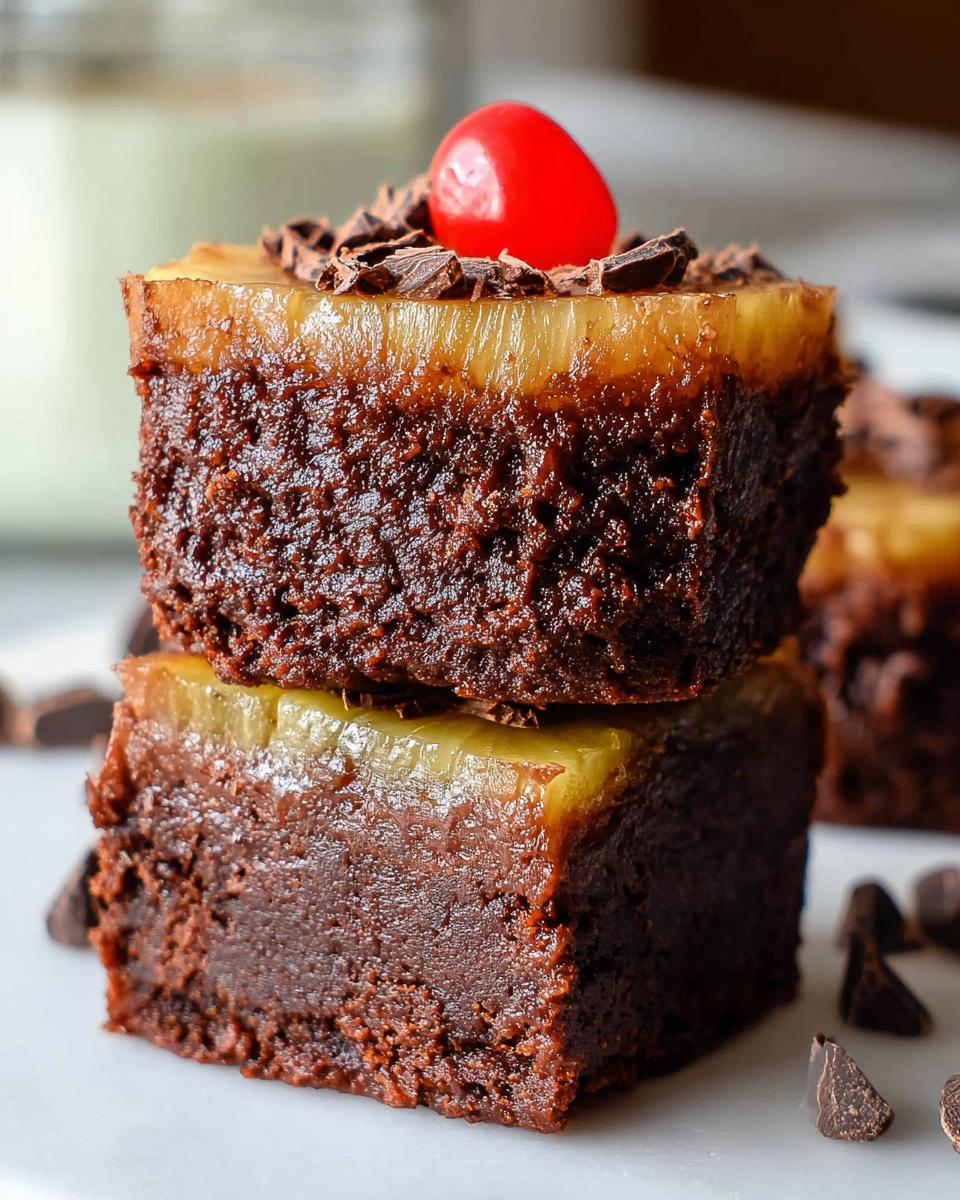
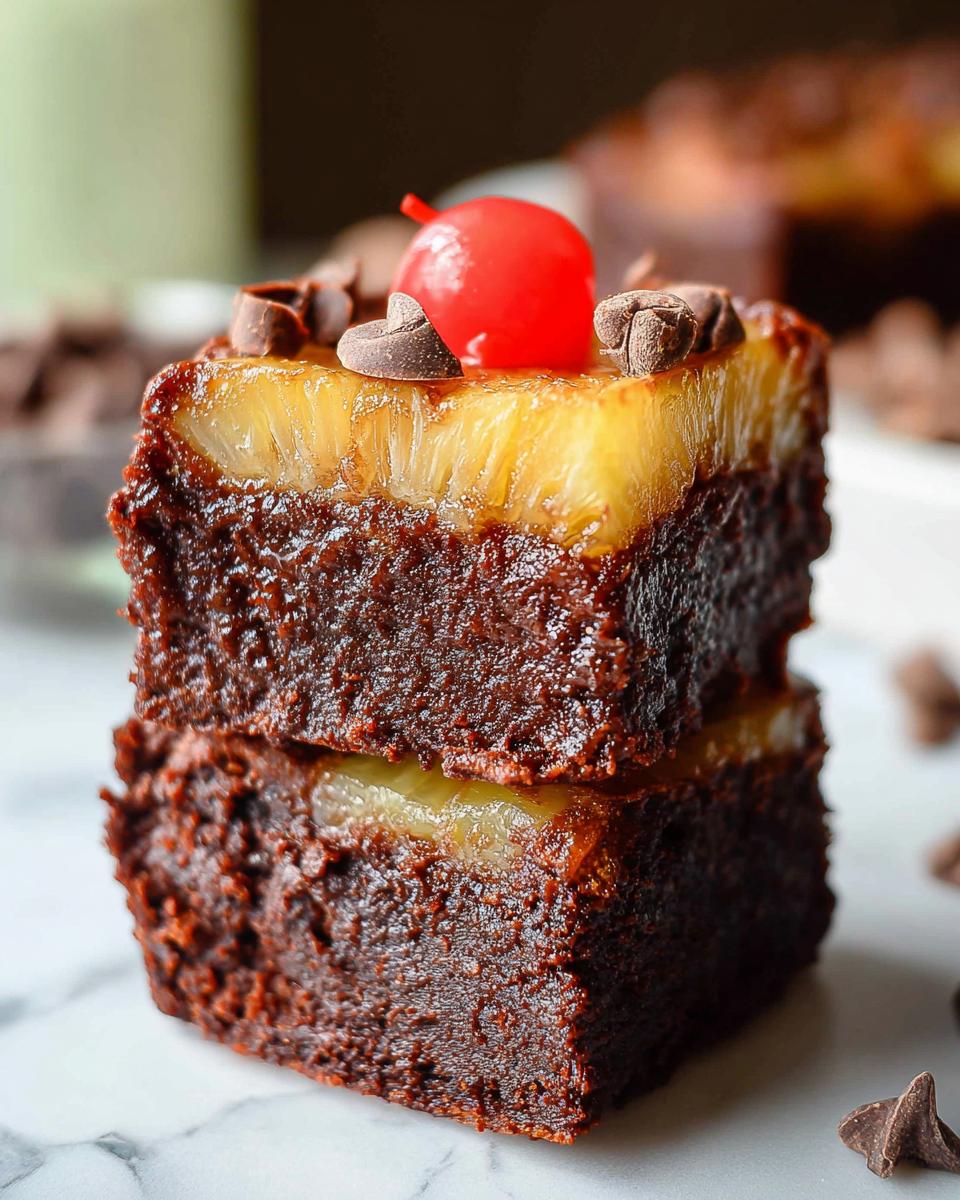
Oh, you guys! I am SO excited to share this recipe with you. It’s one of those gems that just makes you feel like a kitchen magician, and the smiles it brings are totally worth it. Picture this: the classic, comforting taste of creamy cheesecake, but with that irresistible, bright, tropical punch of pineapple upside-down cake. That’s exactly what these Mini Pineapple Upside-Down Cheesecakes are all about! I still remember the first time I whipped these up for a big family reunion. Life was a whirlwind, everyone had different things they could or couldn’t eat, and I really wanted to make something that felt special for everyone. I was channeling my grandma’s amazing upside-down cake, but wanted to give it a modern, creamy twist. Layering that buttery, caramelized pineapple just so, right on top of a rich cheesecake… it felt like a tiny act of love. And seeing my family’s faces light up when they took their first bite? Pure magic. It just proves that even when life gets crazy, a bit of homemade deliciousness can bring everyone together. As a recipe developer, I’ve found that blending these kinds of nostalgic flavors with new techniques is my favorite way to create something truly memorable.
Why You’ll Love These Mini Pineapple Upside-Down Cheesecakes
Get ready to fall head over heels for these little wonders! Here’s why they’re about to become your new favorite dessert:
- Incredible Flavor Combo: Seriously, creamy cheesecake meets sweet, tangy pineapple? It’s a match made in dessert heaven!
- So Easy to Make: Even if you’re new to cheesecake, these mini versions are super forgiving and way less fussy than a big one.
- Perfectly Portioned: No slicing needed! Each little cheesecake is a pre-portioned treat, making them ideal for parties or grabbing a quick indulgence.
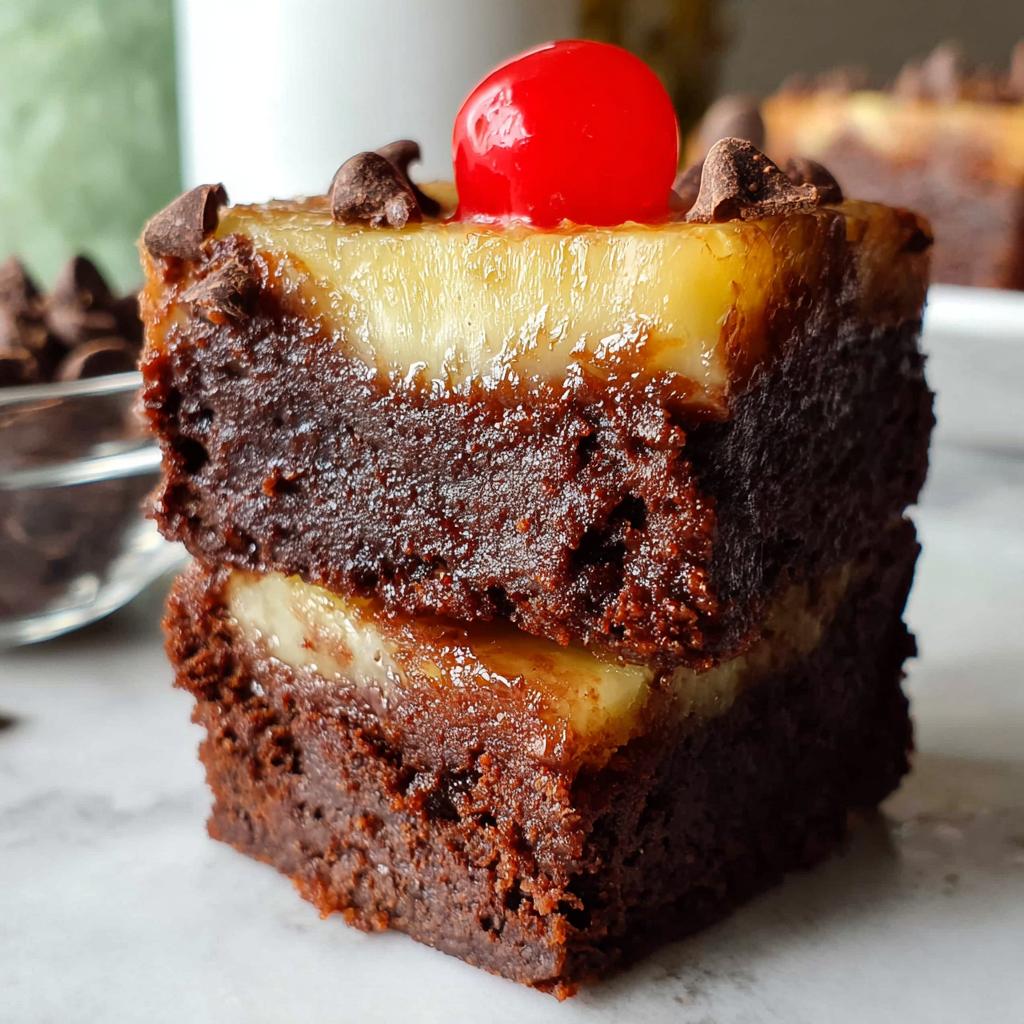
- Looks Gorgeous! That beautiful pineapple topping makes them look like they came straight from a fancy bakery.
- Crowd-Pleaser Guaranteed: Whether it’s a potluck, holiday gathering, or just a Tuesday, these cheesecakes are always a huge hit.
- Nostalgia with a Twist: They’re a delightful nod to classic upside-down cakes but with that irresistible cheesecake creaminess.
Gather Your Ingredients for Mini Pineapple Upside-Down Cheesecakes
Alright, let’s get our baker’s hands *and* our shopping lists ready! To whip up these delightful Mini Pineapple Upside-Down Cheesecakes, you’ll want to gather a few goodies. I’ve found that having everything prepped and ready to go makes the whole process so much smoother, kind of like a well-rehearsed symphony in your kitchen!
We’ll need a few things for that gorgeous pineapple topping:
- Something for the bottom: About 1/4 cup of melted butter is perfect. You can use regular butter, or if you’re feeling a bit tropical, coconut oil works like a charm too!
- Sweetness touch: 1/2 cup of brown sugar. I love the little caramel notes it brings.
- The star of the show: One 20-ounce can of crushed pineapple, well-drained. Make sure you get out as much liquid as possible, or your topping might get a little too runny.
And for that luscious cheesecake part:
- Cream cheese, of course! We need two 8-ounce packages, softened to room temperature. Trust me, this is key for a smooth batter.
- Sweetener: 3/4 cup of granulated sugar.
- Binding power: Two large eggs, also at room temperature.
- Flavor boost: 1 teaspoon of vanilla extract. A little goes a long way to make everything taste amazing.
And just a little something extra for that delicious base – think of it as the foundation for our little masterpieces. We’ll be using ingredients similar to what you’d find in a really good brownie recipe, like healthy Greek yogurt brownies, to give it structure without taking away from that creamy cheesecake goodness.
Crafting Your Mini Pineapple Upside-Down Cheesecakes: Step-by-Step
Okay, let’s get down to the fun part – actually making these little slices of heaven! It’s really not as intimidating as it might sound, and honestly, the process itself is pretty enjoyable. Think of it as building your own dessert masterpiece, layer by delicious layer. We’ve already got our ingredients lined up, so let’s dive in and turn them into something truly special. We’re going to work through this together, step-by-step, just like making those amazing chocolate mousse brownies or perfect banana bread brownies. You’ve got this!
Preparing the Pineapple Layer
First things first, let’s make that glorious pineapple topping! Grab a medium saucepan and melt your butter or coconut oil over medium heat. Then, toss in that well-drained crushed pineapple along with the brown sugar. Stir it all together and let it bubble away, cooking for about 5-7 minutes. You want it to get nice and syrupy, and maybe a little caramelized. It should smell absolutely heavenly!
Making the Cheesecake Batter
Now, for the creamy heart of our cheesecakes! In a large bowl, beat your softened cream cheese until it’s super smooth – like, no lumps allowed! Seriously, take your time here. Then, gradually whisk in the granulated sugar until it’s combined. Next, add those room-temperature eggs, one at a time, beating gently after each addition. Last but not least, stir in the vanilla extract. Remember, we want smooth and creamy, so try not to overmix once the eggs are in!
Assembling and Baking
Time to bring it all together! If you’re using a muffin tin or mini cheesecake pans, divide the pineapple mixture evenly among the bottoms of each cup. Spoon the cheesecake batter carefully over the pineapple, filling each cup about two-thirds of the way full. We don’t want any overflow disasters! Pop these beauties into your preheated oven (that’s 350°F or 177°C, remember?). Bake them for about 20-25 minutes. You’ll know they’re ready when the edges look set and the center is just slightly jiggly. Don’t overbake them, or they might get cracks!
Cooling and Finishing Touches
Patience, my friends! Once they’re out of the oven, let them cool in the pan for about 10-15 minutes. This is super important to prevent cracking. After that initial cooling, gently run a thin knife or offset spatula around the edges of each cheesecake to loosen them. Then, carefully invert them onto a wire rack. Let them cool completely on the rack. If you’re feeling fancy, you can add a little dollop of whipped cream or an extra cherry on top!
Tips for Perfect Mini Pineapple Upside-Down Cheesecakes
Alright, let’s talk about making these Mini Pineapple Upside-Down Cheesecakes absolutely perfect, every single time! I’ve learned a few tricks along the way, and trust me, they make all the difference. My biggest secret? Room temperature ingredients! Seriously, for cheesecake, it’s a game-changer. Softened cream cheese mixes up so much smoother, and those room-temp eggs blend in beautifully without making your batter lumpy. Also, don’t *ever* overmix once you add the eggs – that’s how you get those dreaded cracks! Gentle is key. And when it comes to getting them out of the pan, give them that little moment to cool in the tin first, then carefully run a thin knife around the edge. It’s like giving yourself a little buffer zone so they slide out like a dream. For more cheesecake inspiration, you should totally check out these no-bake Oreo cheesecake bites for another fun idea!
Ingredient Substitutions for Mini Pineapple Upside-Down Cheesecakes
You know, sometimes you’re in the middle of baking and realize you’re missing just one little thing. Or maybe you just want to get a little creative! No worries, these Mini Pineapple Upside-Down Cheesecakes are pretty forgiving. If you don’t have brown sugar for the pineapple topping, you can totally swap it out for granulated sugar, but it might lose a bit of that deep caramel flavor. Also, if you’re aiming for dairy-free, coconut cream or your favorite dairy-free butter works great for the topping. And for the cheesecake itself, if you’re feeling adventurous, you could try using a dairy-free cream cheese alternative. Just make sure it’s the block kind and at room temperature for the best results! Craving something different? You could even try peaches or mandarin oranges instead of pineapple – just make sure they’re well-drained! If you’re curious about using cottage cheese in different recipes, you might want to check out how it works in something like cottage cheese flagels; it can be surprisingly versatile!
Serving Suggestions for Your Mini Cheesecakes
Okay, so you’ve made these darling Mini Pineapple Upside-Down Cheesecakes – now what? These little gems are begging to be shown off! They are absolutely perfect for literally any party, shower, or get-together you can think of. Imagine them lined up on a dessert table, looking all fancy and tropical. I love serving them alongside some light whipped cream or maybe even a little cherry on top for extra flair! They’re also fantastic as a standalone treat with your afternoon coffee or tea. They even make a sweet little dessert after a meal, kind of like those adorable chocolate strawberry yogurt clusters – small bites, big flavor!
Storage and Reheating
Got some of these delightful Mini Pineapple Upside-Down Cheesecakes leftover? Lucky you! They store like a dream. Just pop them into an airtight container right away. In the fridge, they’ll keep beautifully for about 5 to 7 days. Honestly, they often taste even better the next day after the flavors have really melded together! If you want to save them for even longer, you can totally freeze them. Lay them in a single layer on a baking sheet until they’re firm, then pop them into a freezer-safe container. They’ll be good for up to two months. To enjoy frozen ones, just thaw them in the fridge overnight or at room temperature for a few hours.
Frequently Asked Questions about Mini Pineapple Upside-Down Cheesecakes
Got burning questions about these little bursts of sunshine? I’ve got you covered! Here are some common queries I get about making these delightful Mini Pineapple Upside-Down Cheesecakes.
Can I make these Mini Pineapple Upside-Down Cheesecakes ahead of time?
Oh yes, absolutely! That’s one of the best parts. You can totally make these a day or two in advance. Just let them cool completely after baking and storing them in an airtight container in the refrigerator. They actually taste even better the next day once all those amazing flavors have had a chance to meld together. It’s perfect for when you’re hosting and want to get a head start!
Why did my cheesecake crack?
Cracks happen, even to the best bakers! Usually, it’s because the cheesecake was overbaked, or the oven temperature was too high, or sometimes even because of rapid temperature changes. For these mini ones, make sure you pull them out when the center is just slightly jiggly. Overmixing the batter, especially after adding the eggs, can also make it prone to cracking. Don’t worry too much though, a little crack never hurt anyone, and with this pineapple topping, it’s practically hidden!
What’s the best way to get them out of the pan?
Getting these little guys out smoothly is key! After they’ve cooled in the pan for about 10-15 minutes (this is important!), carefully run a thin, flexible knife or an offset spatula all around the edge of each cheesecake to loosen it. Then, gently invert the pan onto a wire rack. They should pop right out! If they’re being a little stubborn, give the pan a gentle tap. You can also line your muffin tin or mini cheesecake molds with liners for even easier removal, though it might slightly alter the look of the bottom layer. It’s a bit like prepping for baking churro bites; sometimes a little extra prep makes all the difference!
Can I use fresh pineapple instead of canned?
You certainly can use fresh pineapple! If you do, make sure it’s very ripe and sweet. You’ll want to chop it up and probably cook it down a bit longer to get rid of excess moisture and concentrate the flavor, similar to how we cook down the crushed pineapple. The key is to ensure it’s not too watery, or it can make your topping too soupy. Canned crushed pineapple is usually easiest because it’s already processed and drained well, making it super convenient, almost like using pre-portioned baking ingredients you might find in recipes like this triple berry bake.
Estimated Nutritional Information
Alright, let’s talk numbers! While every kitchen and ingredient can vary just a smidge, here’s a general idea of what you’re looking at per serving for these delightful Mini Pineapple Upside-Down Cheesecakes. It’s a good ballpark figure to give you a sense of what you’re enjoying. Think of it like knowing the amazing flavor profile of something like lemon cream chia pudding – it gives you an idea of the goodness within!
Please remember these are estimates!
- Calories: Around 300-350 kcal
- Fat: Roughly 18-22g
- Carbohydrates: Approximately 30-35g
- Protein: About 5-7g
- Sugar: Around 25-30g
Mini Pineapple Upside-Down Cheesecakes
Ingredients
Equipment
Method
- Preheat your oven to 350 degrees Fahrenheit (177 degrees Celsius). Grease a 9×9 inch baking pan and set it aside.
- In a small bowl, mix the oat flour, cocoa powder, and sea salt. Set this mixture aside.
- Melt the chocolate and butter (or coconut oil) together in the microwave. Stir until completely melted and smooth.
- Whisk in the sugar, Greek yogurt, vanilla extract, and eggs until the mixture is smooth.
- Add the dry ingredients to the wet ingredients and whisk until just combined. Do not overmix.
- Stir in the chocolate chips.
- Pour the batter into the prepared pan. Bake for 20 to 25 minutes, or until the top is just set and the edges are slightly pulling away from the sides of the pan. For gooier brownies, bake for 20 minutes.
- When the brownies are done baking, place the pan on a wire rack to cool.
- While the brownies are baking, prepare the ganache. Add the heavy cream to a small saucepan and warm it over medium-high heat until it just begins to bubble. Do not let it boil.
- Turn off the heat. Add the chopped chocolate and vanilla extract to the warm cream. Whisk until the mixture is dark and smooth.
- Remove the saucepan from the heat and let the ganache cool slightly. It will thicken as it cools.
- Once the ganache has cooled slightly, pour it evenly over the cooling brownies.
- Allow the ganache to firm up at room temperature, or place the pan in the refrigerator to speed up the process.
- Remove from the refrigerator. Cut the brownies into desired portions and serve at room temperature or cold.