
Let’s talk wings! If you’re anything like me, a long week often ends with a craving for something delicious, maybe a big game night with friends, but the thought of slaving away in the kitchen right when everyone’s arriving? No thank you! I’m David Kim, and as a Tech-Enabled Keto Innovator, I’ve learned that flavor doesn’t have to take hours. That’s why I’m so excited to share The Ultimate Chicken Wings Recipes Guide for Beginners with you. I still remember my first attempt at meal prepping wings for game night – totally frazzled, but then I found a few recipes that were actually *easy* and could be prepped ahead. The aromas filled the house, my friends were happy, and I actually got to *enjoy* the evening. It became a tradition, and trust me, with a little planning, you can have amazing, stress-free meals too!
Why This The Ultimate Chicken Wings Recipes Guide for Beginners is a Game-Changer
So, what makes this guide totally different, right? Well, think about it – you love wings, but you hate the fuss. This guide is built for *you*. It takes all the guesswork out of making killer chicken wings, even if you’ve never fried a thing in your life. We’re talking about simple steps that lead to seriously delicious results. Plus, the whole meal prep angle means you can have amazing wings ready to go when you need them, not just when you have an hour to spare. It’s all about making fantastic food work for your busy life, no culinary degree required!
Crispy Fried Chicken Wings: The Foundation of Flavor
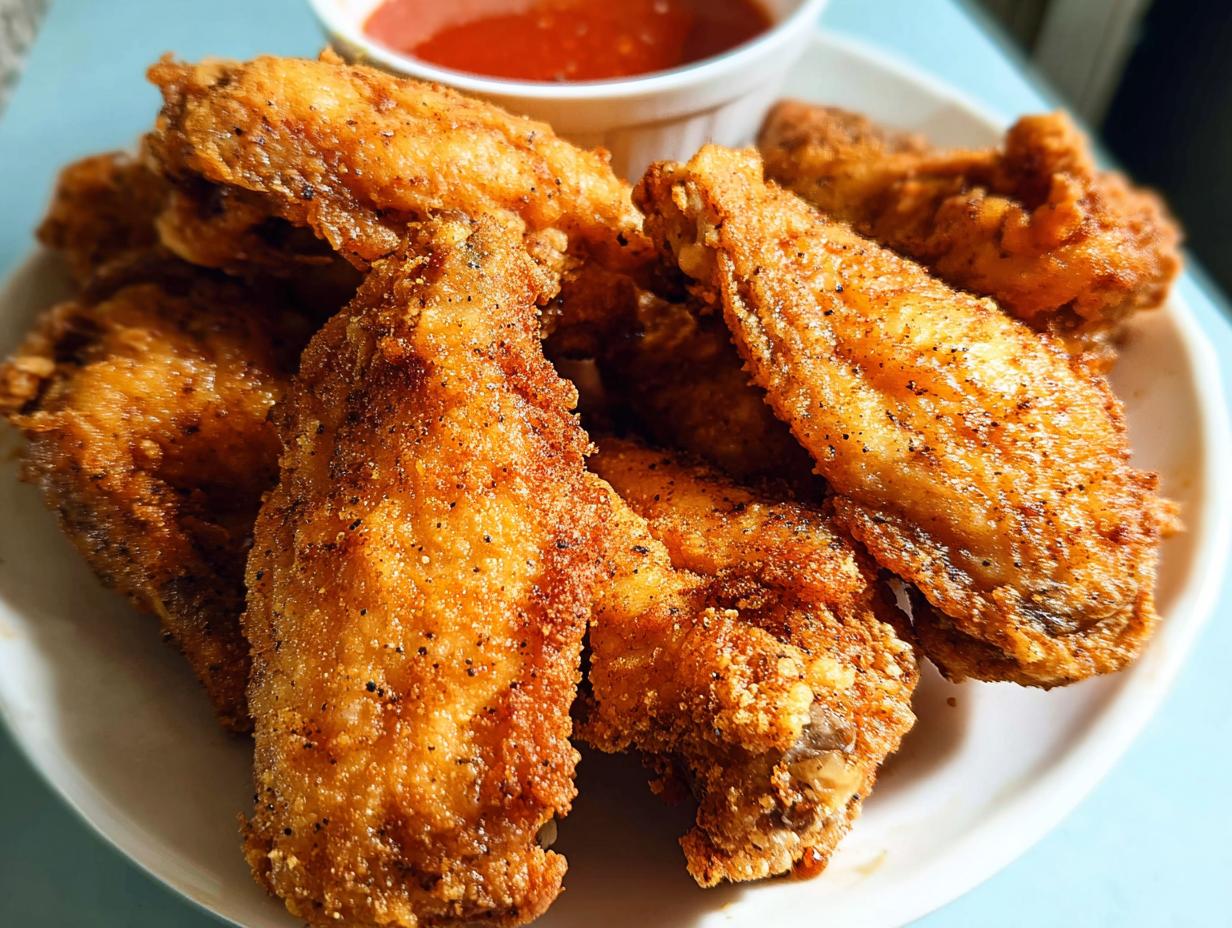
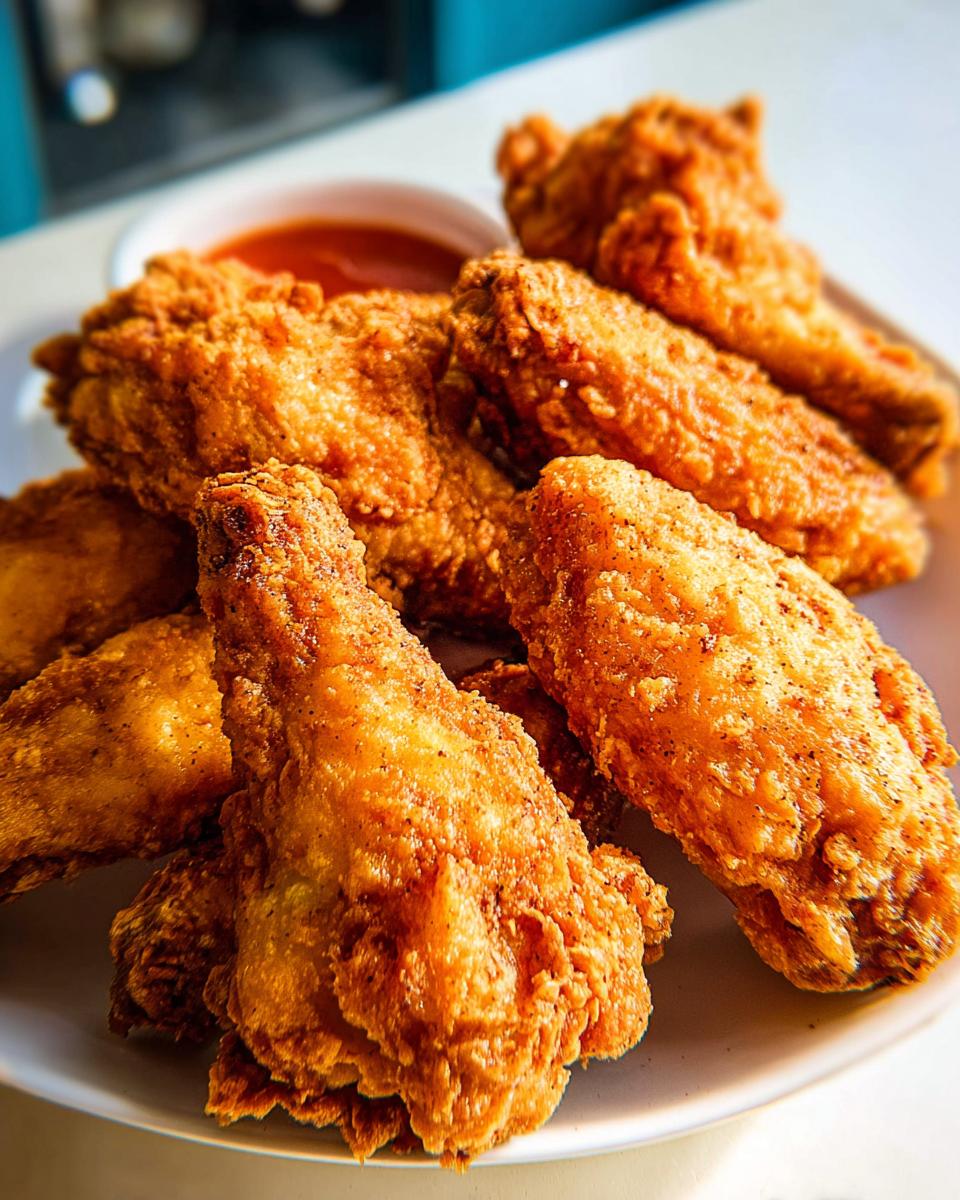
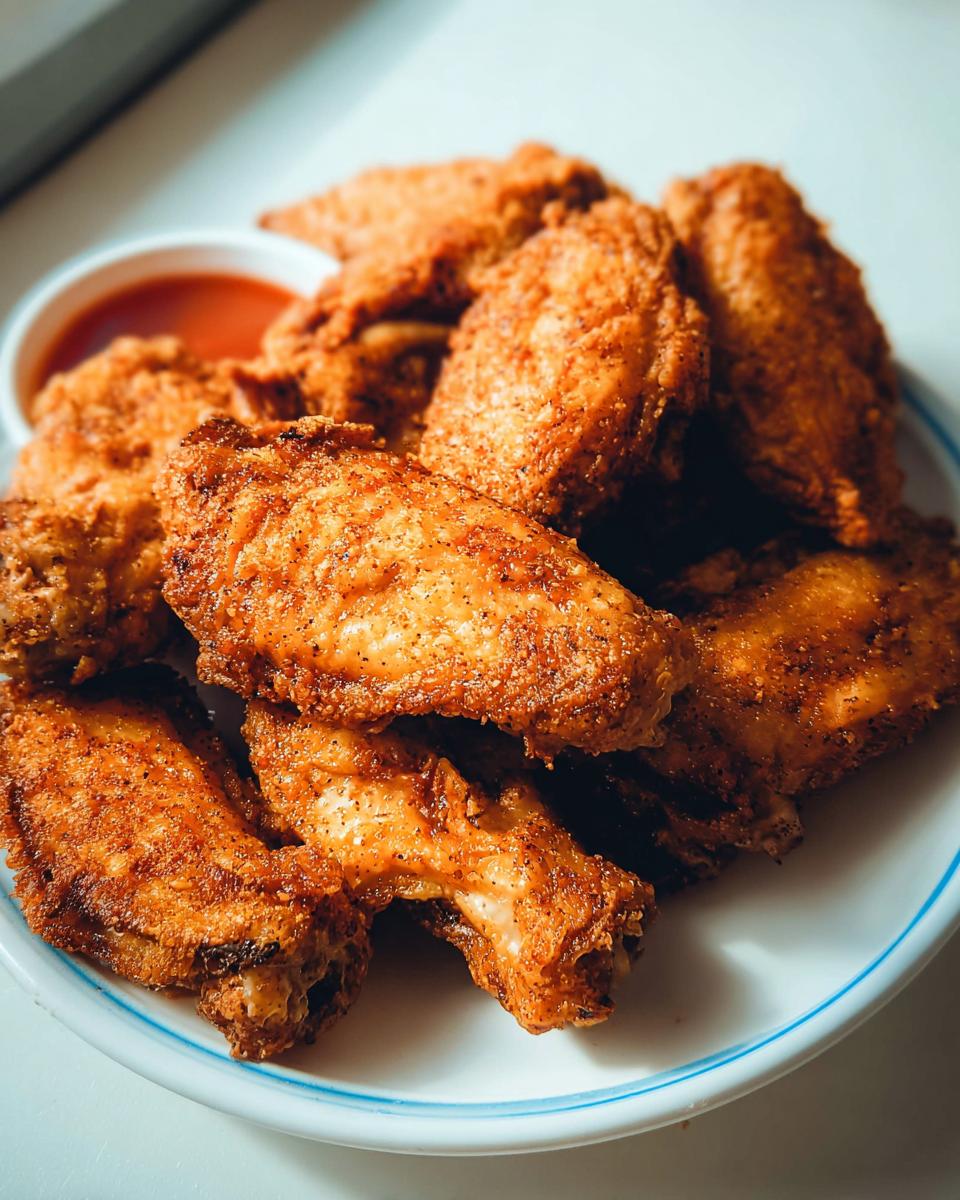
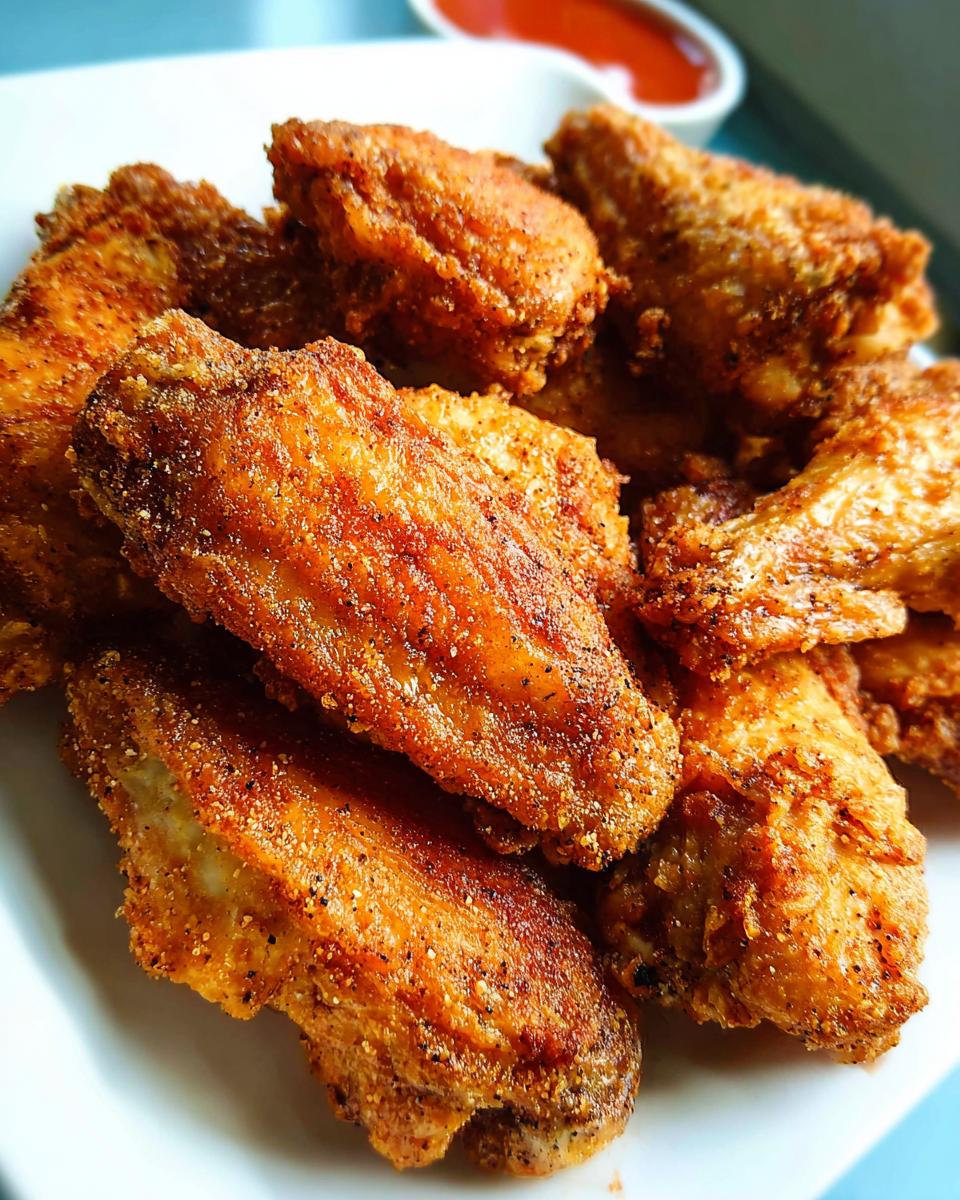
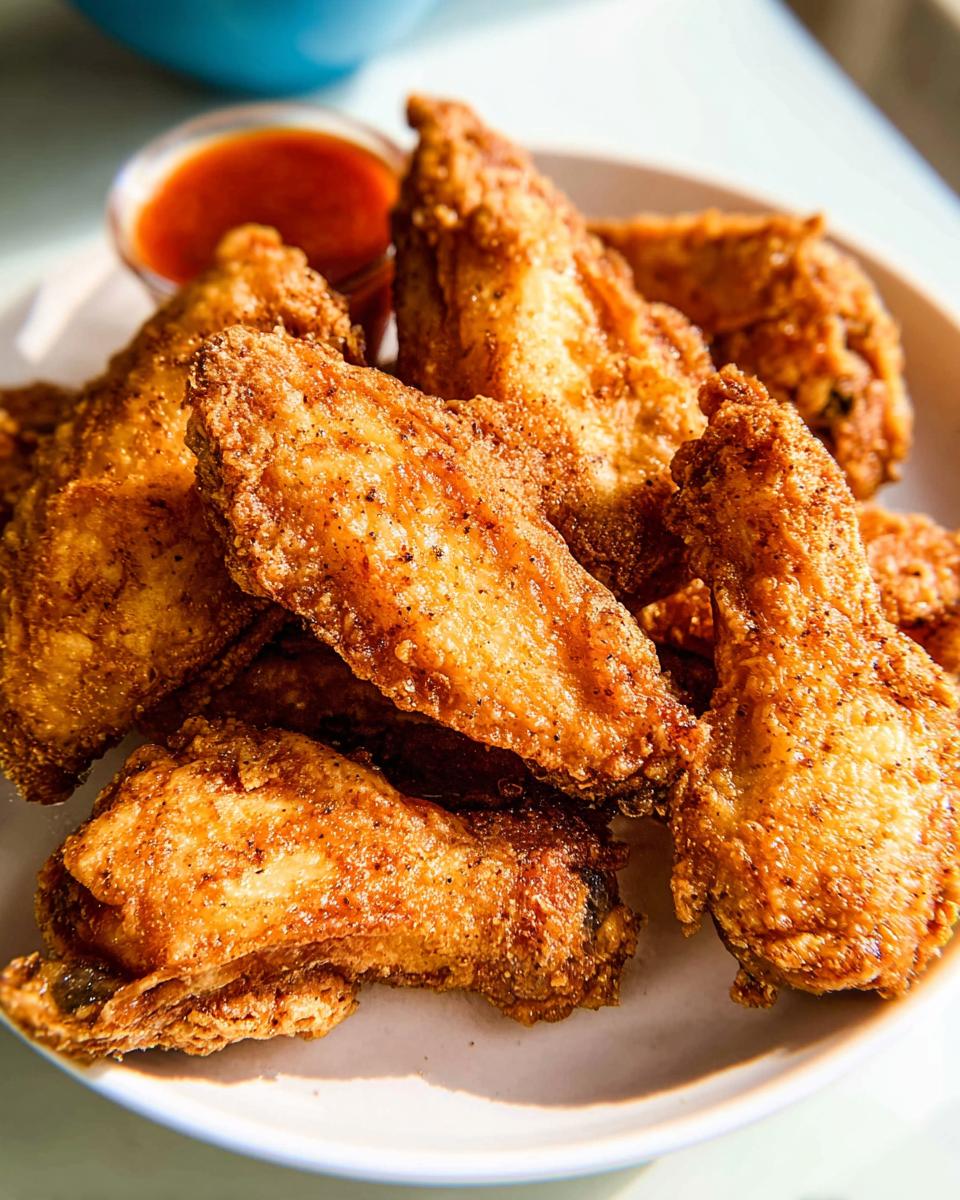
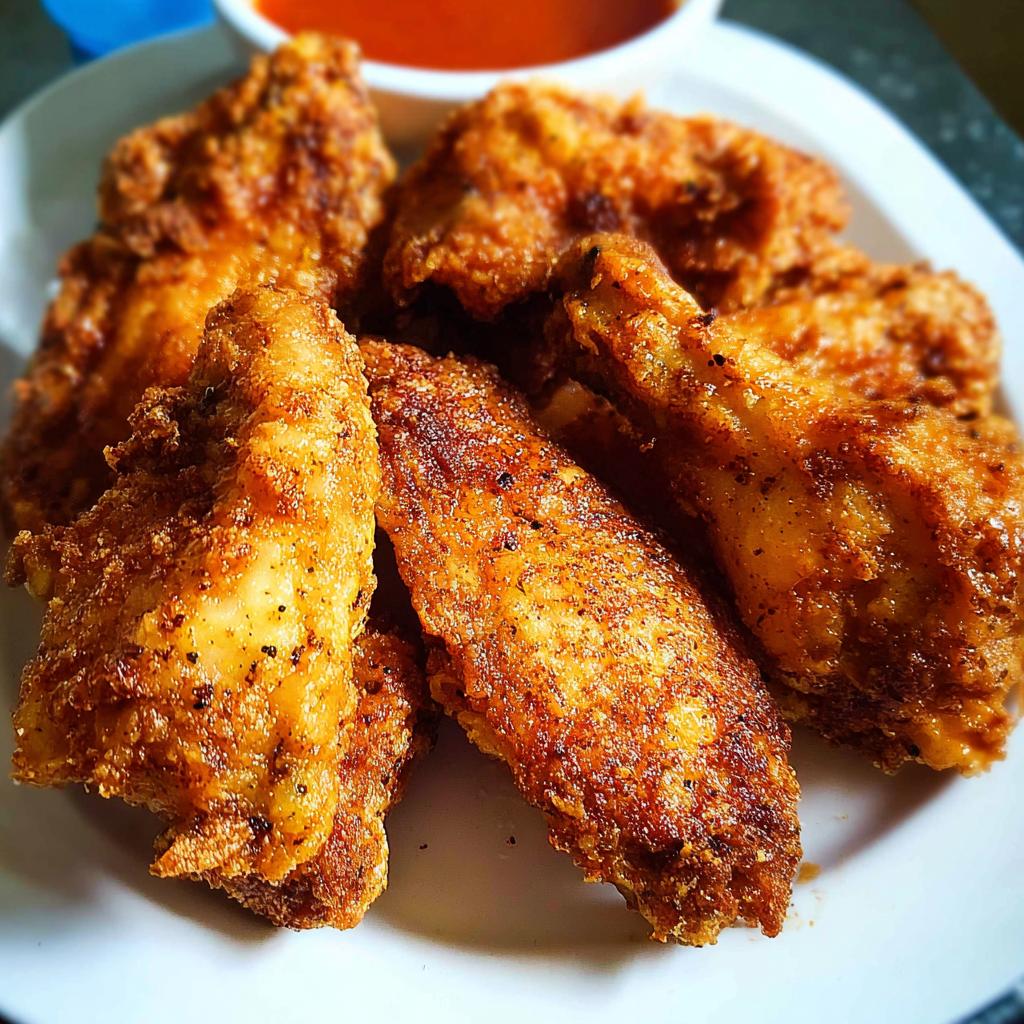
Okay, let’s get down to business. When I think of amazing chicken wings, my mind immediately goes to that perfect, shatteringly crispy skin. That’s exactly what this recipe is all about! Frying is hands-down my favorite way to get that ultimate crunch that holds up to any sauce. It’s the bedrock for so many fantastic flavors, a true classic that never disappoints. Trust me, you’ll see why this method is so popular once you nail it. We’ll get those wings so crispy, you’ll wonder how you ever lived without them. For more ideas on nailing that crispy texture, this guide has some great tips!
Essential Ingredients for Crispy Chicken Wings
Here’s what you’ll need to get those perfect, crispy wings going. It’s really not much, which is part of what makes this so great for beginners! First off, we’ve got our star: 2 pounds of chicken wings, make sure they’re separated into drumettes and wings so they cook evenly – about 12 pieces total. Then, for that perfect coating, we’re using 1/2 cup of all-purpose flour, 3/4 teaspoon of kosher salt (we’ll divide this!), 1 teaspoon of paprika for color and a little zing, 1/2 teaspoon garlic powder, 1/4 teaspoon onion powder, and a pinch of freshly ground black pepper, plus a tiny 1/8 teaspoon of cayenne pepper if you like a little heat. And of course, for frying, we need about 6 cups of canola oil. Easy peasy!
Step-by-Step Instructions for Perfect Fried Chicken Wings
Alright, let’s fry! First things first, grab some paper towels and really pat those chicken wings dry. Seriously, this is HUGE for crispiness – moisture is the enemy of crunch! Now, in a big bowl, whisk together your flour, paprika, garlic powder, onion powder, black pepper, cayenne, and 1/4 teaspoon of that kosher salt. Toss your dried wings in this magical spice mix until they’re totally coated. Give ’em a good toss! Now, heat up your canola oil in a deep fryer to about 375°F (190°C). Watch that temperature! If it’s too low, they’ll be greasy, and if it’s too high, they’ll burn before they cook. Be careful when you add the wings – work in batches if you need to, so you don’t overcrowd the fryer. Overcrowding drops the oil temp and gives you sad, soggy wings. Fry them for about 10 to 12 minutes. You’re looking for that beautiful golden-brown color and, of course, making sure they’re cooked through. Once they’re done, carefully lift them out and place them on a baking sheet lined with paper towels. This catches all that extra grease. Sprinkle the remaining 1/2 teaspoon of kosher salt over them while they’re still hot. Finally, the hardest part: let them rest for about 10 minutes. This little rest lets the juices settle, making them even tastier. And voila! Perfect crispy wings.
Meal Prep Magic: Make Ahead Chicken Wings Recipes
Okay, so we’ve got these amazing, crispy fried wings down. But what if tonight isn’t game night, and you want wings later in the week? That’s where the magic of meal prep comes in, and honestly, this is one of my favorite parts of The Ultimate Chicken Wings Recipes Guide for Beginners! You can totally get ahead of the game without them tasting like they were sitting around forever. The best part? You can prep these beauties ahead of time and just finish them off when you’re ready to eat. It means you’re not stuck in the kitchen when you’d rather be kicking back. Trust me, I’ve learned a few tricks over the years that make meal-prepped wings just as delicious as fresh-from-the-fryer ones. It’s all about planning smart! Thinking about other quick meal ideas? Check out these lazy keto skillet meals for more busy weeknight inspo!
Tips for Prepping Chicken Wings Ahead of Time
Here’s how you can get your wings ready to go. First, you can totally do the dry rub and coat the wings in that flour mixture up to 24 hours before you plan to fry or bake them. Just toss them really well, then pop them into an airtight container or a resealable bag and keep them in the fridge. That spice mix sticks even better after a little chill time! When you’re ready to cook, just follow the frying instructions as usual. If frying feels like too much for a weeknight or you want to bake them instead, no worries! You can totally bake them ahead too. Just preheat your oven to 400°F (200°C) and bake them for about 35-45 minutes, flipping them halfway through, until they’re golden, crispy, and cooked all the way through. You can even let them cool and store them in the fridge for a few days. Then, just reheat them in a hot oven or an air fryer for a few minutes to get that crunch back. See? Easy peasy!
Flavor Variations for Your Chicken Wings
Okay, so now you’ve mastered the crispy fried wing, which is honestly amazing on its own. But the beauty of chicken wings? They’re like a blank canvas for flavor! We can take these perfectly crispy beauties and turn them into a whole new taste sensation. Whether you’re craving something spicy, sweet, or somewhere in between, there’s a wing flavor out there for you. This part is where we get to play and make them totally your own, perfect for any craving or occasion. For some mind-blowing flavor ideas, even with hidden healthy twists, you’ve gotta see these clever keto recipes!
Game Day Flavor Boosts
When game day rolls around, you need wings that pack a punch! Forget boring – let’s talk serious flavor. My go-to is always a spicy buffalo, but you can easily amp it up. Think about a smoky BBQ rub made with smoked paprika and a touch of brown sugar, or a zesty lemon-pepper dry rub that’s super addictive. If you’re feeling saucy, a simple mix of melted butter, hot sauce, and a splash of vinegar is classic buffalo. Or try a sweet chili glaze for something different! These make game day watching even more fun, trust me.
Beginner Cooking Tips for Chicken Wings Success
Alright, my fellow wing enthusiasts! Tackling chicken wings for the first time can seem a little intimidating, but trust me, it’s totally doable. The biggest thing I’ve learned over the years? Don’t be afraid to experiment! For starters, pat those wings super dry is NON-NEGOTIABLE for crispiness – I can’t stress this enough. Also, keep an eye on your oil temperature when frying; it’s like the thermostat for your wings! If it’s too low, they get greasy, too high and they burn. And hey, if you’re baking, don’t skimp on flipping them halfway through for that even golden-brown goodness. For more foolproof tips that have seriously saved me in the kitchen, especially when I’m trying to get a tasty keto meal on the table fast, check out this guide. You’ve got this!
Equipment Needed for The Ultimate Chicken Wings Recipes Guide for Beginners
Okay, so you’re ready to make some amazing wings, and you’re probably wondering what gear you’ll need. Don’t worry, it’s pretty straightforward stuff! For this guide, you’ll definitely want a deep fryer – it’s key for getting that perfect crisp. You’ll also need a large bowl for tossing those wings in their delicious coating, and a baking sheet lined with paper towels to catch any extra grease after frying. That’s really it to get started!
Frequently Asked Questions About Chicken Wings
Got questions about making awesome chicken wings? I totally get it! It’s one of my favorite things to make, and I’ve picked up a few tricks along the way. Here are some things people often ask, especially when they’re just starting out:
How do I get my chicken wings extra crispy?
Ah, the million-dollar question! It really comes down to a few key things: first, pat those wings bone dry with paper towels before you do anything else. Seriously, get all that moisture off! Then, a good coating of flour and spices helps create that lovely crust. When frying, make sure your oil is at the right temperature (around 375°F or 190°C) and don’t overcrowd the pan. If you’re baking, a higher heat and flipping them halfway through is your best bet. For more awesome tips that have saved me lots of time in the kitchen, especially when I’m creating quick keto meals, you should totally check out this guide!
Can I bake chicken wings instead of frying?
Absolutely! Baking is a fantastic alternative if you want to skip the deep fryer, and it’s super beginner-friendly. Just preheat your oven to 400°F (200°C), make sure your wings are coated well, and spread them out on a baking sheet. Bake them for about 35-45 minutes, flipping them halfway through, until they’re golden brown and cooked through. They won’t be *exactly* the same texture as fried, but they’re still incredibly delicious and way easier!
How long do chicken wings last in the fridge?
Cooked chicken wings are best enjoyed within about 3 to 4 days when stored properly in an airtight container in the refrigerator. If you’ve prepped them for meal prep and they’re uncooked, store them in the fridge for up to 24 hours before cooking. Just make sure they’re sealed up tight!
Can I make different flavors?
Oh, 100%! The beauty of chicken wings is how versatile they are. The basic recipe is delicious on its own, but you can totally toss them in your favorite sauce after they’re cooked. Think buffalo, BBQ, teriyaki, honey garlic, or even a spicy Asian glaze. You can also play with different dry rubs before cooking for a completely different flavor profile!
Nutritional Information
While these crispy chicken wings are incredibly delicious, it’s good to have a general idea of what you’re getting. Just remember, these are estimates per serving (about 2-3 wings) and can change based on how much sauce you add or if you bake instead of fry. Expect roughly 300-400 calories, with about 20-30g of fat and a hefty dose of protein (around 25-35g). Carbs will be pretty low, especially if you don’t drench them in sugary sauce!
Share Your Creations!
Alright, so you’ve made some amazing wings, right? I’d absolutely LOVE to hear how they turned out! Did you try a crazy sauce? Did you get them super crispy? Leave a comment below, rate the recipe, or even share your own flavor variations. And if you’re looking for more ways to connect and share delicious finds, feel free to reach out here. I can’t wait to see what you whip up!
The Ultimate Chicken Wings Recipes Guide for Beginners
Ingredients
Equipment
Method
- Pat the chicken wings dry with paper towels. This helps them crisp up.
- In a large bowl, combine the flour, paprika, garlic powder, onion powder, black pepper, cayenne pepper, and 1/4 teaspoon of the kosher salt. Toss the chicken wings in the flour mixture until evenly coated.
- Heat the canola oil in a deep fryer to 375°F (190°C).
- Carefully add the chicken wings to the hot oil, working in batches if necessary to avoid overcrowding the fryer. Fry for 10-12 minutes, or until golden brown and cooked through.
- Remove the wings from the oil and place them on a baking sheet lined with paper towels to drain any excess oil. Sprinkle with the remaining 1/2 teaspoon of kosher salt.
- Let the wings rest for about 10 minutes before serving. This allows the juices to redistribute.
Notes
Tried this recipe?
Let us know how it was!
Emergency Keto Strategist
I learned keto crisis management during a cross-country move that coincided with a family medical emergency. For three months, I was living out of hotels and hospital cafeterias, trying to stay in ketosis when everything was falling apart.
Instead of giving up, I documented every convenience store hack and improvised solution that kept me on track. That nightmare became my specialty: recipes for when life goes sideways and you have twelve minutes to avoid breaking ketosis.
My “Nuclear Option Meal Plans” include gems like “5-Ingredient Gas Station Keto” and “Hotel Room Cooking with Zero Equipment.” My background in emergency dispatch taught me to think fast under pressure—now I help others through my “Keto 911” service when life gets messy.
Life doesn’t pause for meal prep Sunday, so keto shouldn’t either. Adaptation beats perfection every time.