
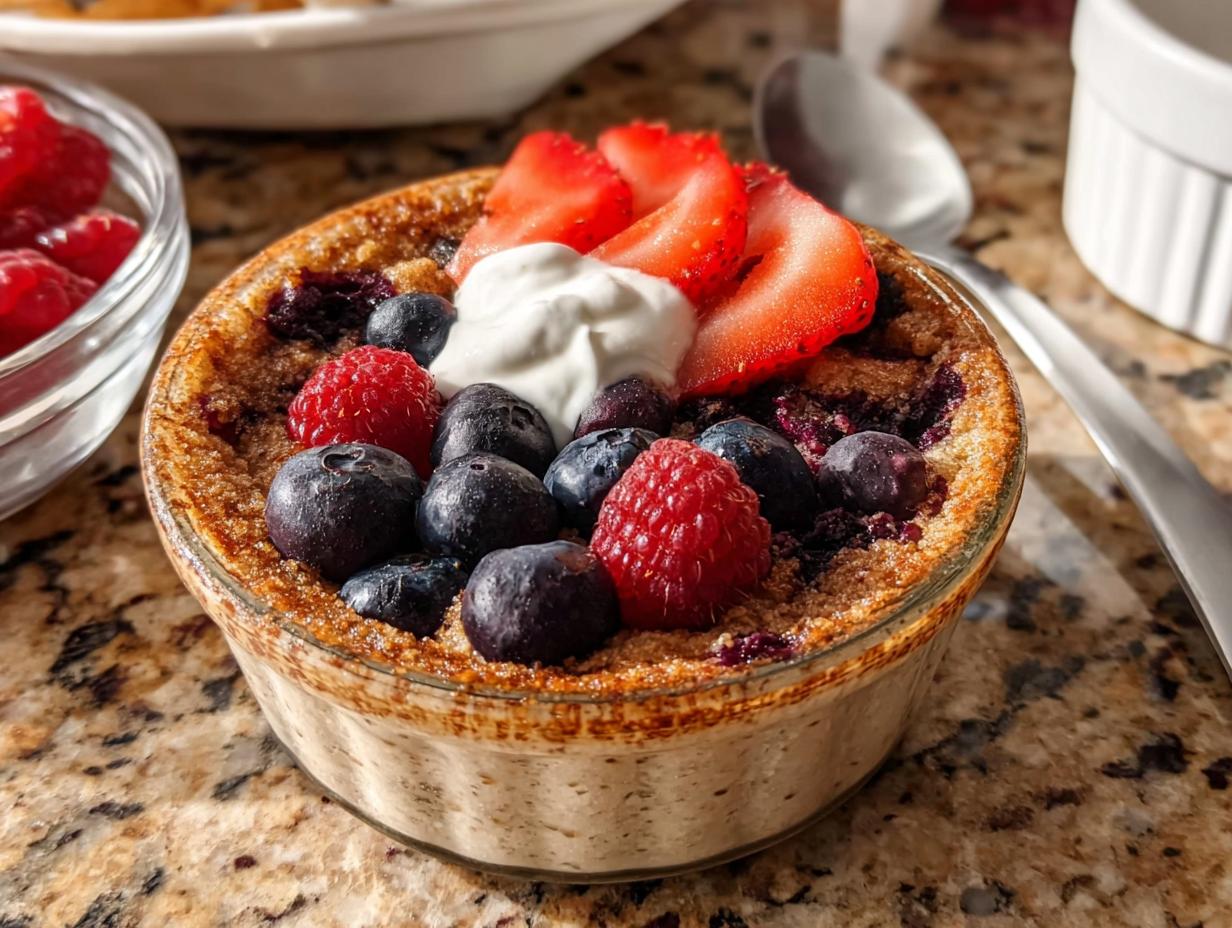
So, are these baked protein bowls *really* that fluffy? That’s the million-dollar question, right? And trust me, the answer is a resounding YES! I remember back when I first started tinkering with baked oatmeal-like things. It was during a particularly crazy coding sprint, and I needed something super quick, super healthy, and seriously filling. I just threw some stuff into a ramekin and hoped for the best. When I pulled that golden, airy creation out of the oven, I was totally floored. Who knew simple ingredients could create something so wonderfully light and satisfying? As a tech-enabled keto innovator, I’m always looking for ways to make healthy food exciting, and these fluffy bowls are pure magic for breakfast, snacks, or even dessert! If you’re curious about a similar idea, definitely check out these baked protein pancake bowls for another great take!
Why You’ll Love These Fluffy Baked Protein Bowls
Okay, so why are these baked protein bowls such a keeper? Let me tell you:
- Speedy & Simple: Seriously, toss everything in a bowl and bake. Perfect for those crazy busy mornings.
- Fuel Up Right: Packed with protein to keep you full and energized way longer than your average breakfast.
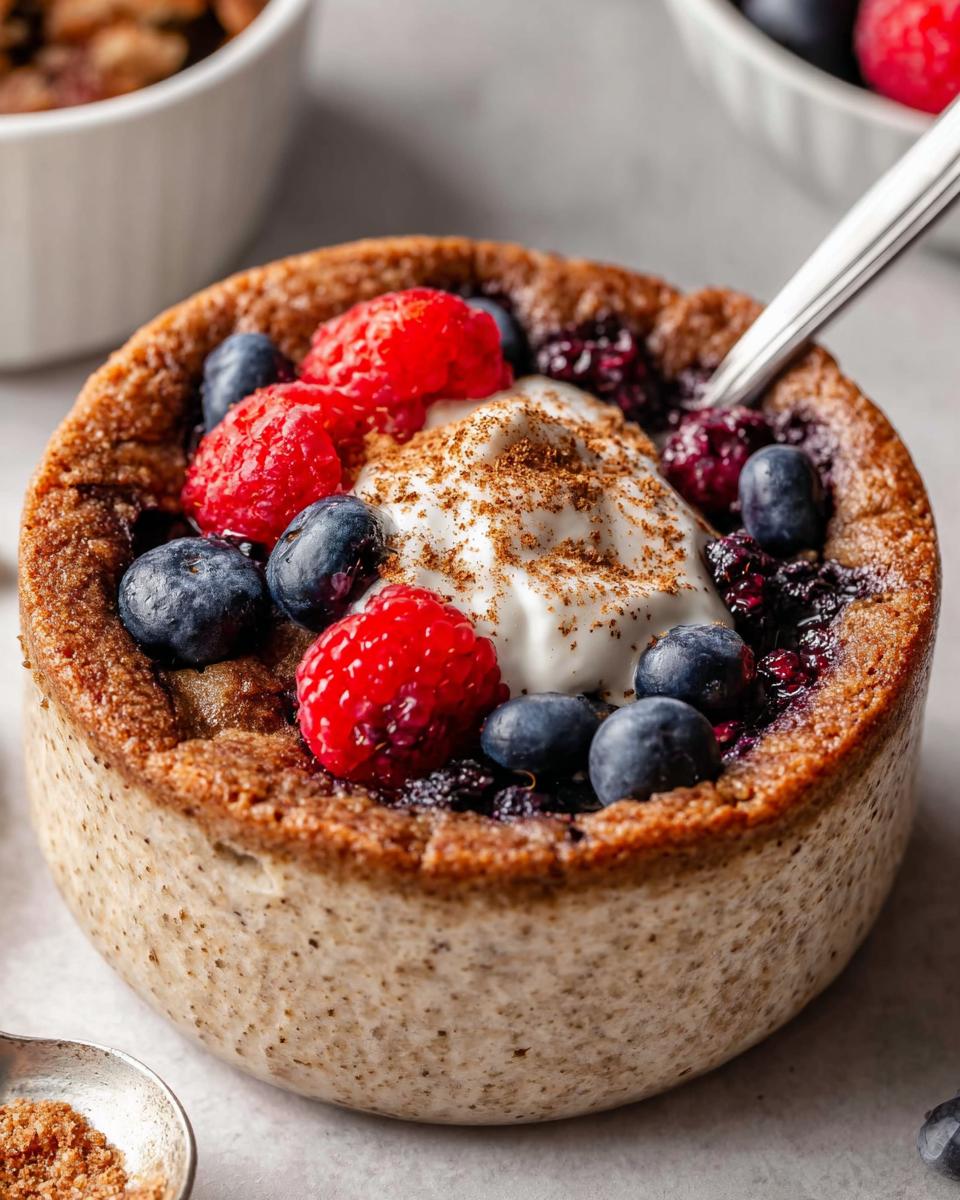
- That Fluffy Texture: It’s not just hype! They come out light, airy, and wonderfully satisfying.
- So Versatile: Customize them with your favorite fruits, nuts, or a dollop of nut butter. They’re endlessly adaptable!
Ingredients for Your Fluffy Baked Protein Bowls
Alright, let’s get down to the nitty-gritty of what makes these bowls so delightful. It’s all about the simple, wholesome ingredients that come together like magic. You won’t believe how these basic items create such a fantastic texture!
For the Bowl:
- 1 large egg
- 1/4 cup plain Greek yogurt (or dairy-free if you need it!)
- 1/3 cup milk (any kind works great here)
- 1-2 Tablespoons flax meal (this helps with binding and texture!)
- 1/3 cup flour (I love using a gluten-free blend like Bob’s Red Mill 1:1, but use your favorite!)
- 1 scoop vanilla protein powder (this is key for the protein punch!)
- 1 Tablespoon maple syrup or stevia (adjust to your sweetness preference!)
- 3/4 teaspoon baking powder (this is your secret weapon for fluffiness!)
Toppings (Before Baking):
- Raspberries
- Strawberries
- Blueberries
- Chocolate chips
- Bananas
Toppings (After Baking):
- Nut butter (any kind you like!)
- Syrup
- Greek yogurt
- Salted butter
- Chia jam
Crafting Your Fluffy Baked Protein Bowls: Step-by-Step
Alright, let’s get these amazing bowls into the oven! It’s super straightforward, and before you know it, you’ll have a warm, fluffy delight ready to go. Trust me, the process is almost as enjoyable as the eating!
Preheating and Preparing Your Dish
First things first, let’s get your oven fired up to 350°F. While that’s warming up, grab your 12-14 ounce glass dish or ramekin. Give it a good spray with some nonstick spray so nothing decides to stick around when it’s time to dig in!
If you’re feeling fancy or just want extra insurance against sticking, you could totally whip up some homemade cake goop like the stuff here: easy baked churro bites . A little bit goes a long way!
Mixing the Bowl Batter
Now for the fun part – mixing! Just grab a good-sized mixing bowl and toss in all the ingredients for the bowl: the egg, that creamy Greek yogurt, your milk (remember, any kind works!), the flax meal, your flour, that vanilla protein powder, maple syrup or stevia for a touch of sweetness, and of course, the baking powder – don’t forget that for the fluff factor! Give it all a good whisk until it’s just nicely combined. You don’t want to go crazy overmixing, just get everything together.
Adding Your Favorite Toppings
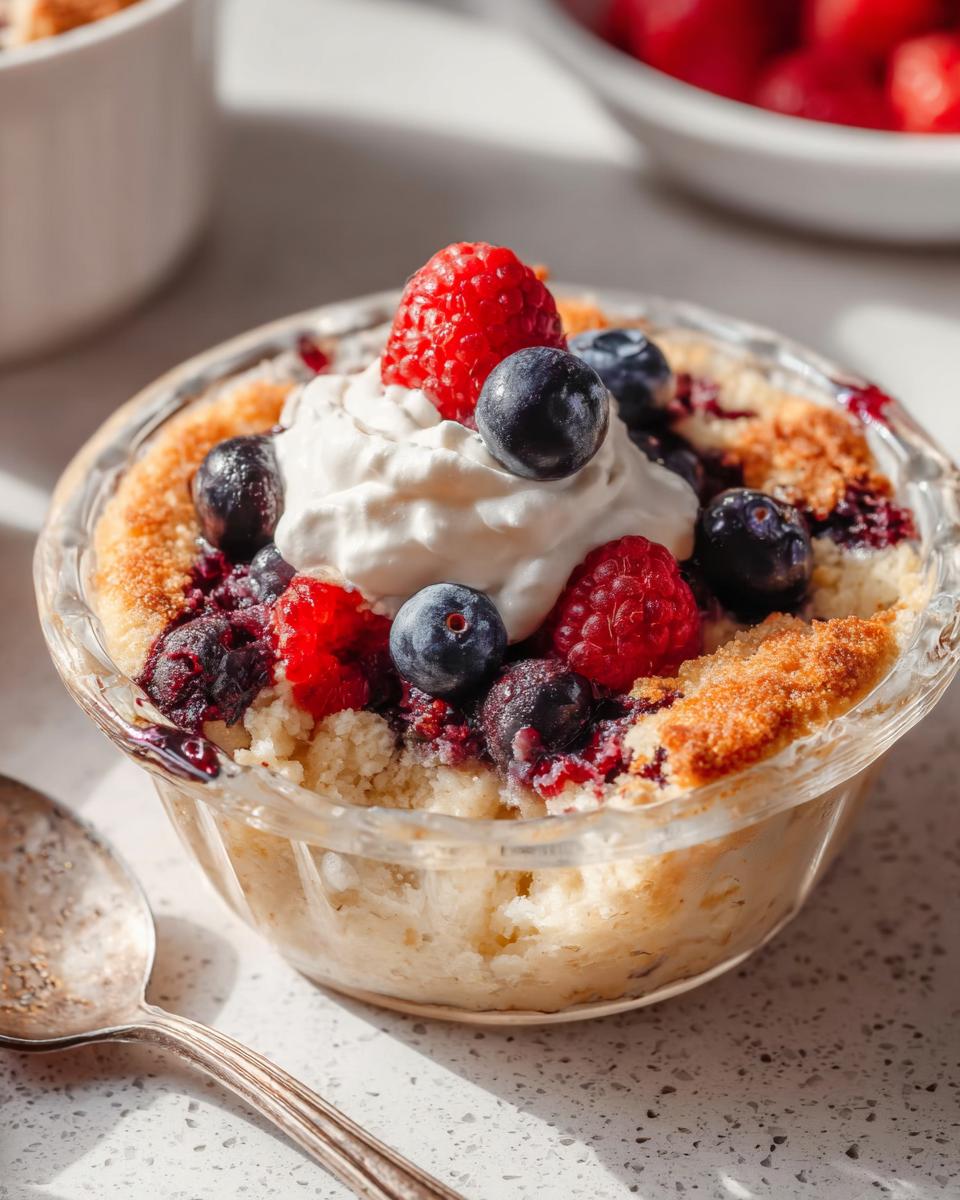
Once your batter is nicely mixed, it’s time to make it pretty! Arrange your chosen toppings right on top of the batter. Think juicy raspberries, sweet strawberries, plump blueberries, maybe even some chocolate chips or banana slices. Whatever makes your taste buds happy goes in!
You can find tons of yummy inspiration for toppings. Check out these chocolate strawberry yogurt clusters or these no-bake Oreo cheesecake bites for ideas you might even want to prep ahead!
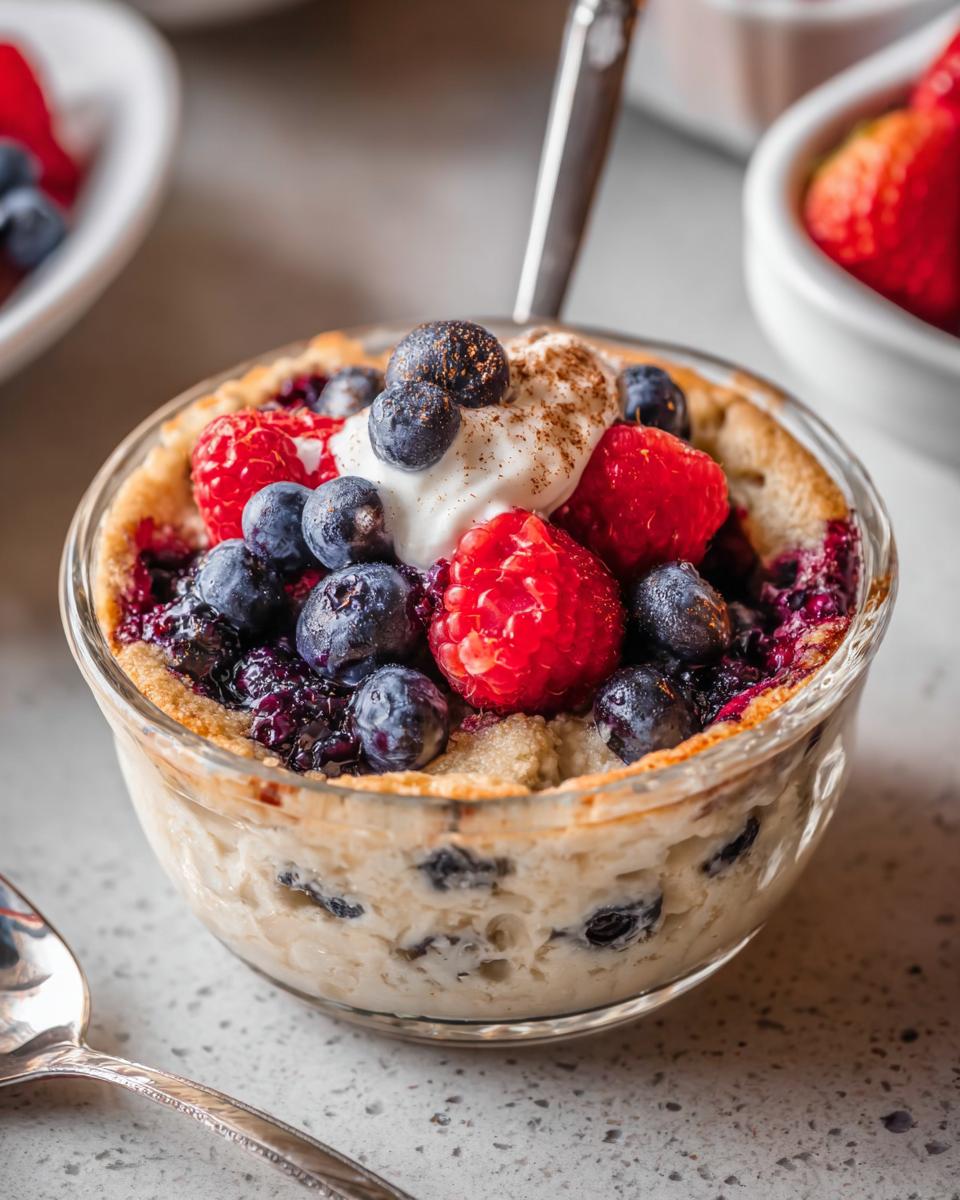
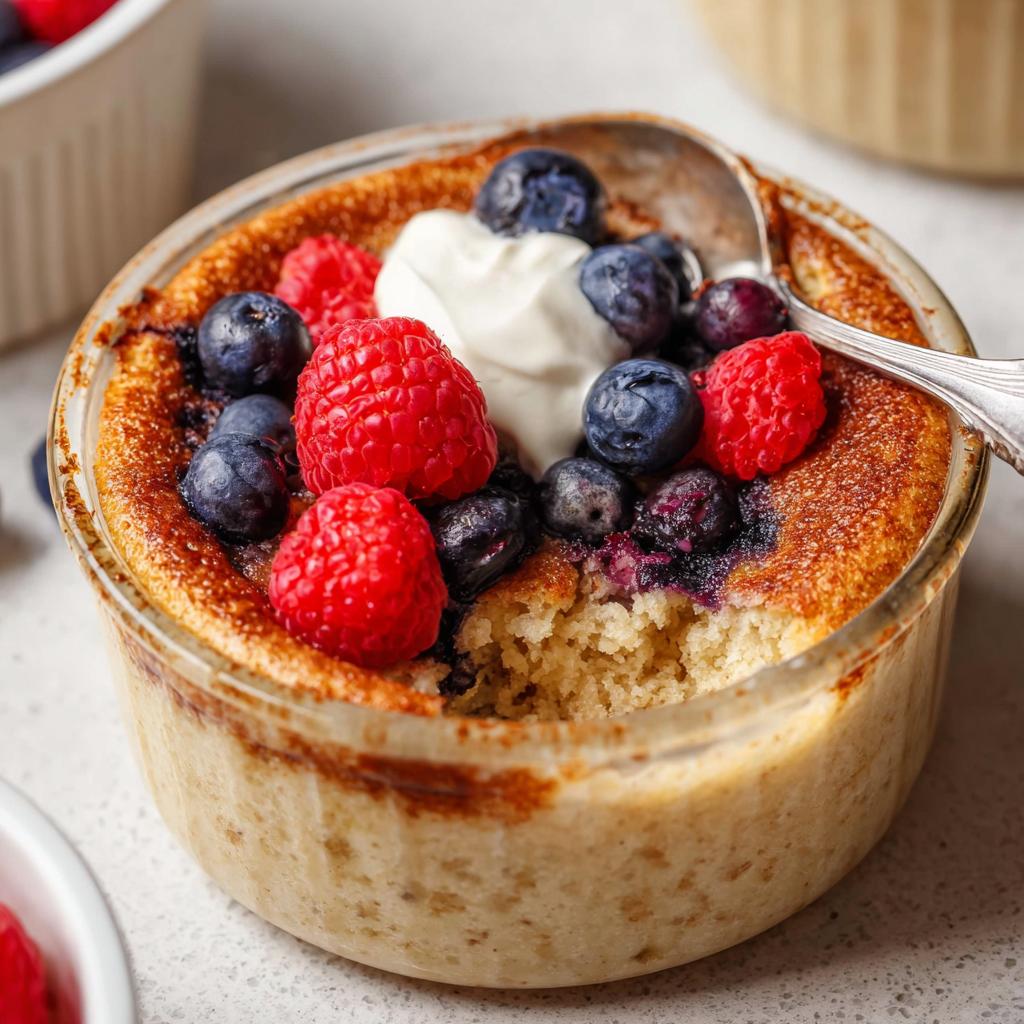
Baking to Perfection
Pop that beautiful dish into your preheated oven. Let it bake for about 22 to 25 minutes. You’ll know it’s ready when the middle looks set and the edges are getting just a little golden brown. It smells amazing at this point, doesn’t it?
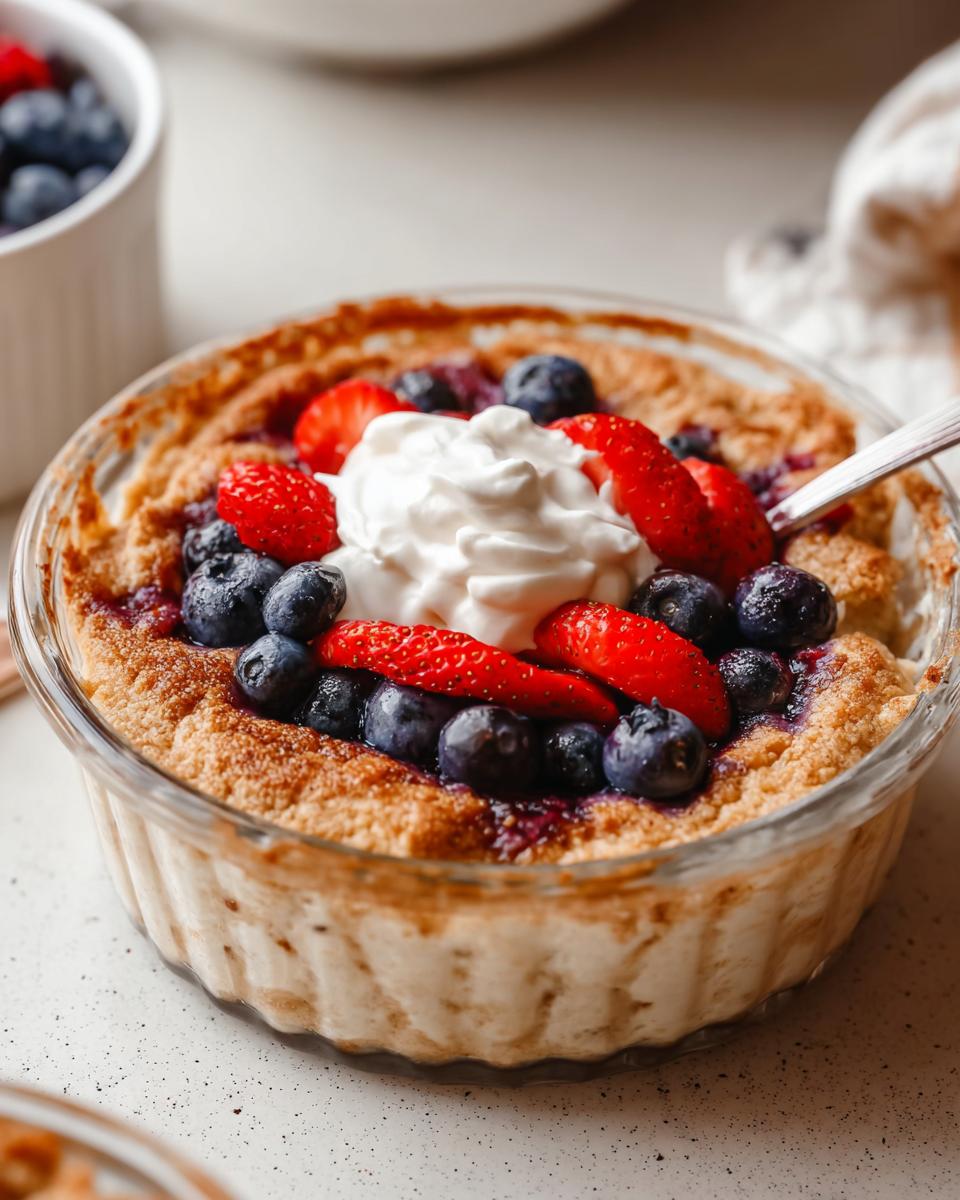
Cooling and Serving
Once they’re out of the oven, let them cool for about 5 to 10 minutes. This is important! It lets them firm up a bit more. Then, serve them right there in the dish. Now’s the time to add any post-baking toppings like a swirl of nut butter, a drizzle of syrup, more Greek yogurt, a little pat of butter, or some delicious chia jam. If you need more ideas for serving, take a peek at this creamy ricotta egg toast recipe for some serving inspo!
Tips for Achieving Maximum Fluffiness
So, you want *maximum* fluffiness, right? I get it! It’s not just about throwing ingredients together; there are a few little tricks that really make a difference. First off, that baking powder you’re adding? It’s your best friend here. Make sure it’s fresh – old baking powder just doesn’t have the same lift. And don’t be tempted to skimp on it; that 3/4 teaspoon is precisely measured for that airy texture.
Another thing I’ve learned is to not overmix the batter. Seriously, just mix until everything is *just* combined. Overmixing can develop the gluten too much, which can make your bowls dense instead of light and fluffy. If you’re using protein powder, some brands can be a bit heavier, so gentle mixing is key. For some awesome ideas on high-protein baking, check out recipes like these high-protein cinnamon roll bread or these fluffy air fryer churro bites; they often have great tips for keeping things light!
Also, make sure your oven is actually at the right temperature! A wonky oven can ruin even the best batter. And resist the urge to keep peeking while they bake – opening the oven door too early can cause them to deflate. Patience is key for that perfect, pillowy bite!
Ingredient Notes and Substitutions
Let’s chat about making these bowls work for *you*. Sometimes you’ll need to swap things out, and that’s totally fine! For the flour, if you’re going gluten-free, I’ve had great luck with a good 1:1 baking blend like Bob’s Red Mill. They really hold up well and don’t mess with the texture. If you don’t have gluten-free needs, regular all-purpose flour works like a charm too.
When it comes to the Greek yogurt, plain is best, but if you need dairy-free, a coconut or almond-based plain yogurt is a fantastic substitute. It gives you that same creamy richness without the dairy. And for the protein powder, I usually reach for vanilla, but honestly, unflavored works too if you want to add your own favorite spices or extracts. Just make sure it’s a powder that blends well, not one that gets too thick or gummy. For more great ideas on swapping out ingredients, especially for keto-friendly options, you can check out how they handle things in this cottage cheese flagels recipe!
Frequently Asked Questions About Baked Protein Bowls
Got more questions about these amazing fluffy bowls? I’ve got you covered! It’s always good to know the ins and outs, especially when you’re aiming for that perfect texture and flavor. For simple, protein-packed breakfast ideas, you might also want to check out this baked cottage cheese and egg protein breakfast!
Can I make these ahead of time?
Absolutely! These baked protein bowls are fantastic for meal prep. Once they’ve cooled completely, just pop them into an airtight container in the fridge. They’ll stay good for about 4-5 days. To reheat, just pop them in the microwave for a minute or two, or even pop them in a toaster oven for a few minutes if you want them a bit crispier. It’s a lifesaver on busy mornings!
What kind of protein powder works best?
Honestly, most vanilla or unflavored protein powders will work great here. I usually aim for one that has around 26 grams of protein per scoop, as that seems to give the best balance without making the bowls too dense. Whey or plant-based options are both fine. Just avoid anything super thick or gummy if you can, as that might affect the texture.
Are these bowls suitable for keto?
That’s a great question, especially given my background! The base recipe is pretty low-carb, especially if you use a sugar-free sweetener like stevia instead of maple syrup and keep your toppings low-carb too. You’ll want to watch the amount of flour and fruit you add. For a true keto version, you might experiment with a keto-friendly flour blend and really focus on high-fat, low-carb toppings. If you’re curious about more keto breakfast bowls, this ultimate keto breakfast bowl guide has some awesome insights!
Nutritional Information
Just a heads-up, the nutritional info you see here is an approximation, based on using specific ingredients like almond milk, a gluten-free flour blend, and vanilla protein powder with raspberries as a topping. Like all homemade treats, exact numbers can change depending on what you use!
Baked Protein Bowls
Ingredients
Equipment
Method
- Preheat your oven to 350°F. Spray a 12-14 ounce glass dish or ramekin with nonstick spray.
- Add all of the bowl ingredients to a mixing bowl and mix well until combined. Arrange your desired toppings on top.
- Bake in the preheated oven for 22-25 minutes, or until the bowls are set in the middle and slightly golden brown.
- Cool for 5-10 minutes, then serve in the dish with any additional toppings.