
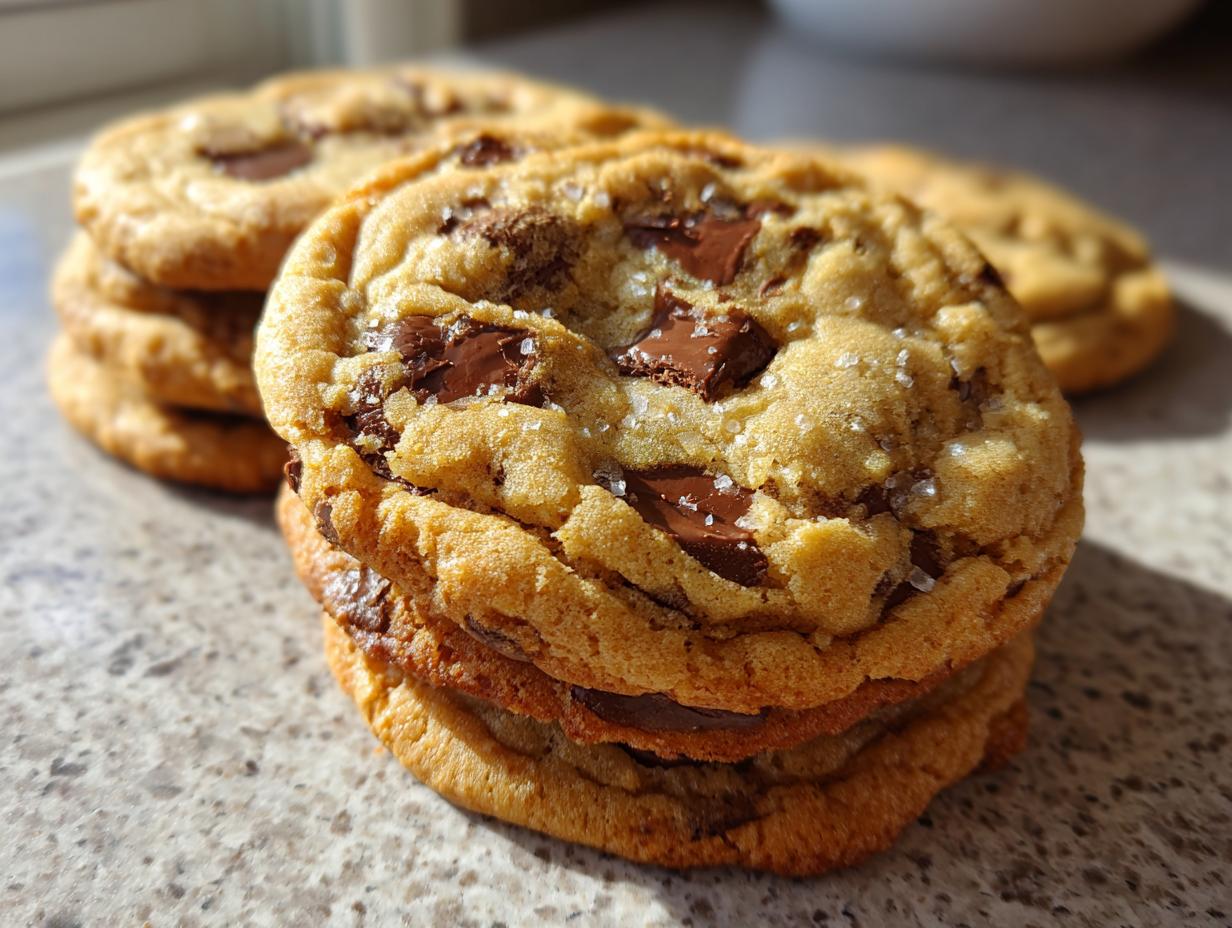
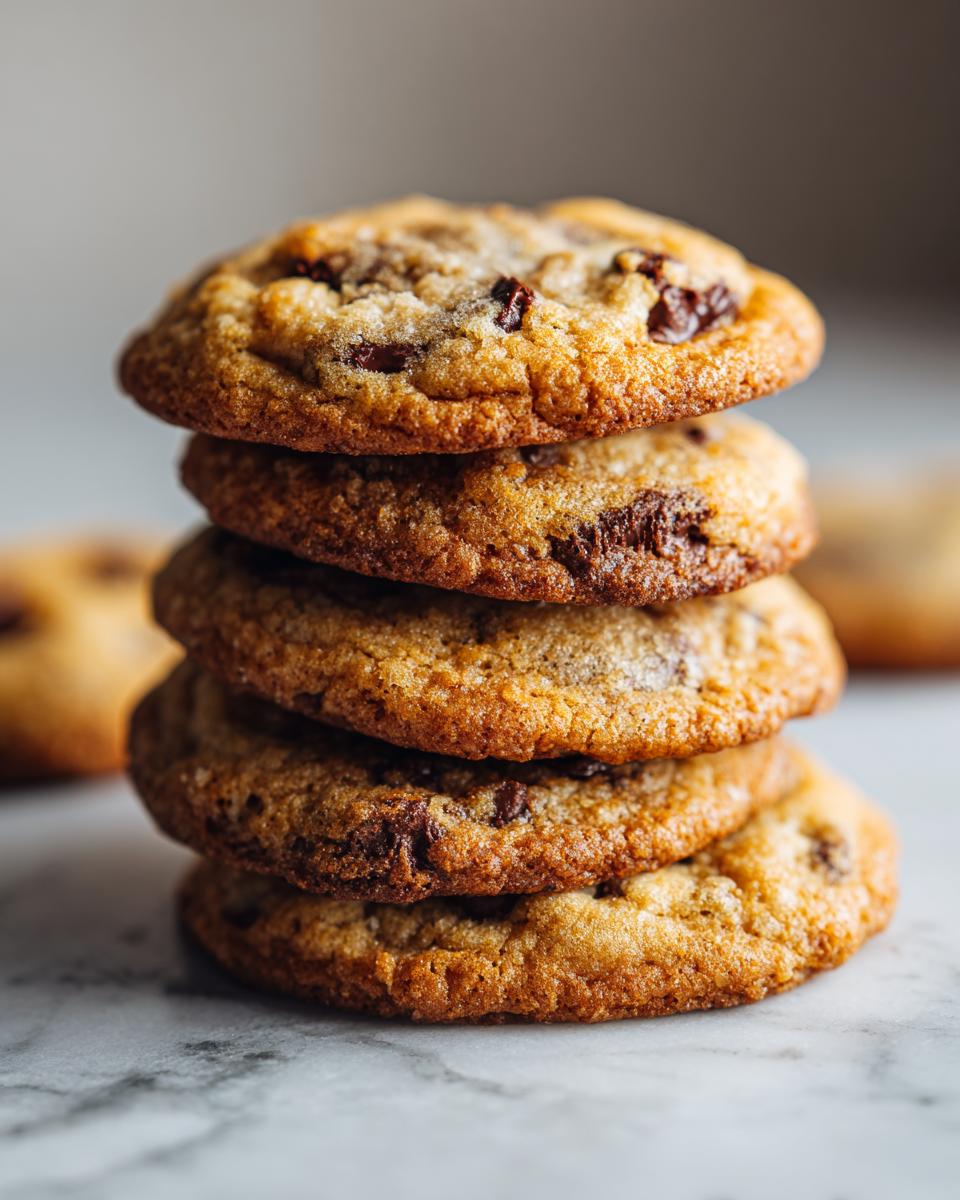
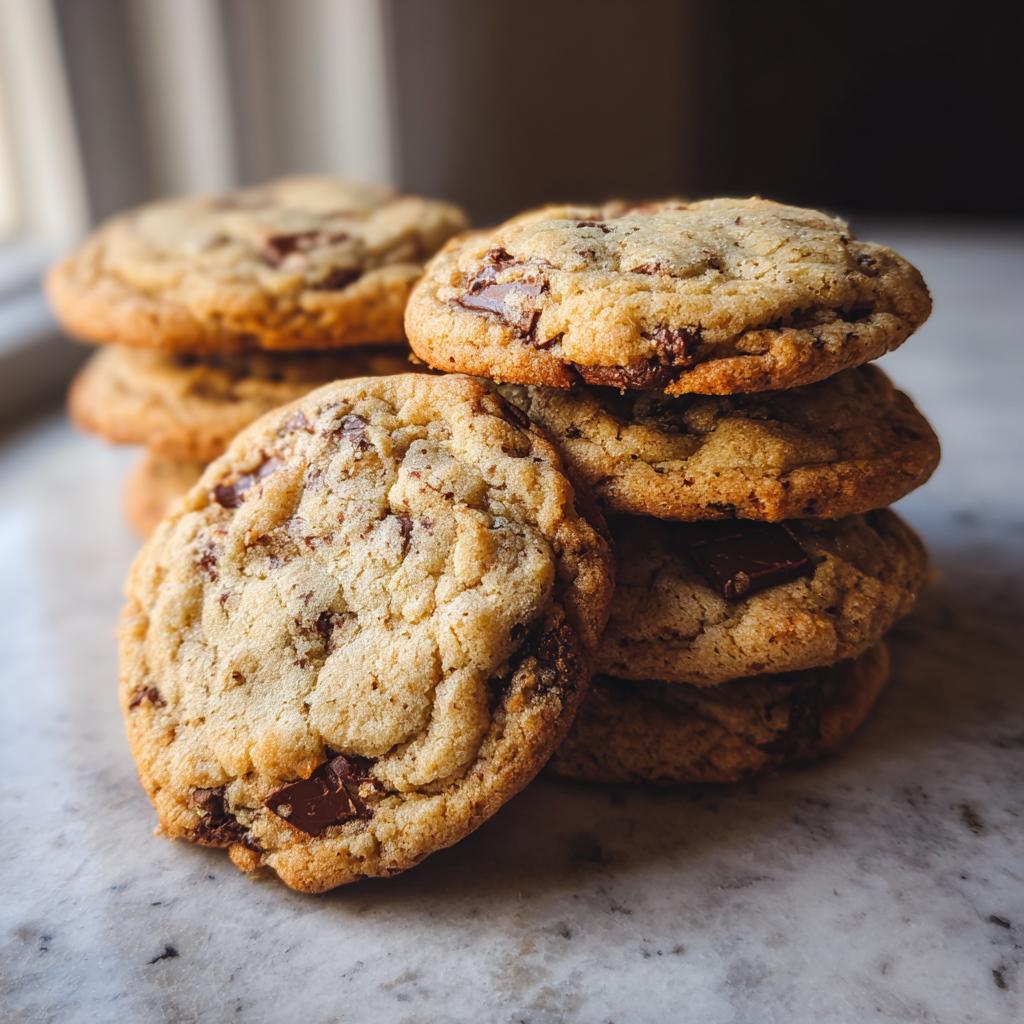
Oh, you know those moments when you bite into a cookie and it just… *sings*? Like it’s been crafted by a magic cookie elf in a bustling bakery? Yeah, me too! There’s something incredibly special about a cookie that’s perfectly chewy, with that deep, nutty flavor that only brown butter can deliver. For the longest time, I swore I’d never be able to replicate that bakery magic at home. I mean, I’ve tried *countless* batches, some too cakey, some way too flat, some that just tasted a bit… meh. But trust me, after a whole lot of kitchen experimentation (and a whole lot of delicious tasting!), I finally cracked the code. These Dessert Recipes That Make Brown Butter Cookies Taste Bakery Fresh are my absolute pride and joy. They’re proof that you don’t need a fancy pastry degree to get that perfect, slightly chewy, rich, and incredibly satisfying cookie right out of your own oven. This recipe is all about that balance, that little bit of magic, and making your kitchen smell absolutely divine.
Why These Dessert Recipes Make Brown Butter Cookies Taste Bakery Fresh
So, what’s the secret sauce, you ask? It’s all about a few key players that work together like a well-oiled machine to get you that real bakery taste. First off, browning the butter. This isn’t just about melting it; it’s about toasting those milk solids until they turn a gorgeous nutty brown. It adds this incredible depth of flavor, a warm, caramel-like nuttiness that you just can’t get from regular melted butter. Seriously, it’s a game-changer!
Then, we look at the sugars. Using a good amount of packed light brown sugar is crucial here. That molasses in brown sugar is what gives cookies that chewy texture and keeps them moist. It balances out the granulated sugar, making sure we don’t get a cakey cookie, but rather one that has a nice chew and a slightly crisp edge. And that chilling time? Don’t skip it! It’s not just busy work; it lets the flour hydrate properly and allows the flavors to really meld together. Plus, cold dough spreads less in the oven, giving you that perfect, thicker cookie. It’s these little things, you know? The science behind the deliciousness, that really elevate these cookies from simple homemade treats to something truly special. You can check out other chewy cookie recipes to see how similar principles apply!
Gather Your Ingredients for Bakery-Fresh Brown Butter Cookies
Alright, to get these bakery-style brown butter beauties made, you’ll need to gather a few things. Don’t worry, they’re all pretty standard baking ingredients, but getting them *just right* makes all the difference for that bakery-fresh taste.
For the Brown Butter
- 1 cup unsalted butter, cut into cubes
For the Cookies
- 1 cup packed light brown sugar
- 1/2 cup granulated sugar
- 2 large eggs
- 1 tsp vanilla extract
- 2 1/2 cups all-purpose flour
- 1 tsp baking soda
- 1/2 tsp salt
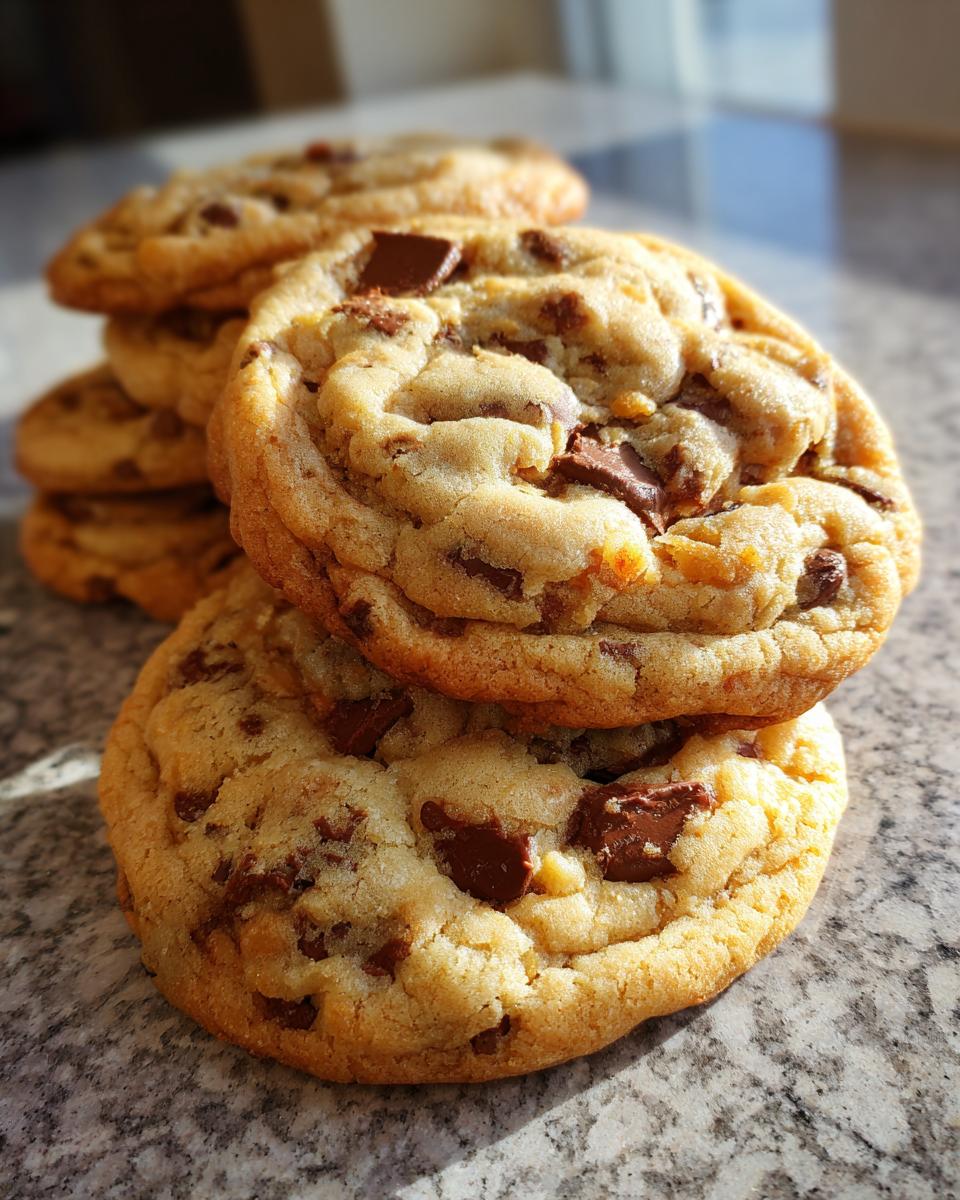
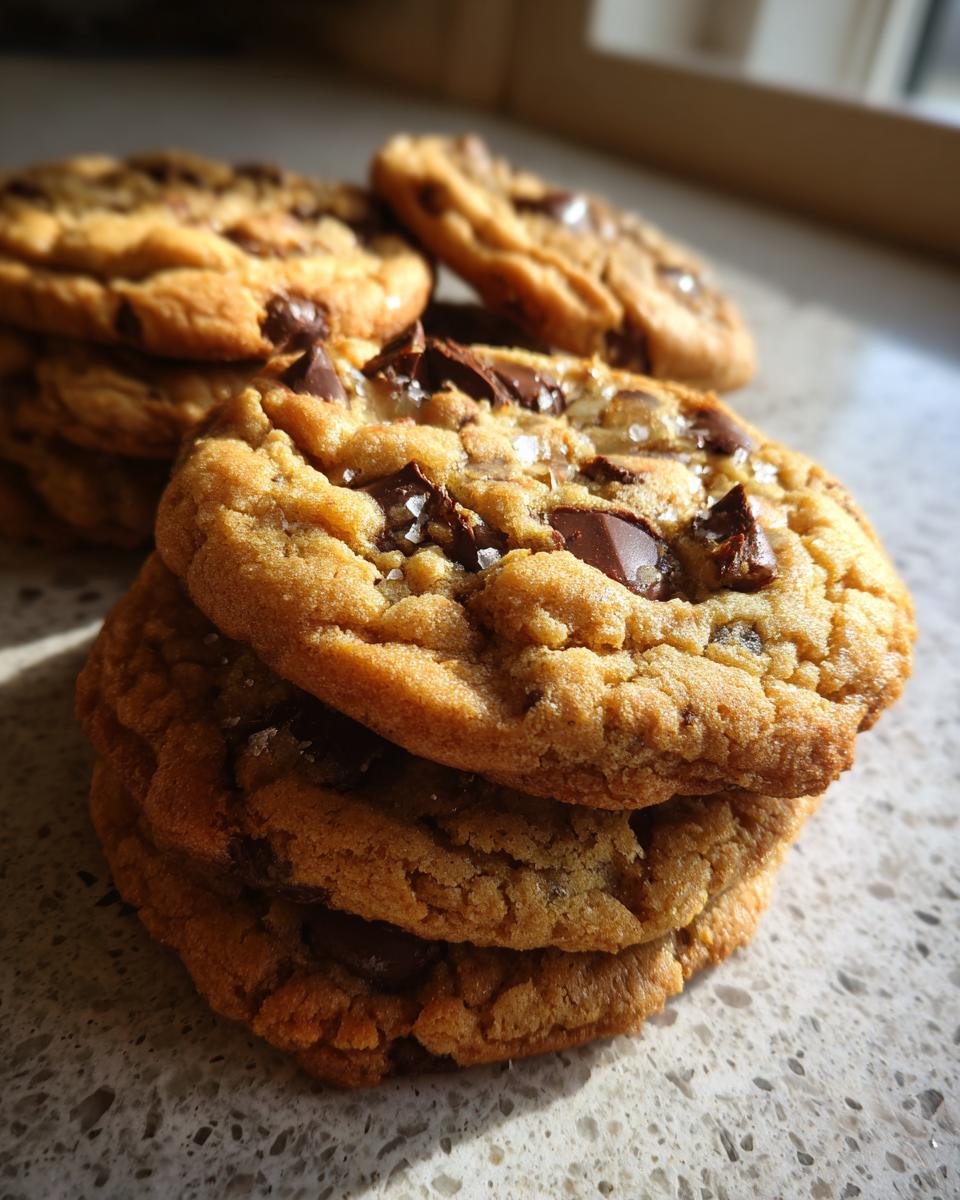
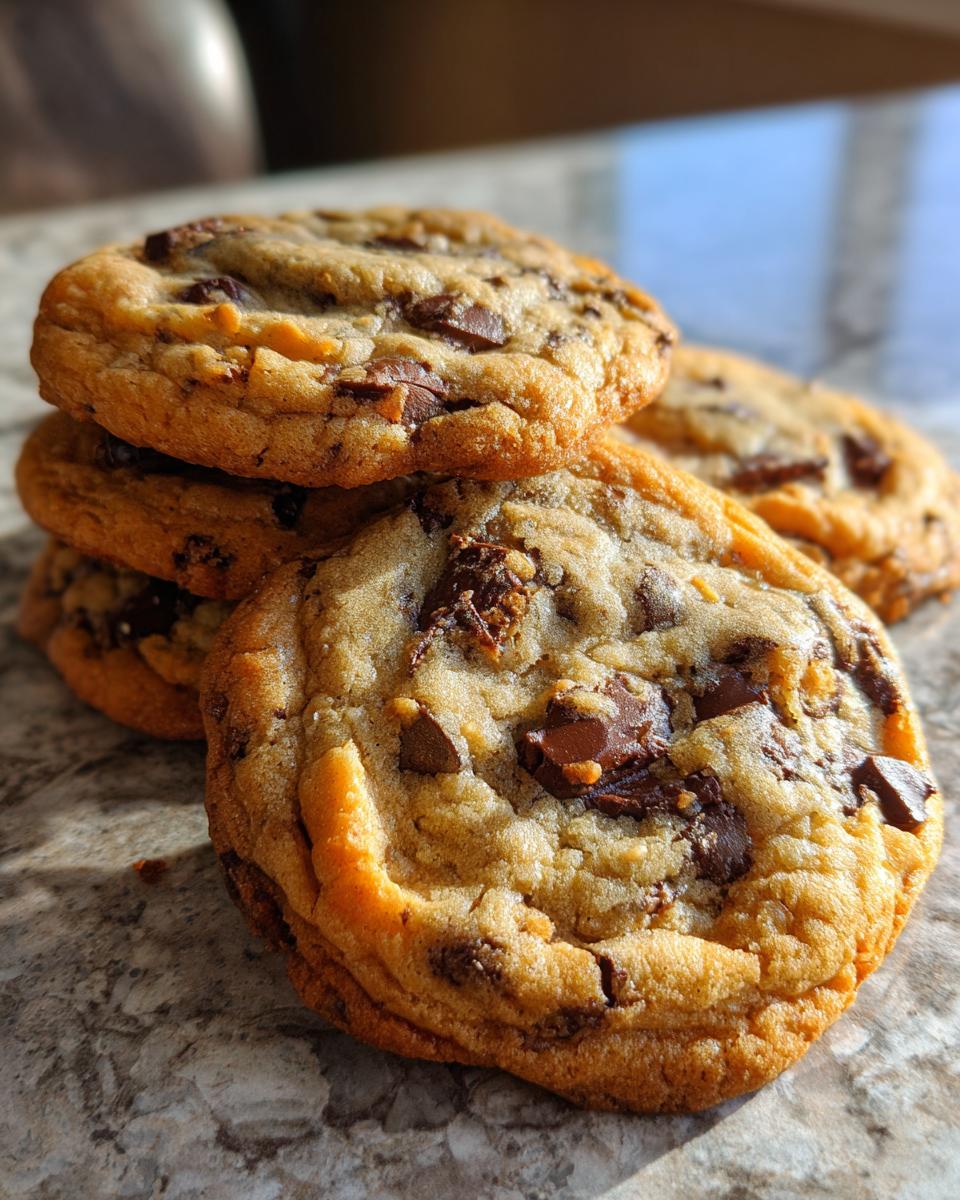
- 1 cup chocolate chips (semi-sweet or dark work best in my opinion!)
Step-by-Step Guide: Baking Your Best Brown Butter Cookies
Alright, let’s get baking! This is where the magic really happens. Follow these steps, and you’ll be enjoying bakery-quality brown butter cookies in no time. Remember, it’s all about paying attention to the little things!
-
First things first, let’s brown that butter. Melt your butter in a *light-colored* saucepan over medium heat. Trust me on the light color – it helps you see exactly when it turns that perfect golden brown! Keep swirling the pan every so often. You’ll see it foam up, then the milk solids will start to toast and settle at the bottom. Watch it carefully, because it can go from golden to burnt in a flash! It should take about 5-8 minutes. Once it smells nutty and looks a beautiful deep golden brown, immediately pour it into a heatproof bowl. This stops the cooking process, and you want it to cool just a bit before we move on.
-
Now, in a big mixing bowl, grab your slightly cooled browned butter and add in both the packed light brown sugar and the granulated sugar. Whisk it all together until it’s really well combined. It doesn’t need to be super fluffy yet, just nicely mixed.
-
Next, we add the eggs. Beat them in one at a time, making sure each one is incorporated before adding the next. Then, stir in that lovely vanilla extract. Don’t go overboard, just a good stir to blend it in.
-
In a separate, medium-sized bowl, whisk together your flour, baking soda, and salt. Getting these dry ingredients mixed well now means they’ll distribute evenly in the batter later, which is super important!
-
Time to combine! Gradually add those dry ingredients to the wet butter and sugar mixture. Mix until *just* combined. Seriously, do NOT overmix! Overmixing develops the gluten in the flour and can make your cookies tough instead of delightfully chewy. Stop as soon as you don’t see big streaks of flour. You can peek at pictures of other chewy cookie recipes to see that slightly unmixed look is totally normal!
-
Gently stir in your chocolate chips. Whatever kind you love best, semi-sweet, dark, milk – go for it! Just make sure they’re distributed throughout the dough.
-
This is a biggie, folks: COVER the bowl and pop it in the fridge for at least 30 minutes. I know, I know, waiting is hard! But this chilling time is absolutely key to getting that fantastic bakery-style texture. It lets everything meld and firms up the dough so the cookies spread just right. You can even let it chill longer if you have the time!
-
When you’re ready to bake, preheat your oven to 350°F (175°C). Line your baking sheets with parchment paper. This is a lifesaver for easy cleanup and preventing sticking, especially with rich cookies like these. My recent brown butter brookies also benefited from parchment paper!
-
Scoop rounded tablespoons of the chilled dough onto your prepared baking sheets. Leave a good 2 inches between each cookie because they will spread out a bit as they bake.
-
Bake for about 9 to 11 minutes. You’re looking for the edges to be a lovely golden brown, but the centers should still look a little soft and underbaked. They’ll keep cooking on the hot pan for a few minutes after you take them out, and that’s how you get that perfect chewy center!
-
Let those gorgeous cookies cool on the baking sheets for a few minutes before you carefully transfer them to a wire rack to cool completely. Resist the urge to dig in *right* away – they’re worth the wait, I promise!
Tips for Achieving Bakery-Style Brown Butter Cookies
Okay, so you’ve got the recipe, but let’s talk about those little insider tricks that really push these brown butter cookies over the top into bakery-fresh territory. It’s all about the details! First off, make sure your butter is *cool* enough when you mix it with the sugars. If it’s too hot, it’ll melt the sugars too quickly and you won’t get that classic chewy texture. A little patience here really pays off.
When you’re scooping the dough, don’t flatten the balls! Let them be nice and round. As they bake, they’ll spread on their own, which helps create those lovely ruffled edges and that perfect chewy center. If your oven tends to run hot, keep an eye on them – they cook fast! You want those centers to look a little soft when you pull them out. They’ll firm up as they cool on the baking sheet, which is exactly what we’re after. Oh, and if you like a little extra something, a tiny pinch of sea salt sprinkled on top right before baking? *Chef’s kiss*. For more ideas on making things easier in the kitchen, check out these easy frozen Greek yogurt recipes!
Ingredient Notes and Substitutions
Let’s chat about a couple of things in this recipe that are super important, and what you can do if you don’t have something on hand. That browned butter? It’s really the star, adding that amazing nutty depth. But if you’re really in a pinch and absolutely cannot brown butter, you could use regular melted unsalted butter. It won’t have that same complex flavor, but it’ll still make a good cookie!
As for the chocolate chips, I love semi-sweet or dark because they balance the sweetness of the dough. But honestly, use what you have! Milk chocolate chips are fine, or even a mix. If you’re not a chocolate fan, you could totally swap them out for chopped nuts like pecans or walnuts. Just a little bit of flexibility goes a long way in the kitchen!
Frequently Asked Questions About Brown Butter Cookies
Got questions about making your brown butter cookies absolutely perfect? I’ve got answers! Here are some of the things people ask me most often. You can find more fun recipes like this on my blog too!
Why are my brown butter cookies flat?
Usually, flat cookies happen when the dough is too warm or overmixed. Make sure your dough is well-chilled before baking – that’s the biggest trick! Also, try not to overmix the batter after adding the flour. A little chilling time makes a HUGE difference!
How do I store brown butter cookies?
Once they’re completely cool, store them in an airtight container at room temperature. They should stay wonderfully chewy and delicious for a good few days. Honestly, they rarely last that long in my house!
Can I freeze the brown butter cookie dough?
Absolutely! Scoop the dough into balls, place them on a parchment-lined tray, and freeze until solid. Then, transfer them to a freezer-safe bag or container. Just bake them straight from frozen, adding a minute or two to the baking time. Easy peasy!
Estimated Nutritional Information
Okay, so we’ve baked up some deliciousness! If you’re curious about the numbers, these brown butter cookies are estimated to have around 200-250 calories each, with about 12-16g of fat, 2-3g of protein, and 25-30g of carbohydrates. Remember, these are just estimates, and your exact counts can change based on the specific brands of ingredients you use and how big you scoop your cookies!
Bakery-Fresh Brown Butter Cookies
Ingredients
Equipment
Method
- Melt the butter in a light-colored saucepan over medium heat. Continue cooking, swirling the pan occasionally, until the butter turns a deep golden brown and smells nutty. This should take about 5-8 minutes. Immediately pour the browned butter into a heatproof bowl to stop the cooking process. Let it cool slightly.
- In a large bowl, whisk together the slightly cooled browned butter, brown sugar, and granulated sugar until well combined.
- Beat in the eggs one at a time, then stir in the vanilla extract.
- In a separate medium bowl, whisk together the flour, baking soda, and salt.
- Gradually add the dry ingredients to the wet ingredients, mixing until just combined. Do not overmix.
- Stir in the chocolate chips.
- Cover the bowl and refrigerate the dough for at least 30 minutes. This step is crucial for achieving the bakery-style texture.
- Preheat your oven to 350°F (175°C). Line baking sheets with parchment paper.
- Scoop rounded tablespoons of dough onto the prepared baking sheets, leaving about 2 inches between cookies.
- Bake for 9-11 minutes, or until the edges are golden brown and the centers are still slightly soft. They will continue to set as they cool.
- Let the cookies cool on the baking sheets for a few minutes before transferring them to a wire rack to cool completely.